Create a Business Rule
A write-access user can create business rules to filter file metadata and share hashes with the Netskope Tenant.
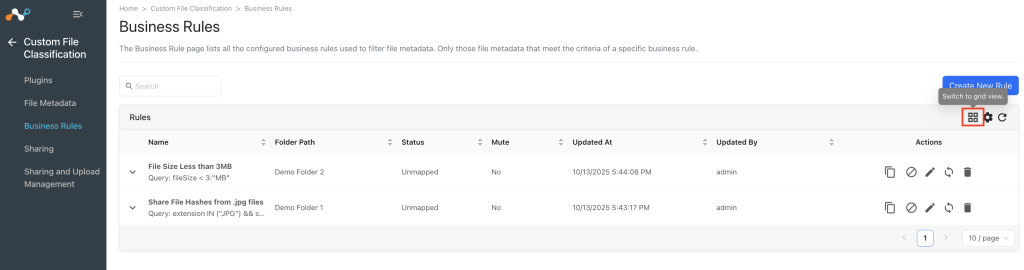
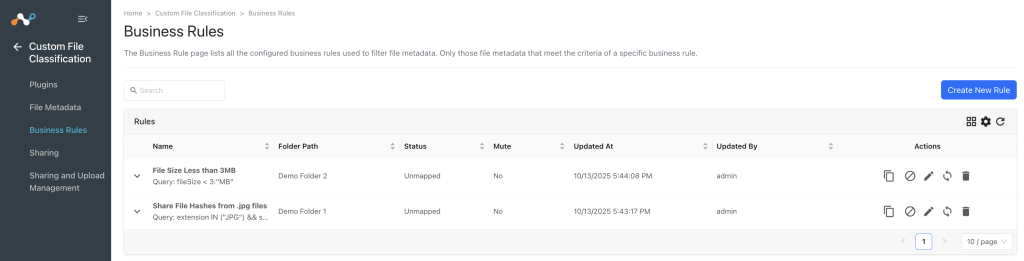
- Go to Custom File Classification > Business Rules. A page appears showing previously configured business rules (if applicable).

- Click Create New Rule and enter a Rule Name and query per your requirements. All the fields from the metadata will be available for filtering. The boolean logic allows for not, and, and or functions for more than one rule to match on metadata.
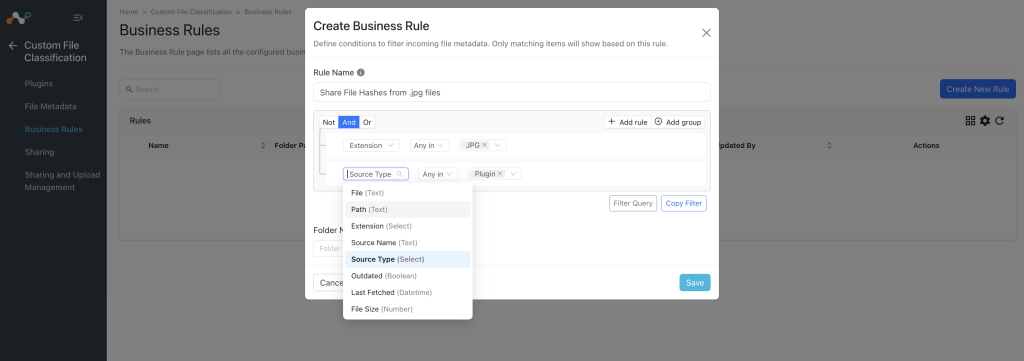

- Click Save to save the rule that can be used later to create the sharing between source plugins and the Netskope CFC plugin.
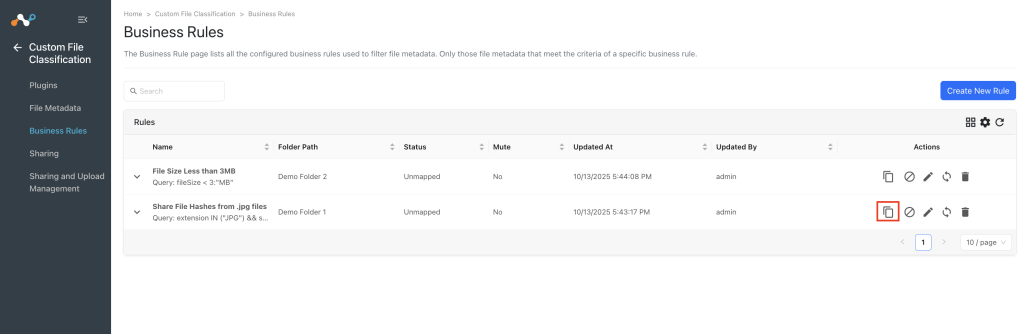
- After the rule is created, you can see the list of rules in the table.
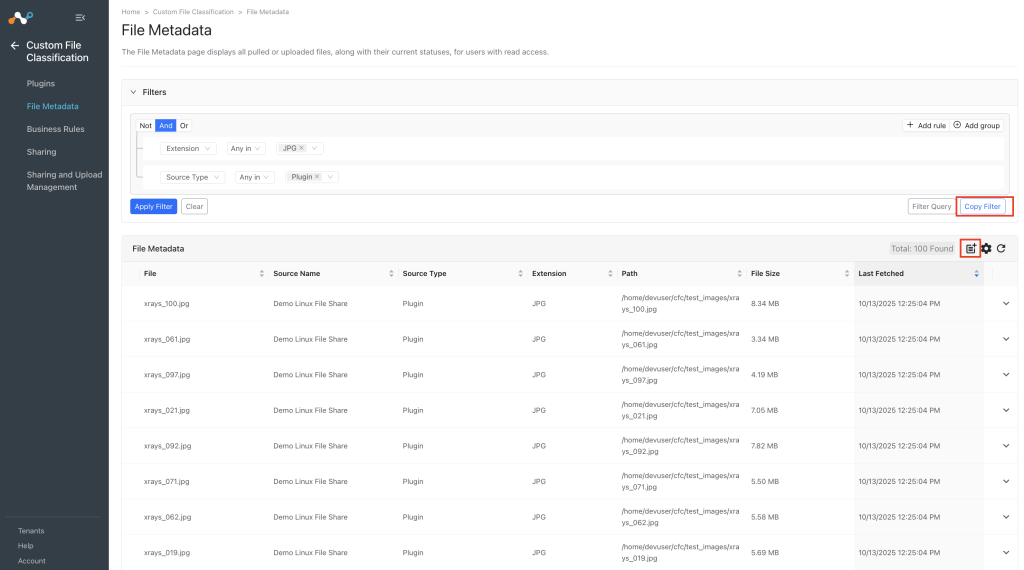
- Rules can also be copied from the File Metadata page for use in a business rule by clicking Copy Filter, or created from the File Metadata page by clicking on the document icon.

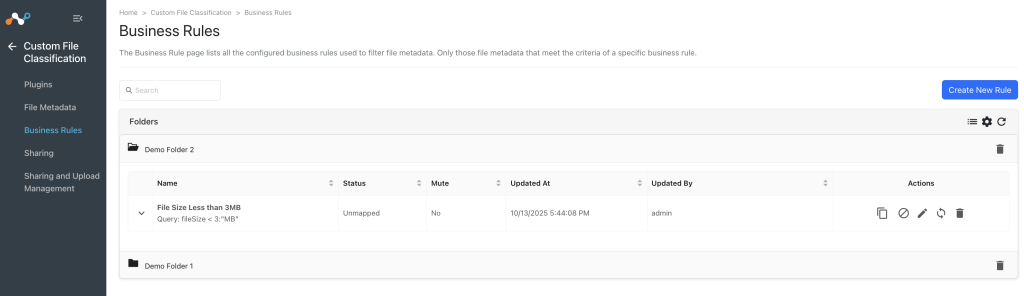
- Enter the folder name that you want to add the rule(s) to, or select an existing folders. At the maximum, Cloud Exchange supports a business folder hierarchy 3-levels deep.
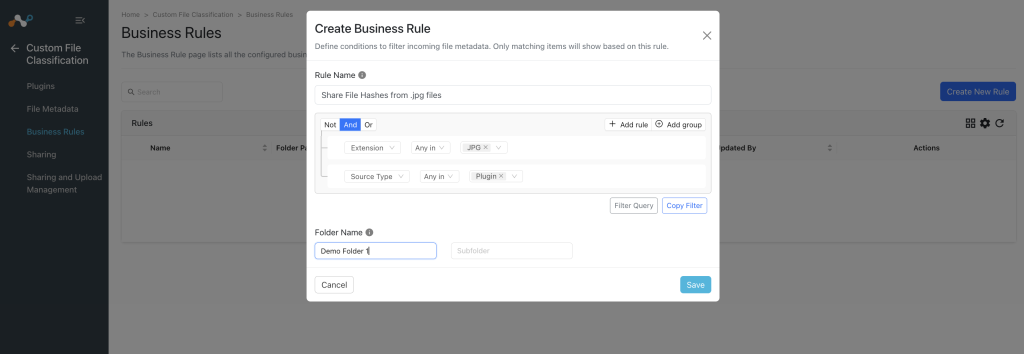

- When finished, click Save. Whenever a rule is saved or deleted, a green pop-up box will appear in the upper right corner reporting successful completion of the command.
- You can clone an existing rule and update it using the Copy icon.

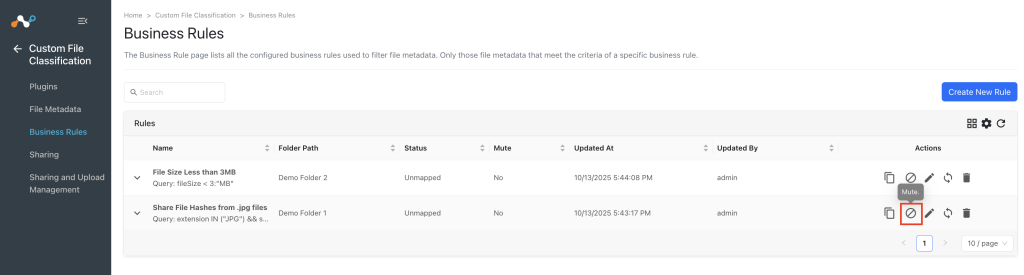
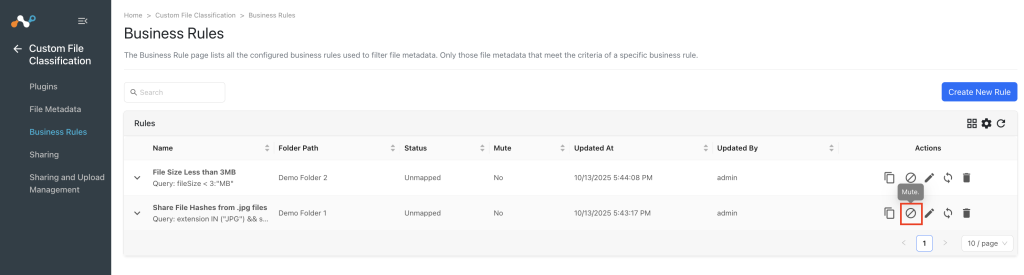
- You can mute the business rule so is not used in the sharing to share the data by using the Mute icon.

- You can edit a business rule by using the Pencil icon.

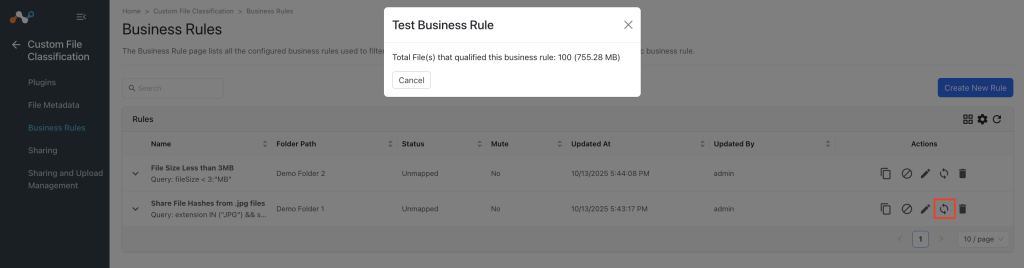
- You can test the business rule by using the Test icon. It will show you the result of qualified files for that business rule.

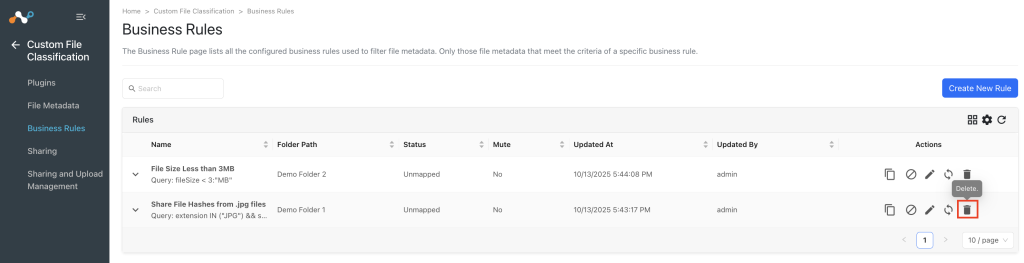
- You can remove the business rule by using the Delete icon. It will show the confirmation dialog with a note when the rule is mapped with a sharing.

- You can switch views by using the Grid icon, which is useful when you’ve business rules with nested folder structure.