

To configure Google Drive for the Next Generation API Data Protection, follow the instructions below.
Prerequisite
Before configuring Google Drive for the Next Generation API Data Protection, review the prerequisites.
-
A Google Workspace with Business Standard, Business Plus, or Enterprise edition licenses.
-
A Google super admin account to create a custom role and user for Netskope integration.
-
Ensure that Google Drive is enabled for your organization unit in Google Workspace. Google Drive must be available at the top-level (parent) or any applicable child organizational unit. To verify this setting, log in to admin.google.com using your Google super admin account, then navigate to Apps > Google Workspace > Drive and Docs. Confirm that the Service status is set to ON for the relevant organization units.

-
Ensure that Google Drive SDK is turned on. To check, log in to admin.google.com using your Google super admin account and then navigate to Apps > Google Workspace > Drive and Docs > Features and Applications and ensure that Drive SDK is turned on.

-
If you have guest or external users in your SaaS environment belonging to domains considered internal, you must set the appropriate internal domains for Netskope to classify exposure accurately. To set up internal domains, follow this article.
-
If you intend to use Google label badge, make sure the label permission is set to Can view this label or Can apply labels and set values for the organization.
To set the permission:
-
Log in to admin.google.com as a super admin.
-
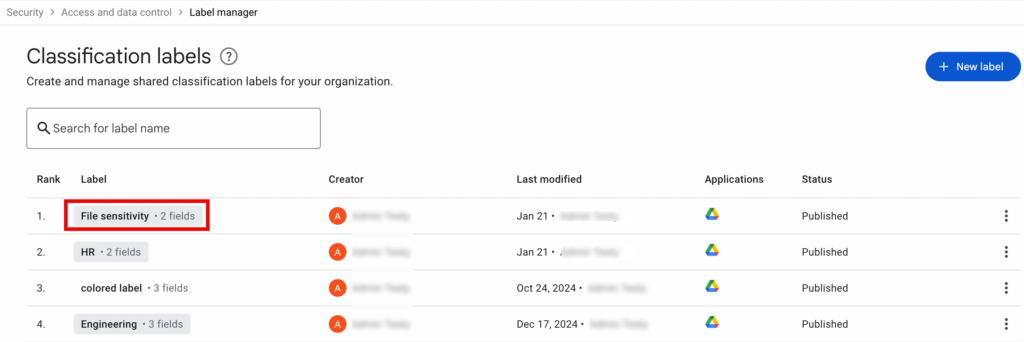
On the left navigation bar, expand Security > Access and data control > Label manager.
Label manager requires you to have the Manage Classification Labels administrator privileges. -
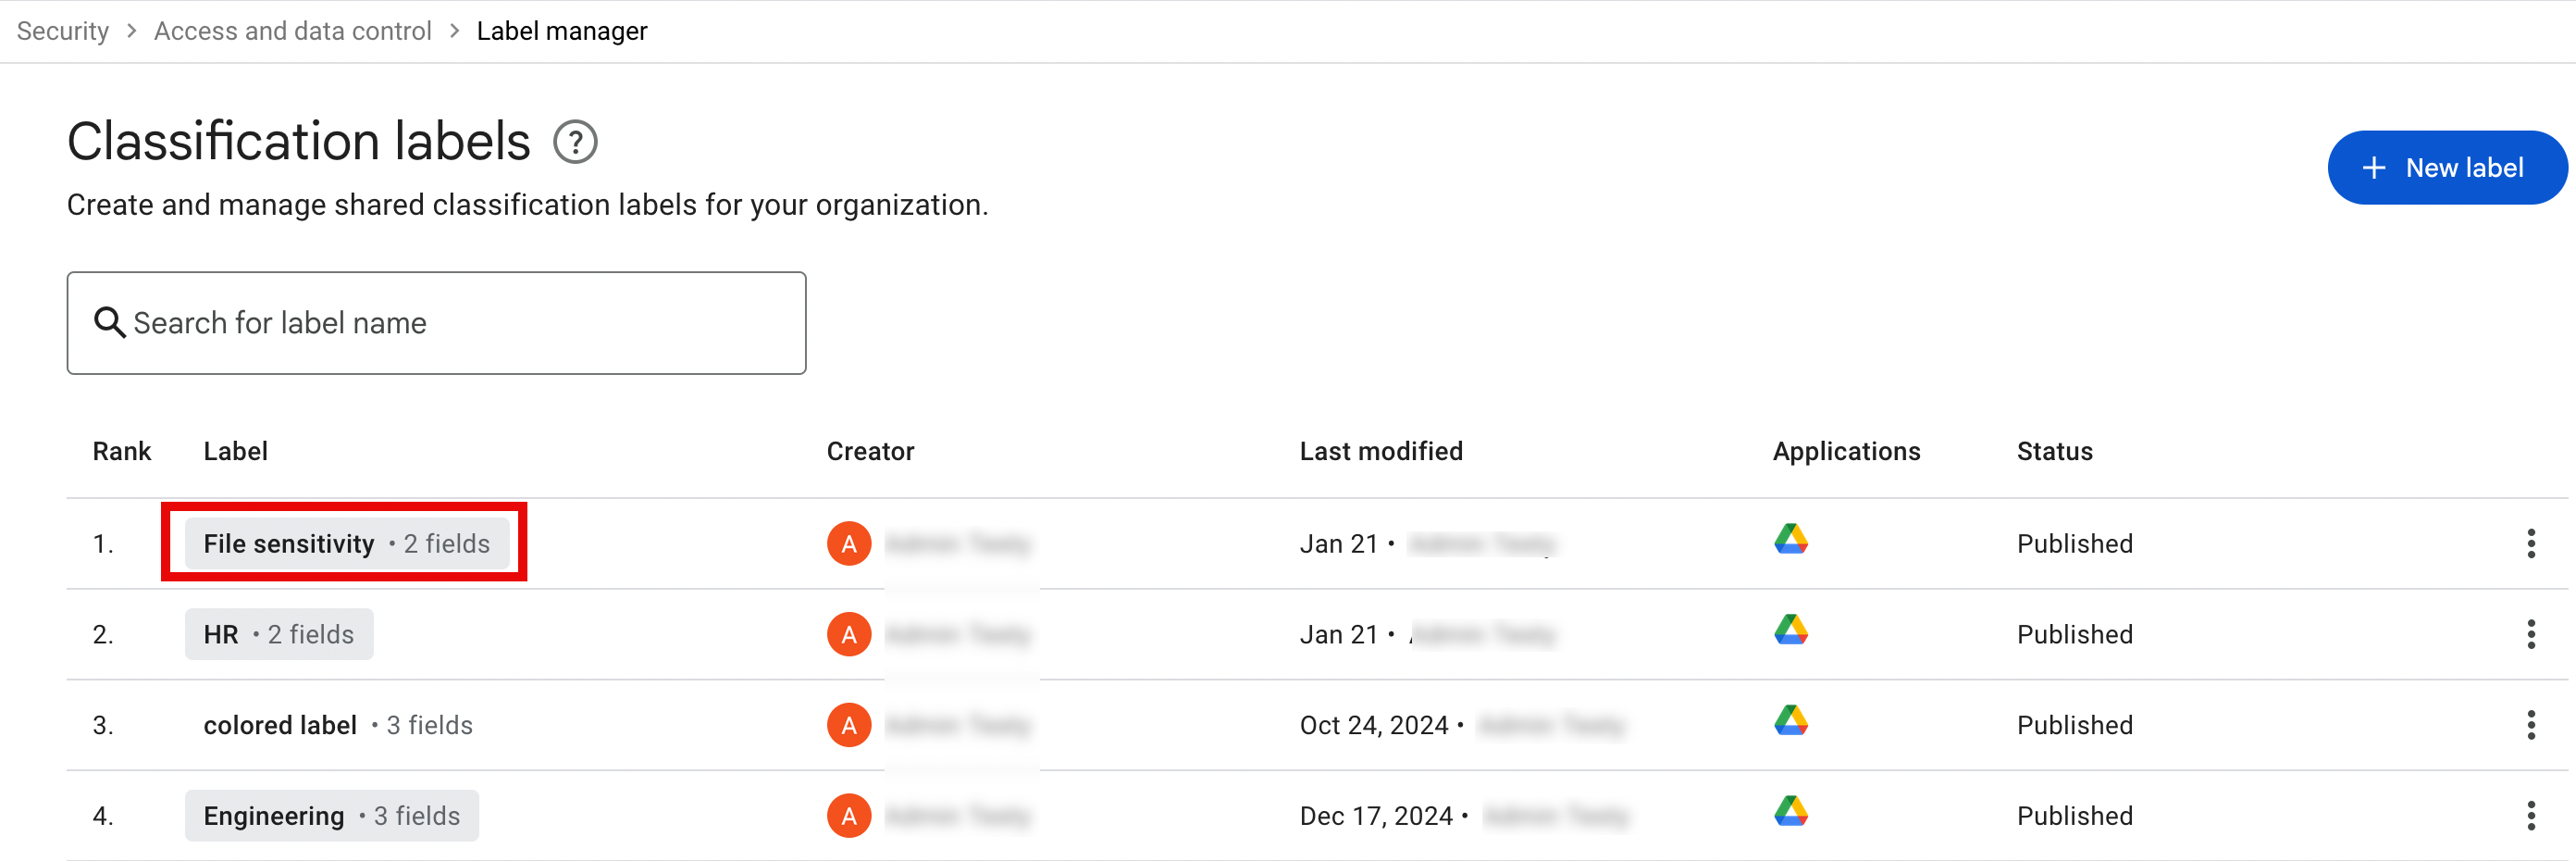
Under Classification labels, click the first ranked label.
-
On the right navigation, under Permissions, click Edit and and set the permission to either Can view this label or Can apply labels and set values.

-
Click Save.
-
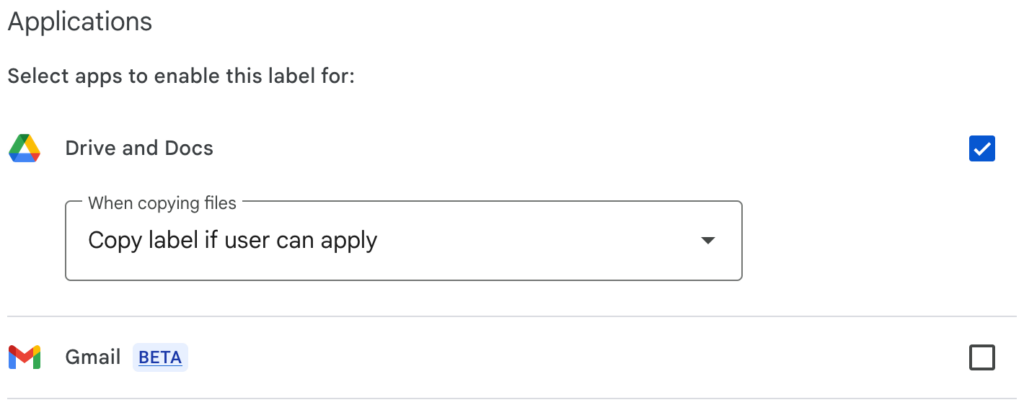
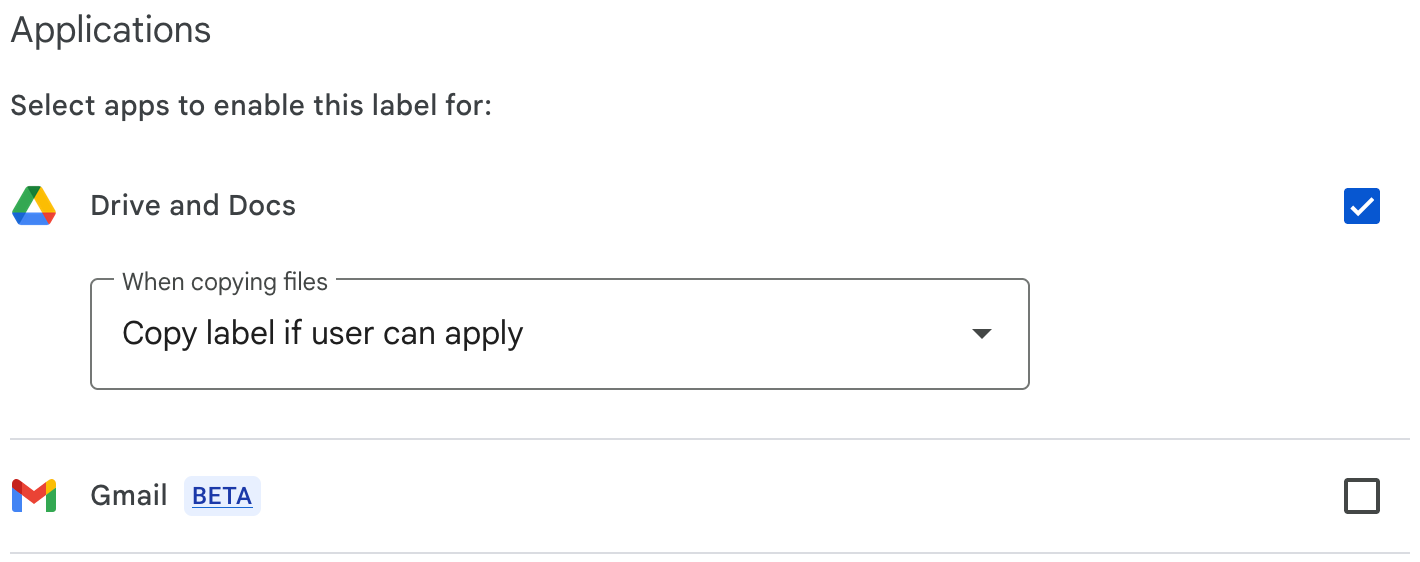
Ensure that the Drive and Docs option is enabled for this label. Selecting Gmail will cause the functionality to fail.
-

Create and Assign Custom Role for Netskope
If you do not plan to use the Google super admin account, you can create a custom role and assign the role to a user to grant access to Next Generation API Data Protection. You can grant privileges / scopes using the default Google super admin role or by creating a custom role exclusively for the Netskope integration. This section describes the steps to create a custom role for Netskope.
-
Log in to admin.google.com as a super admin.
-
Click the triple bar on the top-left corner of the home page and navigate to Account > Admin roles.
-
Click Create new role.
-
Enter a name and description for the role and click CONTINUE.
-
Select the admin privilege for the role:
Netskope does not recommend removing the following privileges. Any removal may result in failure of API calls and policy processing.Here is a list of privileges Netskope requires:
Privileges Needed for Services > Drive and Docs > Settings
(All 5 privileges)This privilege is required for listing label information. Reports This privilege is required for polling changes. Domain Management This privilege is required to list the domains under the Google workspace. Netskope uses the
domains list to determine if a user is internal or external.Groups > Read This privilege is required to get group information. Users > Read This privilege is required to get user information. Netskope now supports Google label badge. If you intend to use Google label badge, enable the below privilege too.
Privileges Needed for Services> Data Classification > Manage Labels This privilege is required for listing label information. -
Click CONTINUE, and then click CREATE ROLE.
Once you have created the custom role, you can assign the role to a user. To assign the role to a user, navigate to Directory > Users, click the user account, navigate to Admin roles and privileges, and assign the role you created above. The user can then authorize Netskope to grant access to your Google Drive instance.
Create a Google Cloud Platform (GCP) Project
Create a GCP that you own. This project will host the service account Netskope uses to access your Google workspace data.
Follow Create a Google Cloud project in google documentation to create a GCP project in Google cloud console.
Enable Google APIs
Enable the required APIs for Google Drive integration with Next Generation API Data Protection. Log in to console.cloud.google.com. In the same project you created, search for each API by name in the top search bar and click Enable:
-
Admin SDK API
-
Google Drive API
-
Drive Labels API – only required if you plan to enable Netskope’s Google label badge feature.
Create a Service Account
Create the Google cloud service account Next Generation API Data Protection will use to access your data, then generate and download its credentials.
-
In the same GCP project, go to Service Accounts, click + Create service account.
-
Give it a name and description.
Suggested name:
ng-casb-api-gdriveand description:Service account for CASB gdrive -
Click Create and close.
-
Click the new service account and on the Details tab, copy the Email and Unique ID (a.k.a client ID).
The email ID will be required when you set up the Google Drive instance on the Netskope tenant. The unique ID (a.k.a client ID) will be required for domain-wide delegation.
-
On the Keys tab, click Add Key > Create new key, choose JSON, and download it.
Keep the
private_keyvalue handy. The key will be required when you set up the Gmail instance on the Netskope tenant.If you see a message Service account key creation is disabled, follow the troubleshooting steps documented in this Google article.For better security, keep this service account’s permissions minimal: no IAM roles, only the APIs listed above, and only the OAuth scopes listed in Grant Scopes to the Service Account below. Google Workspace does not support IP allowlisting for service accounts using domain-wide delegation, so minimal permissions are the recommended way to limit this account’s access. Rotate the private key periodically by generating a new key in GCP and updating it via Edit on your instance in the Netskope UI.
Grant Scopes to the Service Account
This section describes the steps required to authorize your service account with the domain-wide delegation scopes Netskope needs to access data in Google Drive.
-
Log in to admin.google.com as a super admin.
-
Navigate to Security > Access and data control > API controls.
-
On the API controls page, under Domain wide delegation, click Manage Domain Wide Delegation.
-
Click Add new.
A new pop-up opens.
-
For Client ID, enter the Unique ID of the service account you just created.
-
For OAuth scopes, enter the following scopes:
Enter one scope per line.-
https://www.googleapis.com/auth/userinfo.email -
https://www.googleapis.com/auth/userinfo.profile -
https://www.googleapis.com/auth/admin.reports.audit.readonly -
https://www.googleapis.com/auth/admin.directory.user.readonly -
https://www.googleapis.com/auth/admin.directory.domain.readonly -
https://www.googleapis.com/auth/admin.directory.group.readonly -
https://www.googleapis.com/auth/admin.directory.group.member.readonly -
https://www.googleapis.com/auth/driveNetskope now supports Google label badge (read & write). You should grant additional scopes. They are:
Before you can apply a Google label badge, you should set up a Google Drive DRM instance first. To learn more: Digital Rights Management.
This feature is part of the Advanced DLP offering. To enable this on your tenant, talk to your Netskope sales representative.-
https://www.googleapis.com/auth/drive.labels -
https://www.googleapis.com/auth/drive.admin.labels -
https://www.googleapis.com/auth/drive.admin.labels.readonly -
https://www.googleapis.com/auth/drive.metadata
-
-
-
Click Authorize.
-
Verify the steps above by checking that your service account appears in the API clients list.
Configure Google Drive Instance in Netskope UI
To authorize Netskope to access your Google Drive instance, follow the steps below:
-
Log in to the Netskope tenant UI and go to Settings > Configure App Access > Next Gen > CASB API.
-
Under Apps, select Google Drive and click Setup CASB API Instance.
The Setup Instance window opens.
-
Under API Admin Email, enter the Google account email of the super admin or a user with a custom role (see Create and Assign Custom Role for Netskope).
-
Under Administrator Email, enter the email address of the user who will receive an email notification when a policy violation or event triggers. This step is optional.
-
Under Service Account Email, enter the service account’s email (step 4 of Create a Service Account or
client_emailin the JSON key). -
Under Service Account Private Key, enter the
private_keyvalue from the JSON key.Copy from-----BEGIN PRIVATE KEY-----ton-----END PRIVATE KEY-----\n. -
(optional) Under Enable Data Classification Labels, select the checkbox to allow Next Generation API Data Protection to read Google label badge for this instance.
Ensure that the pre-requisites, privileges, and OAuth scopes are completed before enabling this checkbox. Grant access may fail if not completed.
You can change this setting after creating the instance. Changing this setting requires you to re-authorize the instance by signing in to Google again.
Before re-enabling this option, make sure you have completed all required Google prerequisites. Otherwise, re-authorization fails, and the instance retains its previous configuration. -
Under Instance Name, enter the name of the SaaS app instance. This step is optional and if left blank, Netskope will determine the name of the app instance post grant.
-
Click Grant Access. You will be prompted to log in using a super admin or a user with a custom role and password, and then click Sign In. When the configuration results page opens, click Close.
Refresh your browser and you will see a green check icon next to the instance name.
Next, you can view the Next Generation API Data Protection Inventory page to get deep insights on various entities on your Google Drive account. For more information on the Inventory page, see Next Generation API Data Protection Inventory.
You can receive audit events and standard user behavior analytic alerts in Skope IT. To know more: Next Generation API Data Protection Skope IT Events.
Next, you should configure a Next Generation API Data Protection policy. To do so, see Next Generation API Data Protection Policy Wizard.