

This procedure involves using the Netskope UI and Google Console simultaneously, so use separate browser tabs to change between them between some of the steps. Also have a text editor handy with the Netskope SAML settings you copied previously; you’ll be copying and pasting some Google settings during this process as well.
- Log in to the Google Workspace Admin Console as a Super Administrator.

- Click Apps.

- Click SAML Apps.

- Select Add App > Add custom SAML app

- Enter a unique name.

Optionally you can upload a logo. When finished, click Continue.
- Copy the SSO URL and paste in a text editor.

- Copy the Entity ID and paste in a text editor.

- Copy the Certificate and paste in a text editor.

- In the Netskope tenant, go to Settings > Security Cloud Platform > Forward Proxy > SAML
- Select Add Account and enter these parameters:
- Name: Enter a descriptive name.
- IDP URL: Paste the SSO URL copied from Google.
- IDP Entity ID: Paste the Entity ID copied from Google.
- IDP Certificate: Paste the Certificate copied from Google.
When finished, click Save.
- In the Google console, click Continue and enter these parameters:
- ACS URL: Paste the SAML ACS URL copied from the Netskope UI (in the first section).
- Entity ID: Paste the SAML Entity ID copied from the Netskope UI.

Leave everything else as default and select Continue.
- On the Attributes page, select Finish.
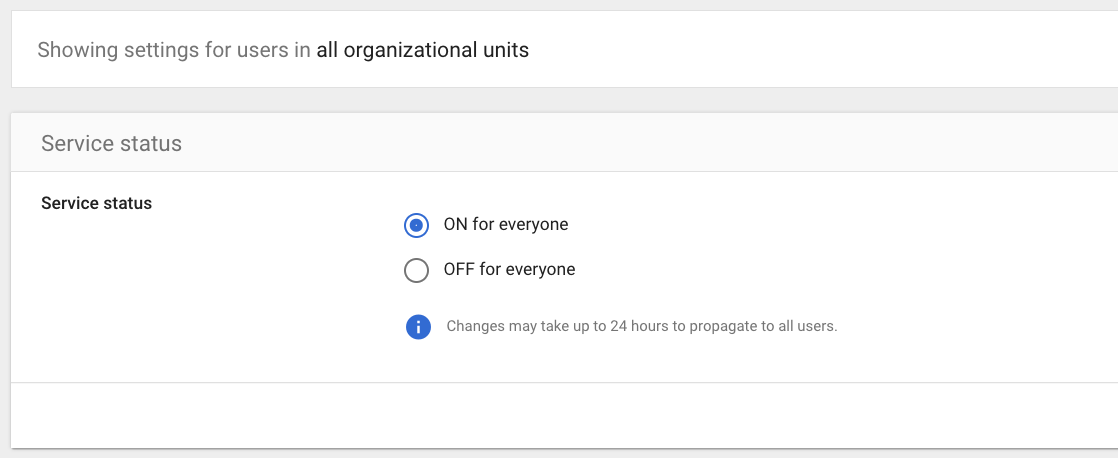
- Ensure Service Status is On for Everyone.
- In the Netskope tenant, go to Settings > Security Cloud Platform > Forward Proxy > Authentication and click Enable Authentication.
- Activate the Enable toggle, select the SAML Account created in step 10, and then click Save.

