This article follows steps to integrate your Zoom account with Netskope SSPM.
Step 1 : Create a New User for Netskope
Follow the steps to create a new user (with minimum permissions) exclusively for Netskope. First, you have to create a new user role, then create a new user, and finally assign the user to the new role.
– Only the Zoom admin and users with edit permissions for role management can create roles and assign users to those roles.
Create a New User Role
To create a new user role with specific permissions:
-
Log in to the Zoom portal as the account owner.
-
On the left navigation, click User Management then Roles.
-
Click + Add Role.
-
Specify a name and description for the role.
-
Click the View checkbox for the following permissions:
-
User and Permission Management > Users > Entire Account
-
User and Permission Management > Role Management
-
Account Management > Account Settings
-
Reports > Usage Reports
-
-
Click the Edit checkbox for the following permissions:
-
Advanced Features > Marketplace
-
-
Scroll to the bottom of the page and click Save Changes to return to the Role Management page.
Create a New User
To create a new user:
-
Log in to the Zoom portal as the account owner.
-
On the left navigation, click User Management then Users.
-
Click + Add Users and enter the following details:
-
email address of the user.
-
User Type: <user can be a basic user>
-
-
Click Add.
-
Zoom sends an invitation email to the new user. The user should accept the invitation.
You have successfully created a new user.
Assign User to Role
Next, you have to assign the new user to the role. To do so:
-
Log in to the Zoom portal as the account owner.
-
On the left navigation, click User Management then Users.
-
Click the Edit checkbox to the left of the new user. Click the Change Role button.
-
In User Role, choose the newly created role and click Save.
Step 2 : Configure Zoom Instance in the Netskope UI
To complete the integration, you must authorize Netskope as a web application client to access your Zoom account. This authorization occurs automatically in this step. Follow:
-
Log in to your Netskope tenant UI.
-
Go to Settings > Configure App Access > Next Gen > Security Posture.
-
Select the Zoom icon, and then click Setup Security Posture Instance.
-
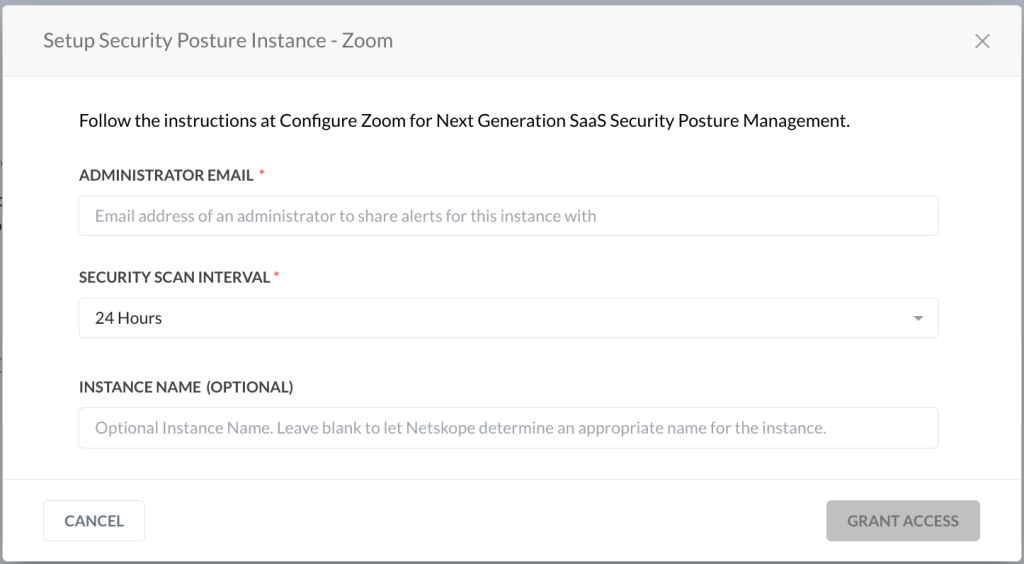
The Setup Security Posture Instance window opens. Enter the following details:
-
Administrator Email: Enter the email address of your Zoom account.
You can enter either the Zoom account admin email address or the newly created user in the earlier procedure. If you use the Zoom account admin email address, do not use multiple admin email addresses belonging to the same Zoom account to create multiple Netskope Zoom SSPM instances. If you do, this may result in an erroneous resource count on the security posture inventory page. -
Select the Security Scan Interval.
-
(Optional) Instance Name: Enter an instance name.
-
-
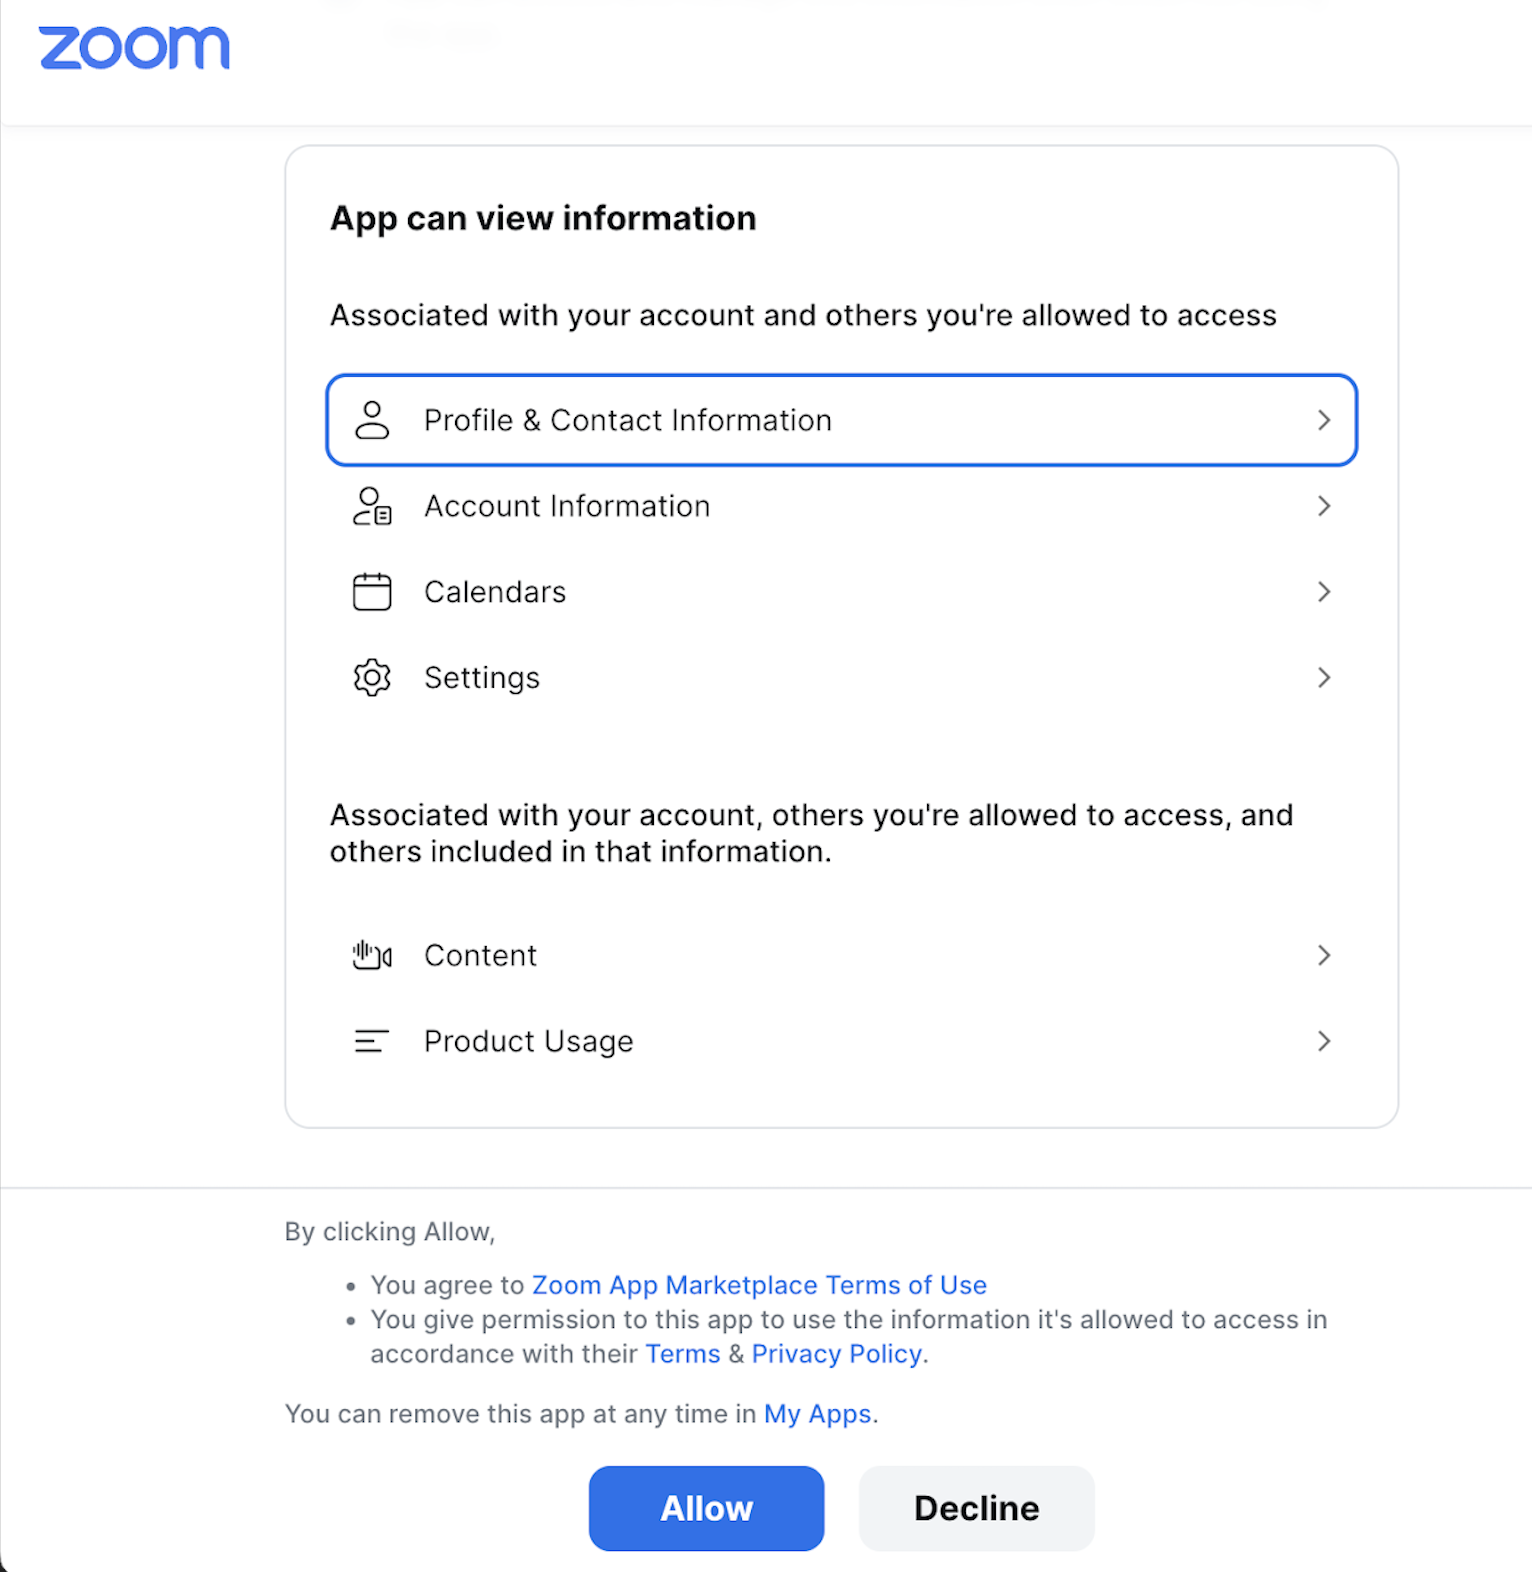
Click Grant Access for the app instance you just created. You will be prompted to log in to the Zoom account with your username and password. Either use the user you just created in step 1, or any existing user who possess the role permissions specified in step 1.1. A list of app permissions will be presented. Click Allow.
-
Refresh your browser, and you should see your instance.
You have successfully integrated your Zoom account in Netskope SSPM.