Connect Heroku PostgreSQL to DSPM - Netskope Technical Documentation
Connect Heroku PostgreSQL to DSPM
Overview
Netskope DSPM supports scanning Heroku PostgreSQL Data Stores. Follow these instructions to set up your Heroku PostgreSQL database and configure its connection to Netskope DSPM.
Prerequisites:
You have access to configure service accounts within Heroku applications.
Create a Netskope DSPM Service Account
A Heroku PostgreSQL service account within the database is required for connecting your data store with the Netskope DSPM application. Please follow the steps below to configure the service account within the Heroku dashboard.
Steps
As the authorized Heroku user, click this link to log into your Heroku portal, which will navigate you to the main dashboard.
On the Apps tab, select the name of your application. The application’s Overview tab is displayed.
Click on the Resources tab.
Under the Add-ons section, select the name of your Heroku PostgreSQL resource. The resource’s Overview tab is displayed.
Click the Credentials tab.
Click the Create Credential button.
Enter the following values:
Field Name
Value
User
Any value (Netskope DSPM is recommended)
Attachments
Enter the name of each Heroku PostgreSQL database you wish to monitor using Netskope DSPM
Permissions
Select `Read-only permissions`
Heroku auto-generates the password for new service accounts. Be sure to capture and save this value for later use.
Click the save button.
Retrieve Connection Information
Please follow the steps below to identify the connection values to communicate Netskope DSPM with your Heroku PostgreSQL database.
As the authorized Heroku user, click this link to log into your Heroku portal, which will navigate you to the main dashboard.
On the Apps tab, select the name of your application. The application’s Overview tab is displayed.
Click on the Resources tab.
Under the Add-ons section, select the name of your Heroku PostgreSQL resource. The resource’s Overview tab is displayed.
Select the credential created in the above section. The credential’s details are displayed.
Take note of the following values for later use:
Field Name
Corresponding Netskope DSPM Value
Host
Data Store Endpoint
Port
Data Store Endpoint
Database
Data Store Endpoint
Generate Heroku API Key
These steps are required only if you wish to use Configuration Analysis within the Netskope DSPM application.
To better-secure your API key, it is recommended that you create a Heroku user dedicated for Netskope DSPM’s use.
As the Netskope DSPM-specific Heroku user, click this link to log into your Heroku portal, which will navigate you to the main dashboard.
In the upper-right, click your user icon
Select Account Settings. The Manage Account screen is displayed.
If desired, click the Regenerate API Key button to reset your API key.{width=”6.5in” height=”1.1049989063867016in”}
In the API Key section, click the Reveal button.
Take note of the API key value for later use.
Connect Your Data Store
Step 1: Provide Credentials
Follow these steps to configure the connection:
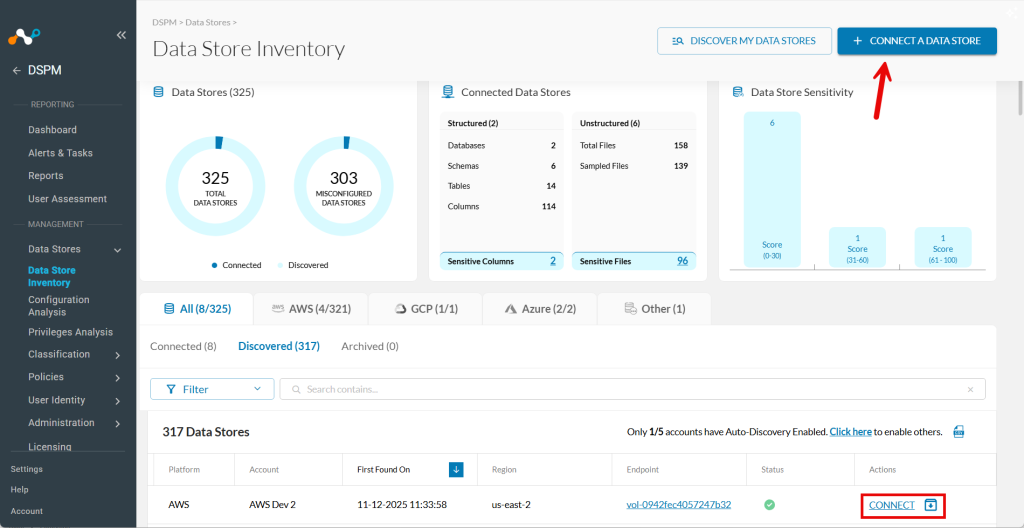
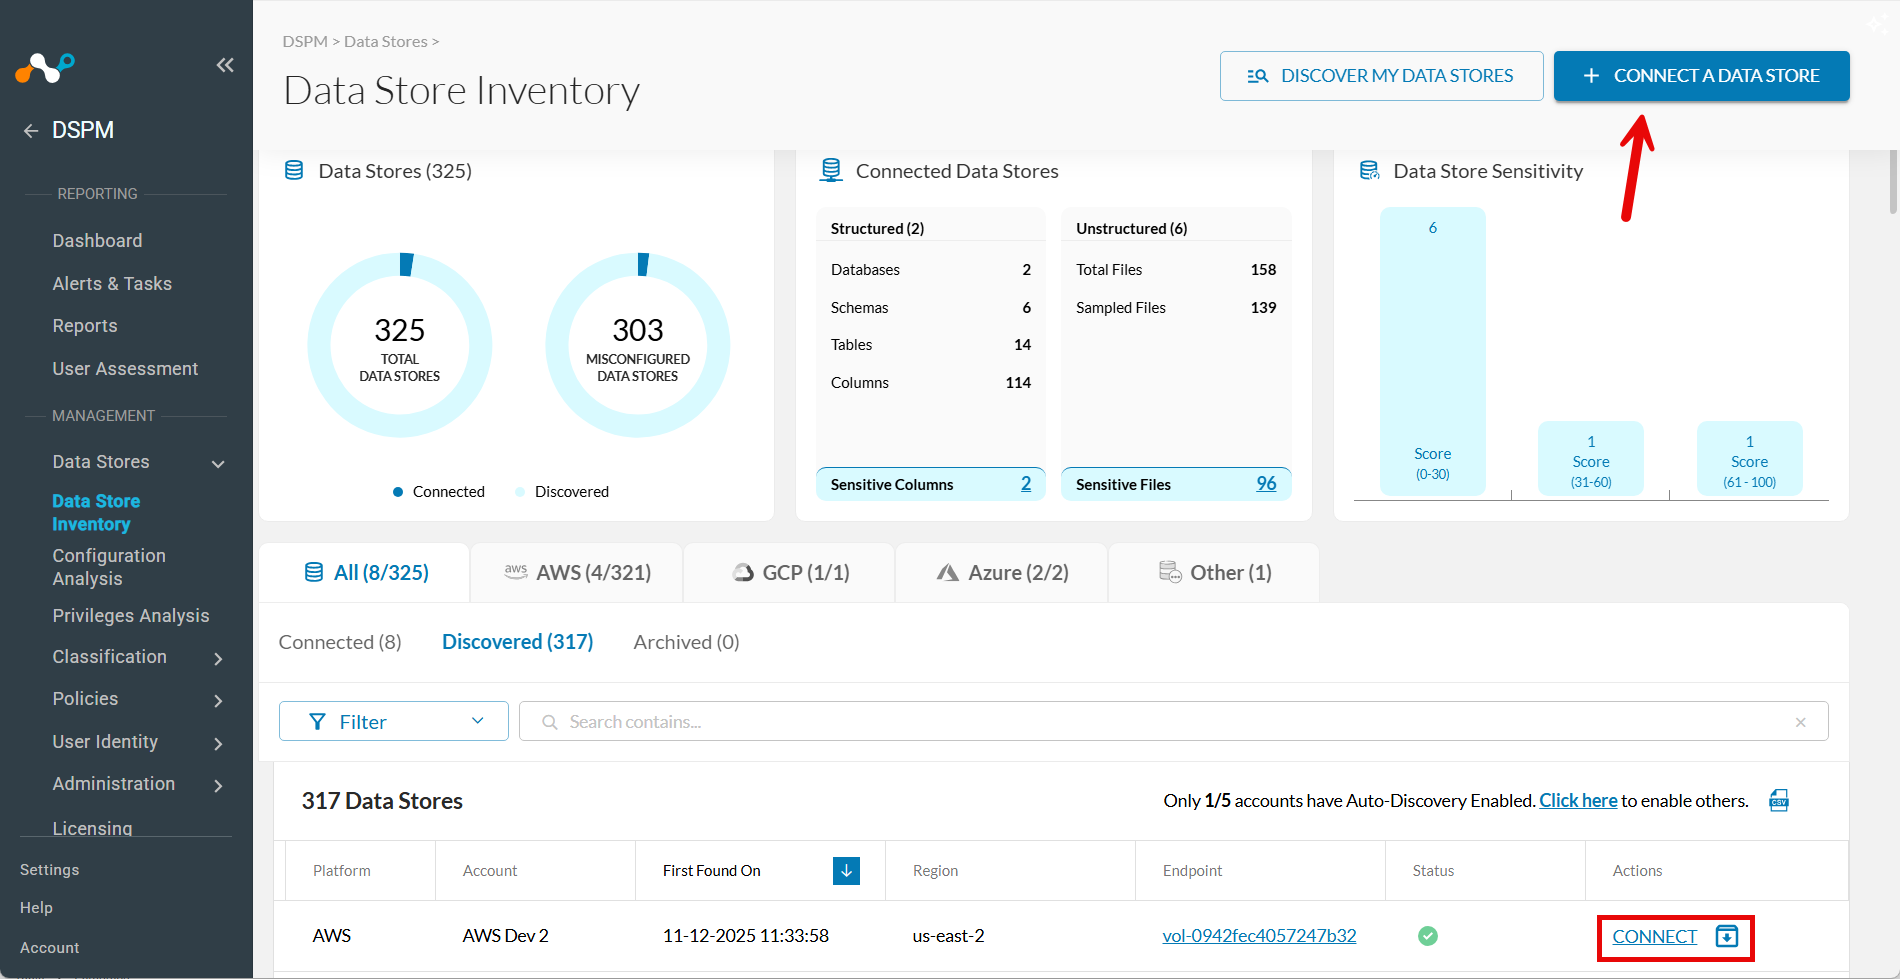
Go to Data Stores > Data Store Inventory.
Click CONNECT A DATA STORE in the upper right.
Tip: Alternatively, if the data store was already found by auto-discovery, go to the Discovered tab and click Connect in the Actions column.
In the Connect a Data Store window, click the data store icon you wish to connect.
In the Provide Credentials section, complete the following fields:
Field
Value
Data Store Identifier
Provide a friendly name to describe this Data Store. Your value is displayed in other Netskope DSPM screens, such as Policy Management and Classification Management.
Data Store Endpoint
Enter the corresponding values from the Retrieve Connection Information step above in the following format: {host}:{port}/{database} For example, for a endpoint like 1.2.3.4, database named “example_db”, and using the standard port, you would enter 1.2.3.4:5432/example_db.
Database Username
Enter the corresponding value from the Create Netskope DSPM Service Account step above.
Password
Enter the corresponding value from the Create Netskope DSPM Service Account step above.
Scan Frequency
Controls how often your Data Store is reviewed for changes. Netskope DSPM’s recommended frequency is defaulted, which you can override if (desired).
Step 2: Scanning Infrastructure
Click Next.
When the Select Capabilities tab appears, complete the following fields:
Assign a Data Owner (Optional): Select one or more users responsible for this data store.
Which databases should Netskope DSPM scan?: Select the specific data stores and schemas to monitor, if applicable.
Features: Select the features you want to enable.
Configuration: enter the API key value you created in the Generate Heroku API Key step above. Otherwise, deselect the checkbox if you don’t wish to utilize Configuration Analysis.
Netskope One DSPM does not validate the supplied API key. If your key is revoked or its format is incorrect, your data store connection can still be saved. Subsequent scans will also complete, while Configuration Analysis-related errors will appear within the Activity Logs.
Feature
Supported for Heroku PostgreSQL
Discovery
N/A
Privilege Analysis
Yes (database user & role retrieval only)
Shadow Data Analysis
Yes
Classification
Yes
Data-in-Use Monitoring
Yes (Custom Query Logs only)
Automation
Yes (always on)
Step 3: Review and Save
Click Save.
When the Review tab appears, the system validates your configuration. If there are any issues, follow the on-screen instructions to fix them.