

Enable a Local Broker
Reach out to your Netskope account team to get this feature enabled. Please note that this feature has a tenant wide flag.
Install a Local Broker
Install a Local Broker OVA in ESXI or Virtual Box
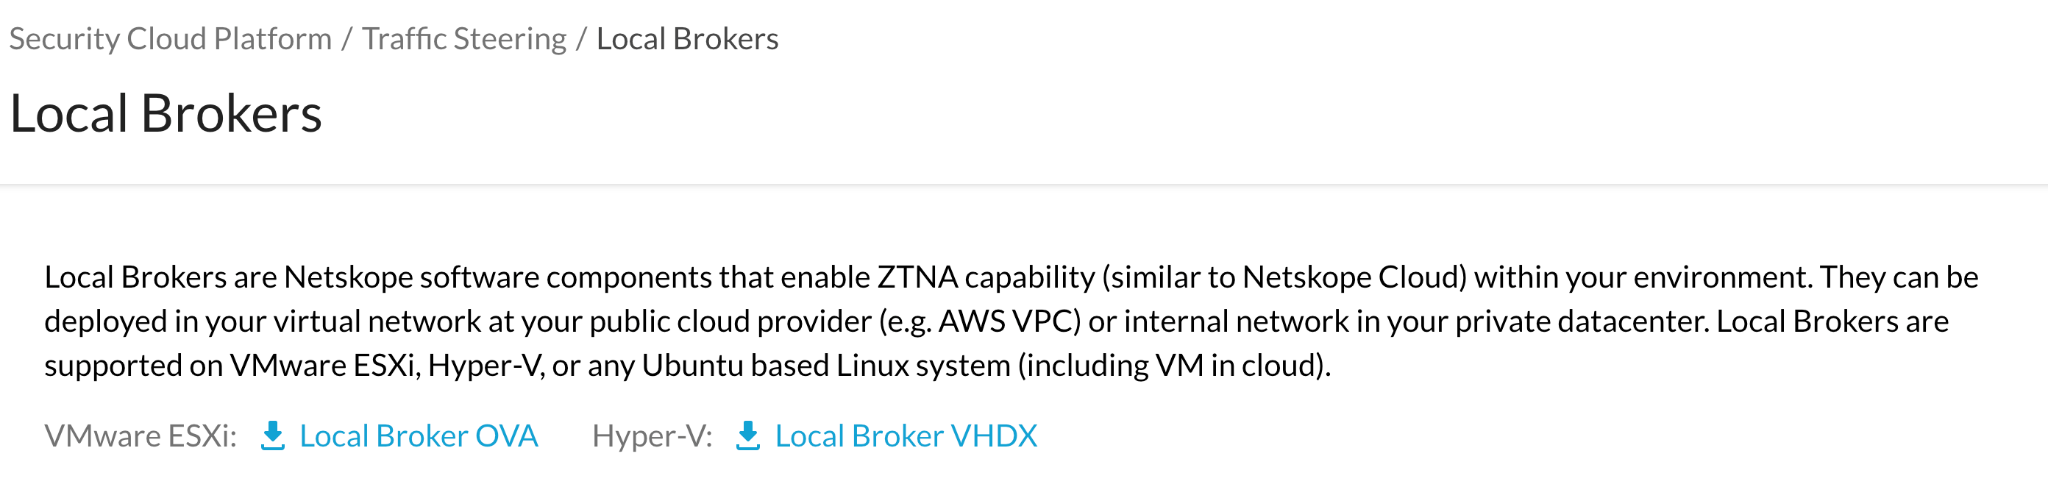
- Go to Settings > Security Cloud Platform > Local Broker and download the Local Broker OVA.
- Log in to your ESXi instance and click Virtual Machines.
- Click Create/Register VM.
- For Select Creation Type, select Deploy a virtual machine from an OVF or OVA file, and then click Next.
- For Select OVA file, enter a name for the VM, drag and drop the OVA downloaded in step 1, and then click Next.
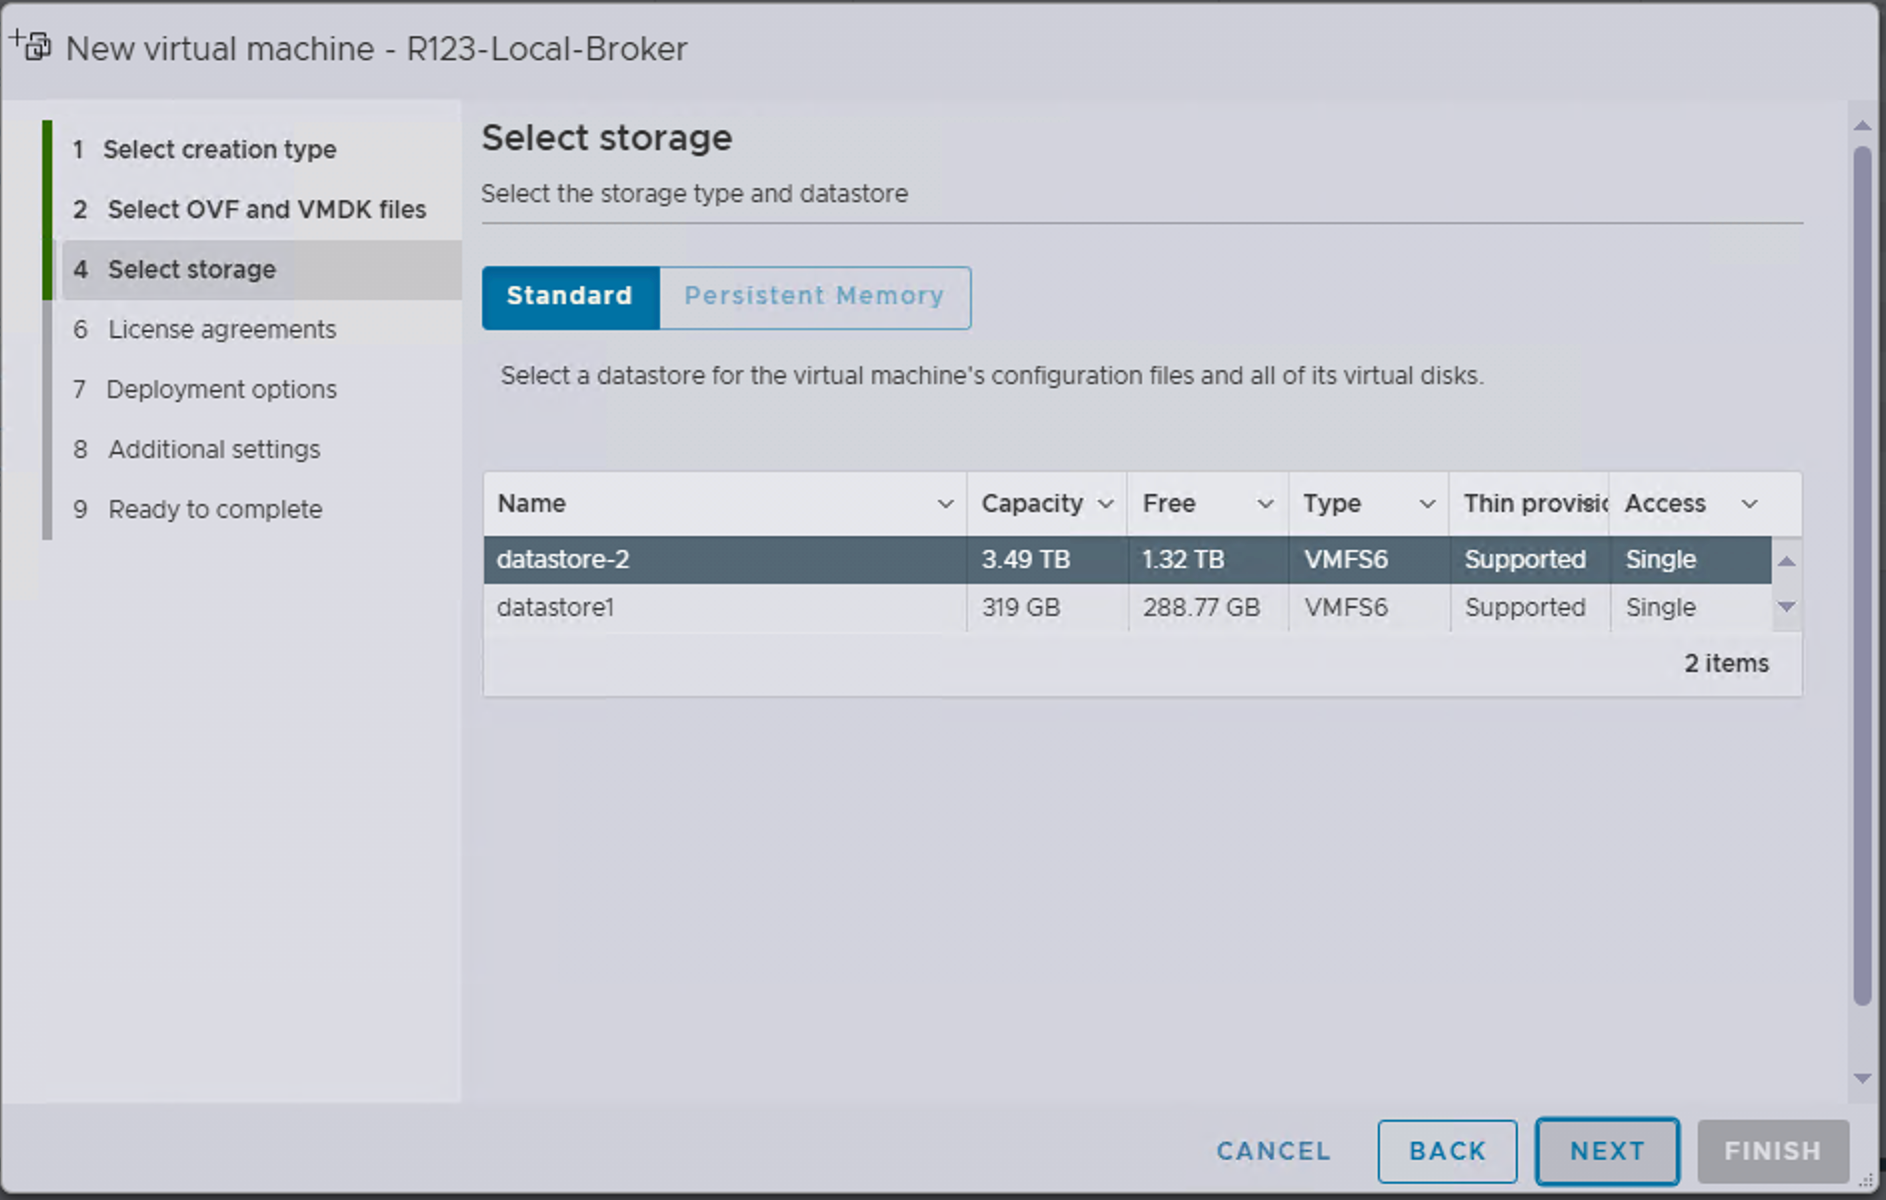
- Select Storage, keep the default settings, and then click Next.
- For Deployment Options, select your default network, and then click Next.
- For Ready to Complete, review the settings to confirm, and then click Finish.
- SSH into the local broker (default username: ubuntu, default password: ubuntu).
When prompted, change your password.
Note that the new password must meet the following minimum requirements:- Minimum password length must be 14 characters.
- Must contain one upper case letter.
- Must contain one lower case letter.
- Must contain one digit (number).
- Must contain one non-alphanumeric character.
- Cannot be a palindrome.
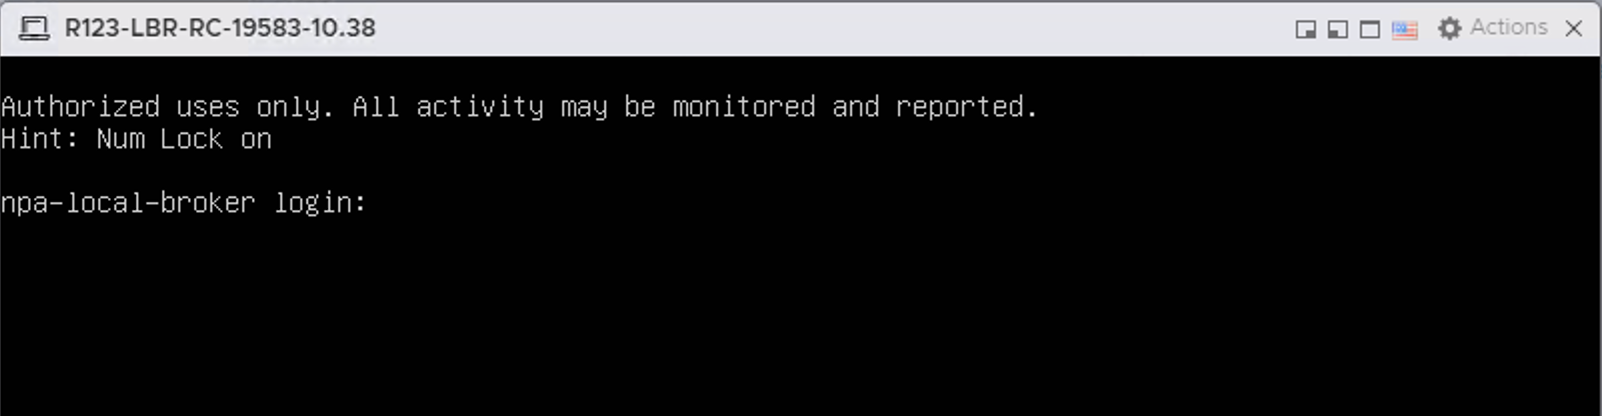
- After you change it, the system auto-disconnects your SSH session, so you will need to reconnect and log in with your new password before proceeding.
- Register the local broker.
Install a Local Broker VHDX in Hyper-V
- Go to Settings > Security Cloud Platform > Local Broker and download the VHDX Local Broker.

- Create a new Virtual machine on Hyper V.
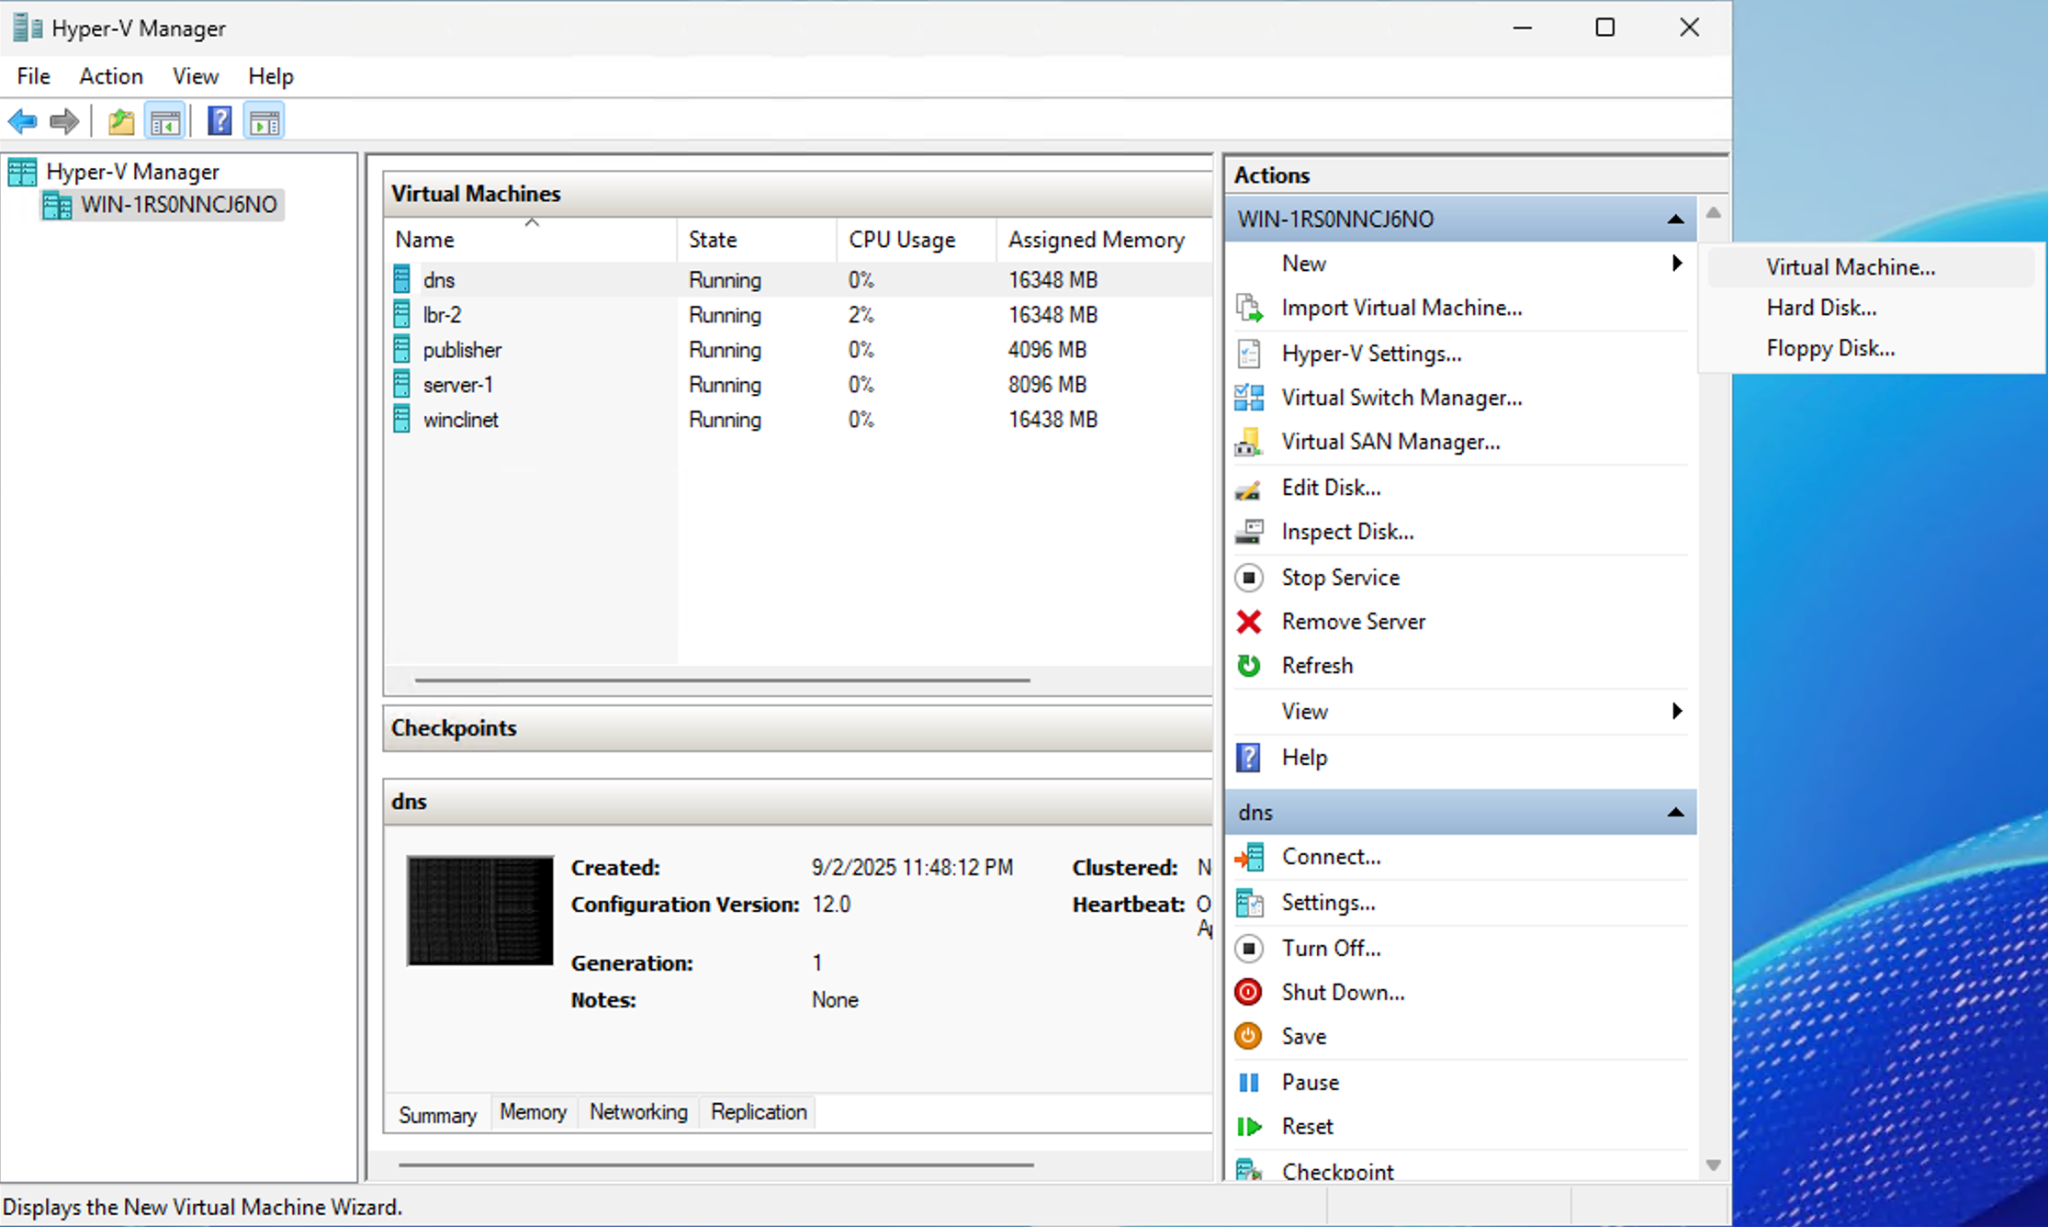
- Go to the Specify Name and Location window, enter a name, and click Next.
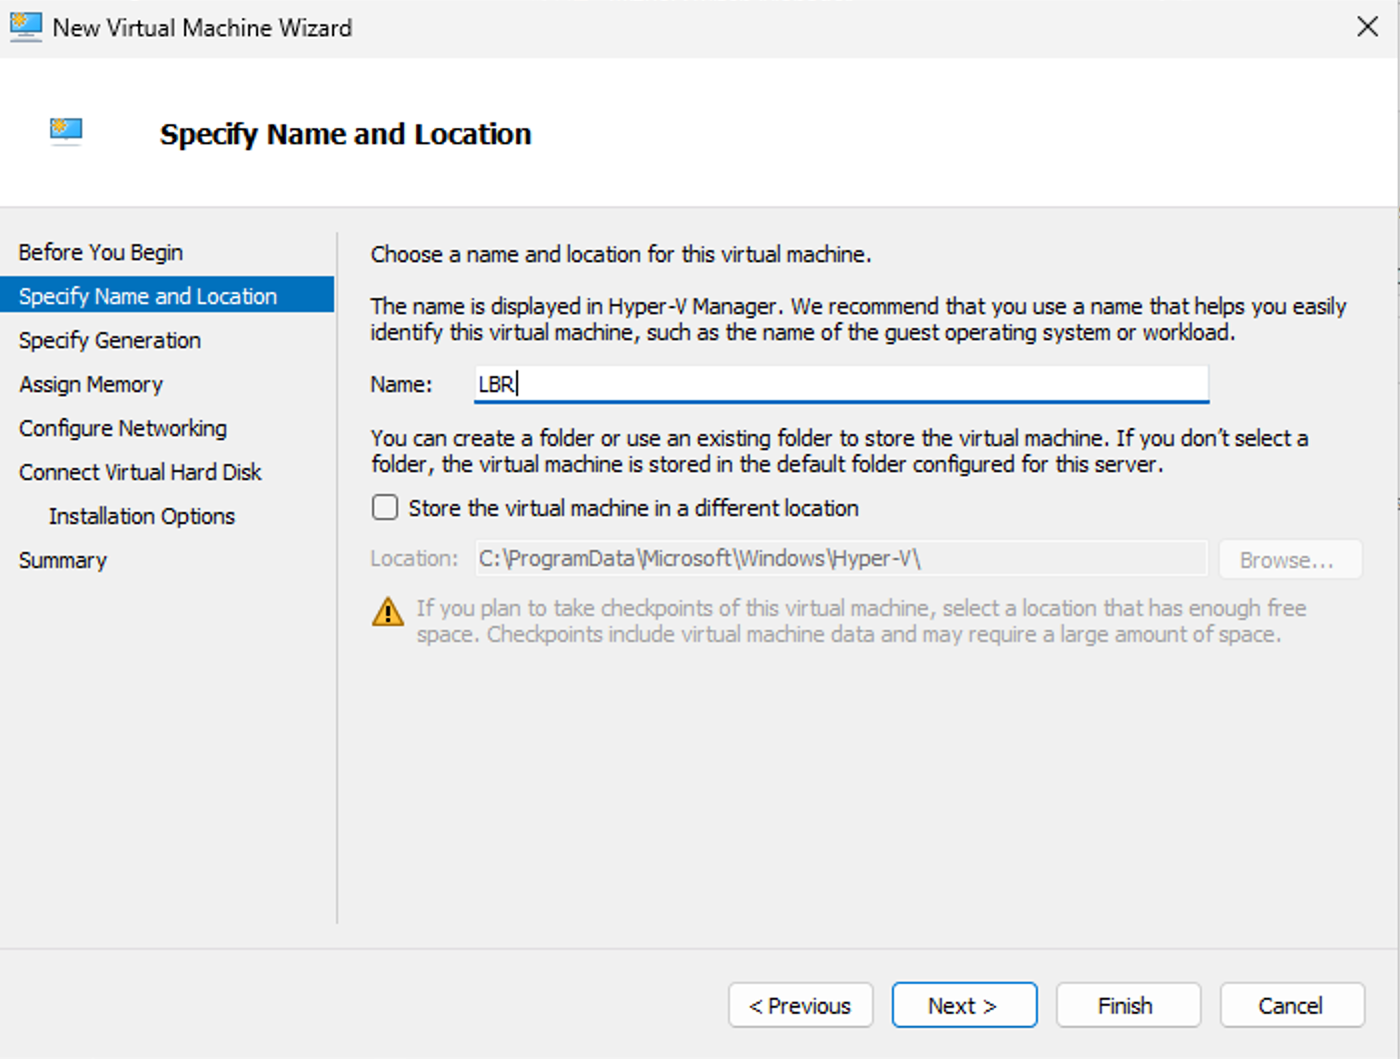
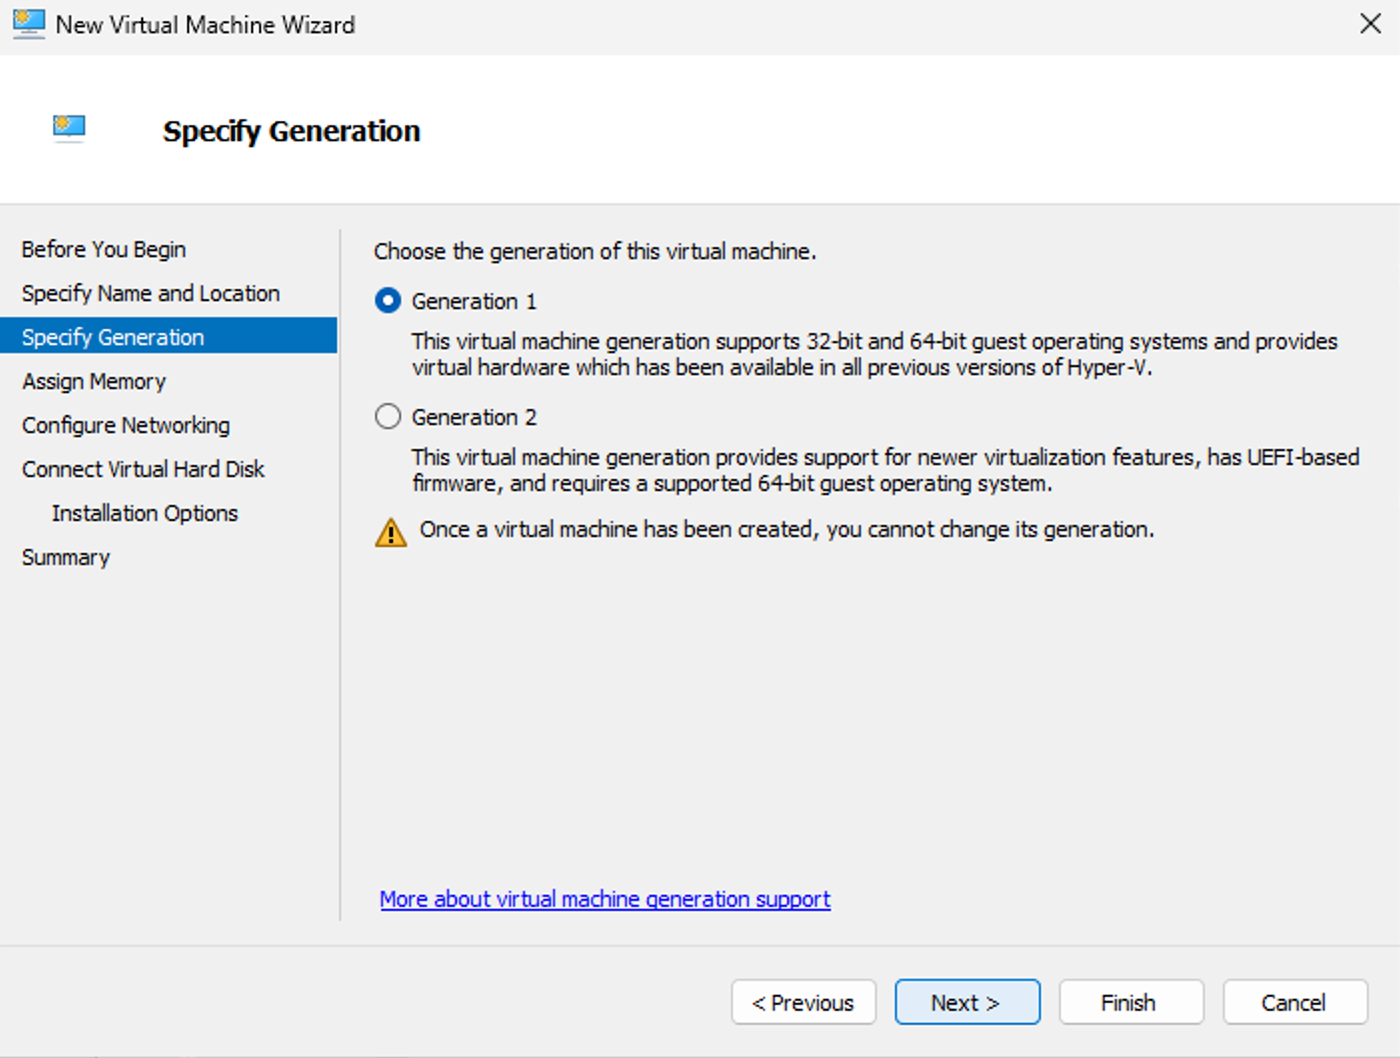
- Select Generation 1, and click Next.
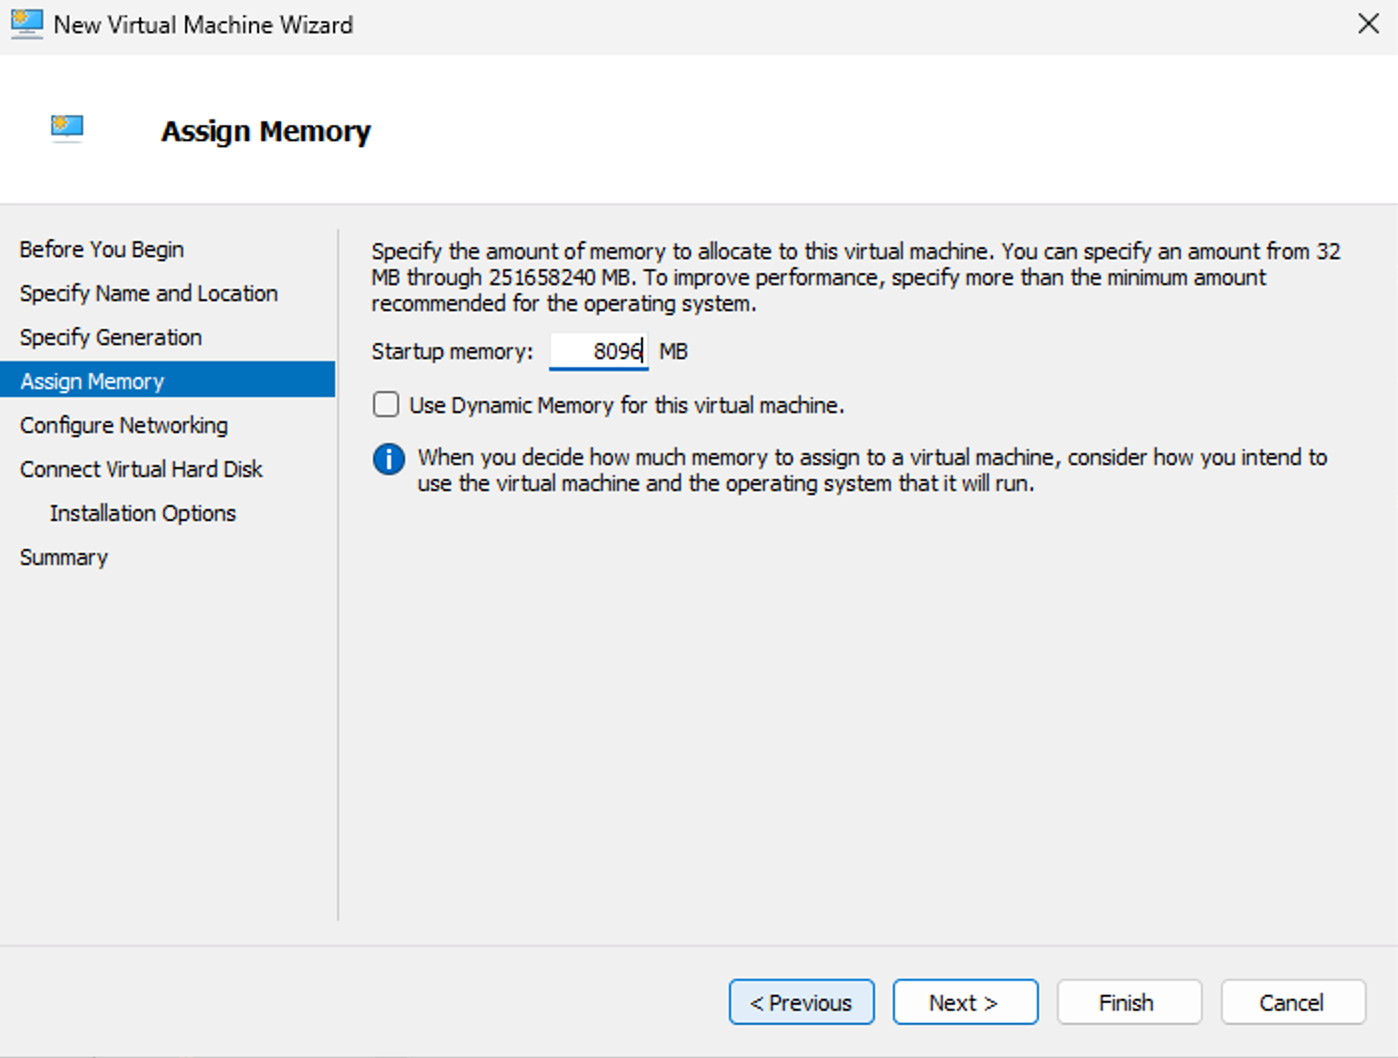
- Assign memory for the Local Broker. Minimum is 8GB, but 16GB is recommended. Click Next.
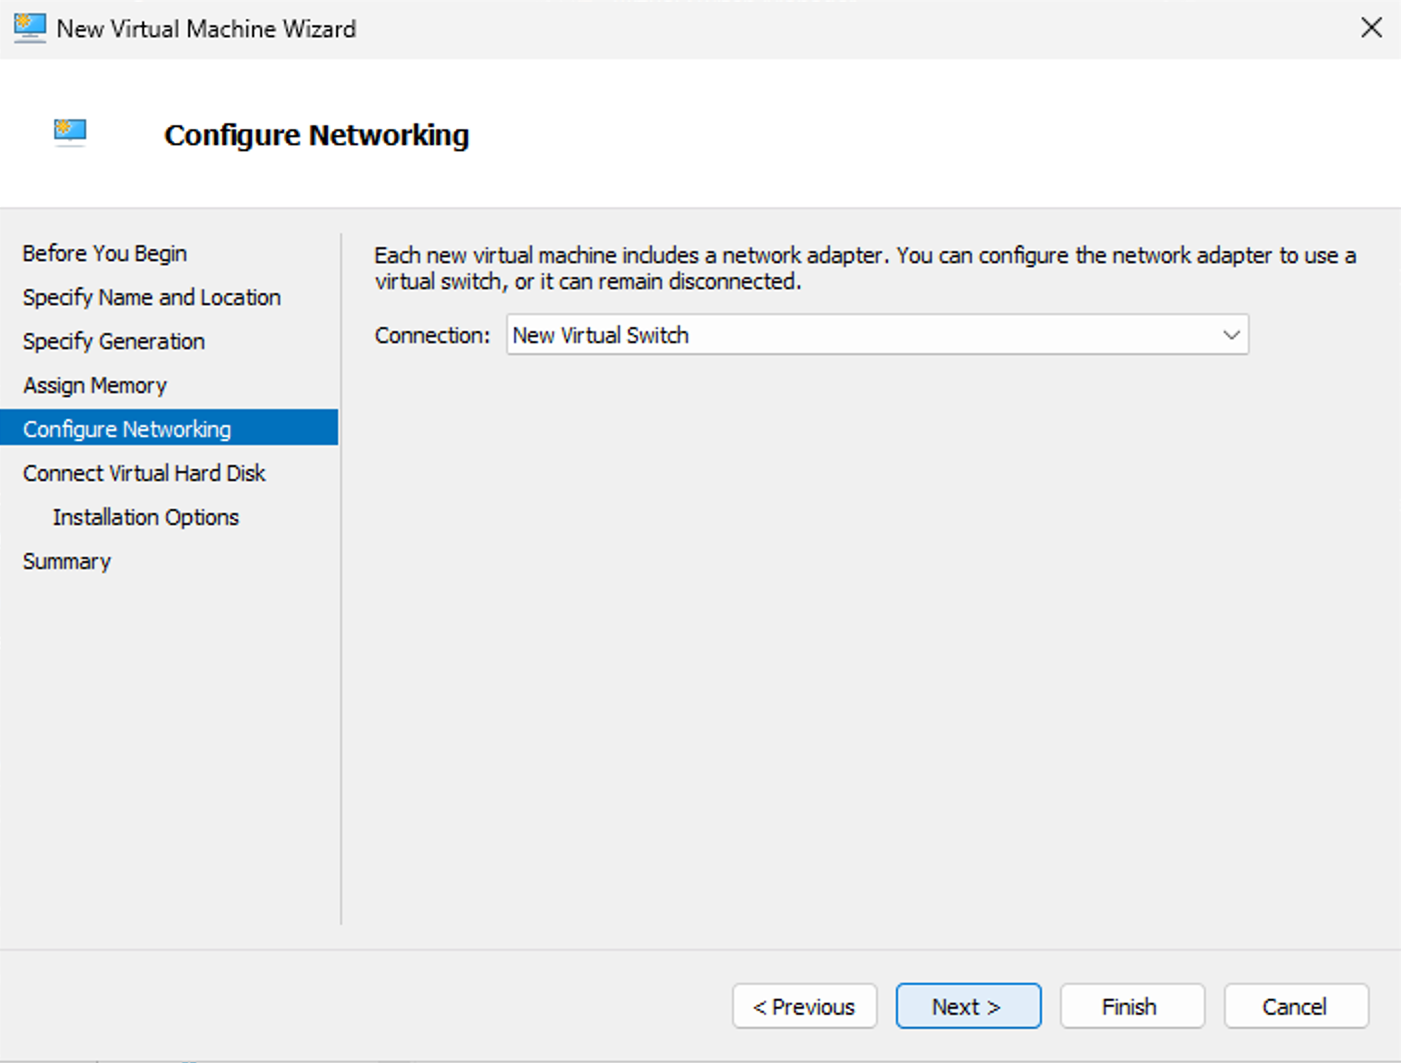
- Select the connection type for connecting to the internet.
- Upload the VDHX file that you downloaded previously.
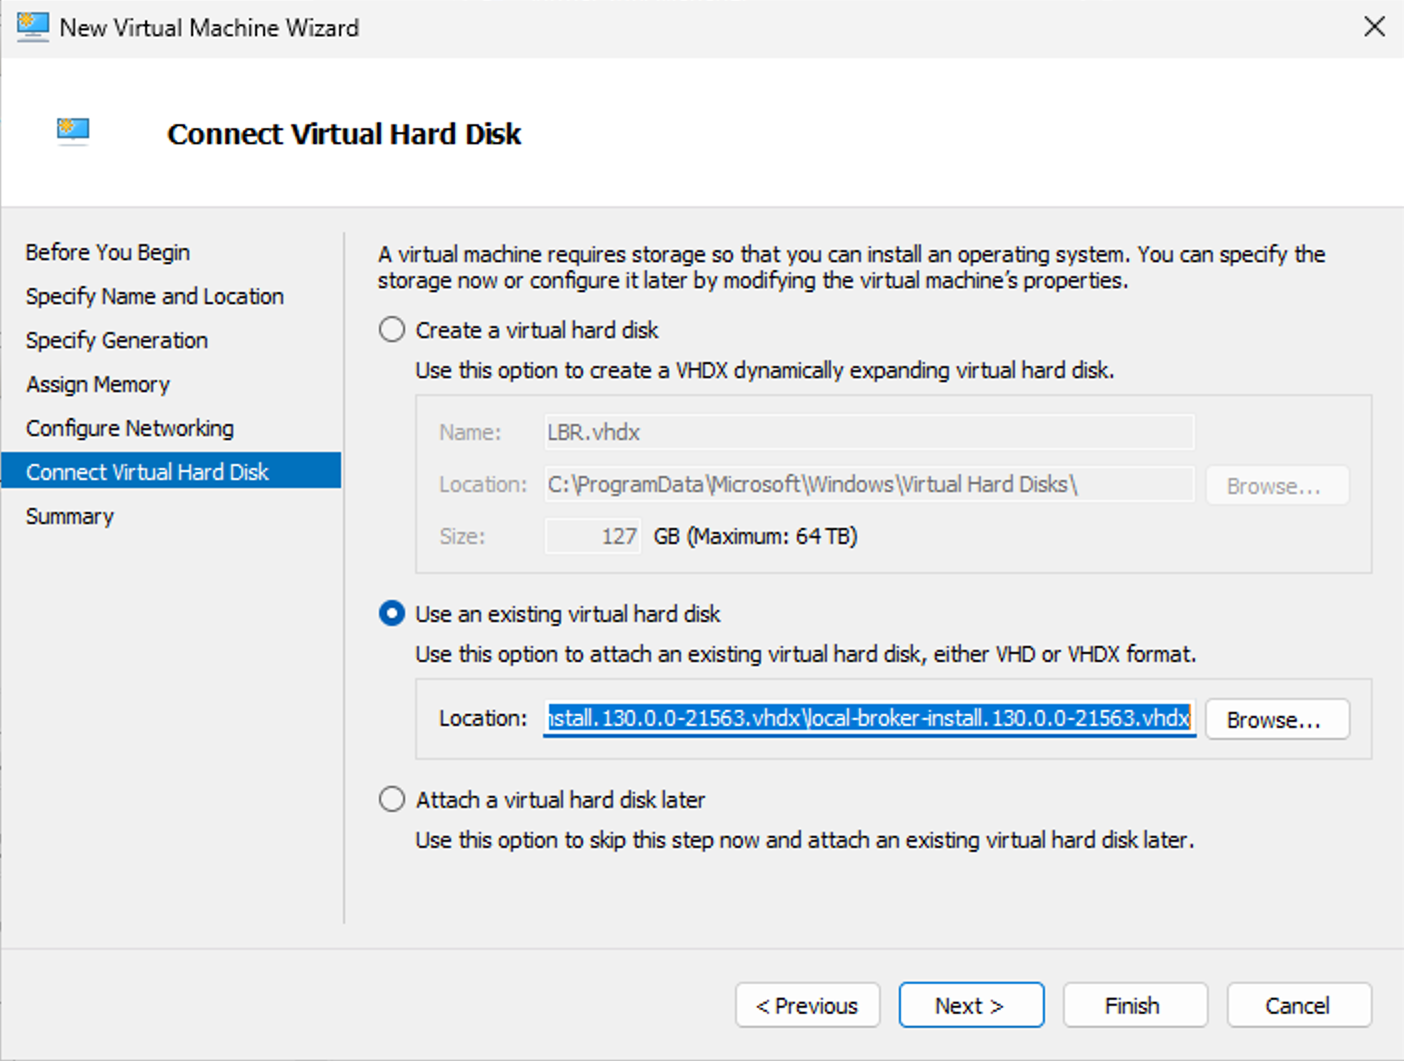
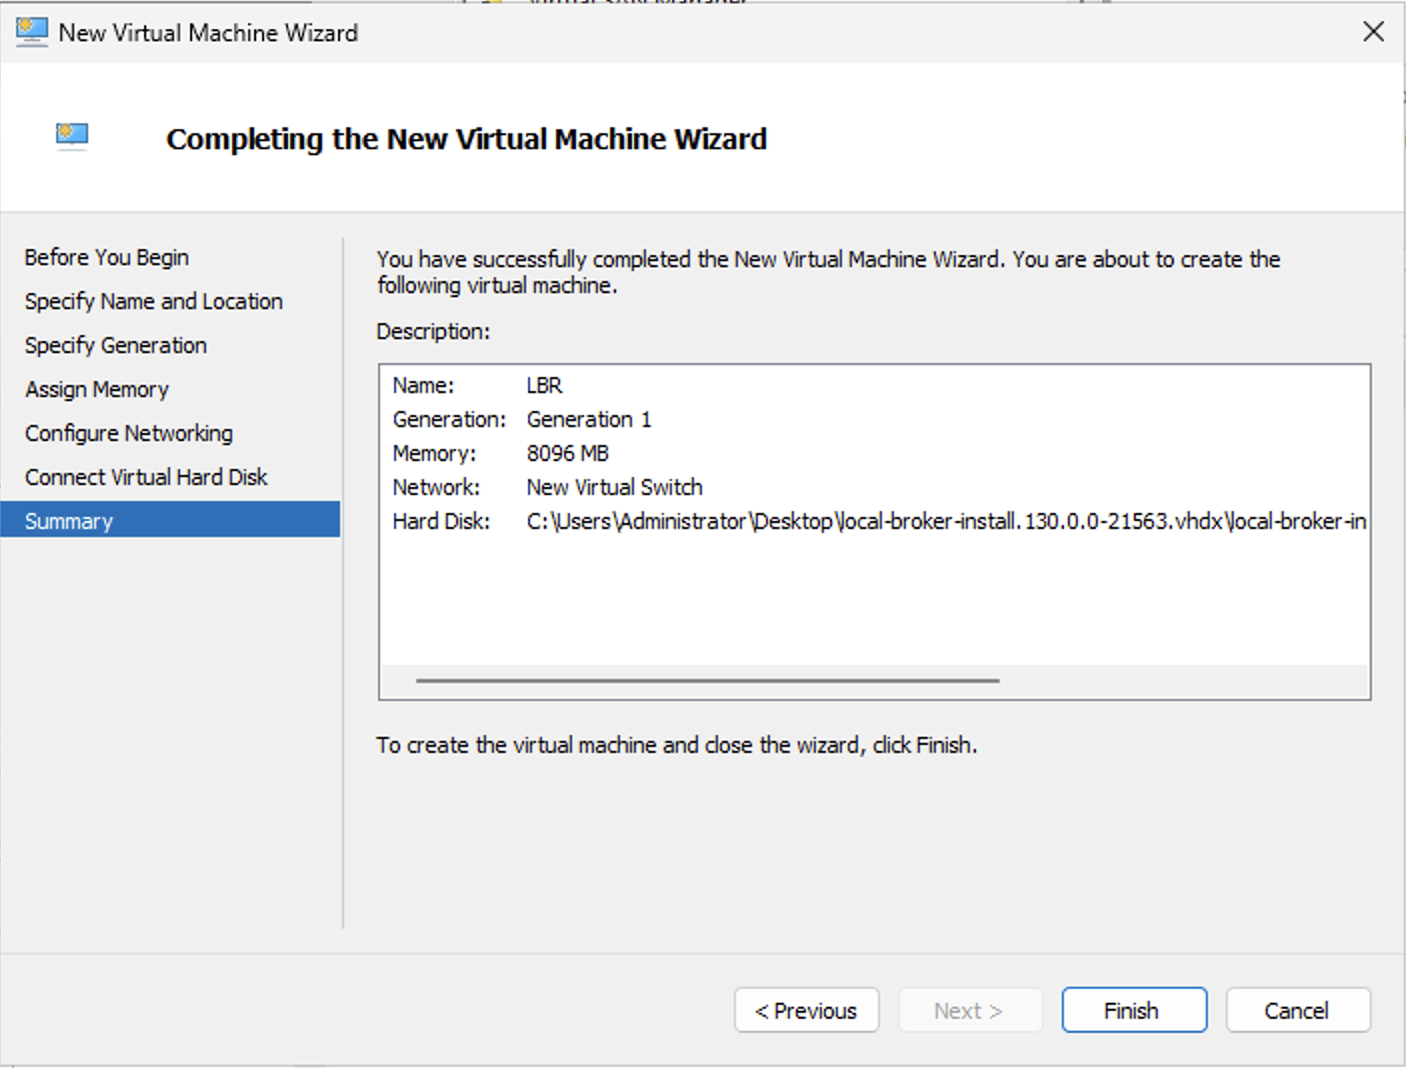
- SSH into the local broker (default username: ubuntu, default password: ubuntu).When prompted, change your password. Note that the new password must meet the following minimum requirements:
- Minimum password length must be 14 characters.
- Must contain one upper case letter.
- Must contain one lower case letter.
- Must contain one digit (number).
- Must contain one non-alphanumeric character.
- Cannot be a palindrome.

- After you change it, the system auto-disconnects your SSH session, so you will need to reconnect and log in with your new password before proceeding.
- Register the Local Broker.
Install a Local Broker on Ubuntu VM in AWS
- Bring up an Ubuntu VM running 22.04 LTS (Minimum: c5.xlarge; Recommended: c5.2xlarge) with the default (single NIC) configuration.
- Execute these commands in an SSH session to install a Local Broker.
cd ~
pwd
#(Ensure you are in /home/ubuntu)
sudo apt-get -y update
sudo apt-get -y install docker.io
curl https://s3.us-west-2.amazonaws.com/localbroker.netskope.com/latest/local-broker-install.sh | sudo bash; sudo su - $USER;exit
- Confirm services are running.
sudo microk8s kubectl get svc -n npa-dp-localbroker
- Register the Local Broker.
Network Settings
We recommend that you disable DHCP, as it is currently not a supported configuration with Local Broker. This can be done with these configuration settings.
The config should look similar to what’s shown below, and execute sudo netplan apply followed by a reboot for changes to take effect:
ubuntu@npa-local-broker:~$ sudo cat /etc/netplan/50-cloud-init.yaml
 network:
  ethernets:
  ens160:
 # To interoperate with a Windows DHCP Server
 # dhcp-identifier: mac
  dhcp4: false
  addresses: [192.168.1.28/24]
  routes:
  - to: default
     via: 192.168.1.1
  nameservers:
     addresses: [8.8.8.8]
  version: 2
 ubuntu@npa-local-broker:~$
Changing DNS Server Settings with Netplan
When changing DNS server settings on a Local Broker (LBR) using Netplan, Kubernetes pods continue to use the old DNS server settings until CoreDNS is manually restarted. This can prevent proper name resolution for services like Management Plane (MP) connectivity.
Follow these steps:
- Edit the Netplan configuration.
sudo nano /etc/netplan/50-cloud-init.yaml
Update the DNS server addresses in the configuration file:
#output edited for brevity
 network:
  ethernets: ens160
  dhcp4: false
  nameservers:
  addresses: [1.1.1.1, 8.8.8.8] # Replace with desired DNS
  servers version: 2
 ubuntu@npa-local-broker:~$
- Apply Netplan changes.
sudo netplan apply
- Restart CoreDNS to propagate changes. This critical step ensures Kubernetes pods recognize the DNS changes.
sudo microk8s kubectl -n kube-system rollout restart deployment coredns
- Verify the DNS configuration.
resolvectl status
Create a New Local Broker Instance in the UI
- Go to Settings > Security Cloud Platform > Traffic Steering > Local Brokers.
- Click New Local Broker.
Click the blue New Local Broker button at the top left of the main window to create a new instance. A configuration panel will slide out on the right side of the screen.

- Enter these details:
- Name: Enter a unique, descriptive name for the Local Broker (e.g.,
LocalBroker1_NYC_Prod).
Note that after you save the configuration, the Name field cannot be edited. - If Latency-based (GSLB) Broker Selection is enabled for the tenant, the following additional fields appear:
- Location: Search and select the deployment location (e.g., New York City, New York, United States).
- Public and Private IPs
- Default: Auto-detected. Shows Awaiting Registration until the broker connects, then updates to Detected IP.
- Manual override (optional): If your environment uses NAT, a VIP, or a load balancer in front of the Local Broker, click Override next to Public or Private IP to enter a static addresses.
Advanced Settings (optional)
- Access via Public IP: Allows clients to connect to the Local Broker over its public IP (default: Off; the broker is unreachable via public IP unless enabled, which advertises and accepts connections on the public IP or configured override).
- Allowed Users via Public IP: Controls who can access the Local Broker via public IP.
- Off-premises (default): Only remote/off-network users can connect via public IP.
- On-premises: Only corporate/on-network users can connect via public IP.
- Both: All users can connect via public IP, regardless of network location.
Notes
- When Access via Public IP is enabled, this setting controls whether remote (off‑network) users can connect directly to the Local Broker using its public IP.
- To enable connectivity for remote users, Netskope recommends a deployment model in which a perimeter device (such as a firewall) permits inbound connections to the Local Brokers through NATs/VIPs.

- Name: Enter a unique, descriptive name for the Local Broker (e.g.,
- Save and Generate Token.
Click Save & Generate Token (top-right). -
Click Copy to get the registration token.
In the Generate Token dialog, click Copy to copy the registration token, store it securely (required during broker deployment), then click Close.
Your newly created Local Broker will now appear in the list with a Not Registered status. This status will update once you deploy the broker in your virtual network using the copied token.
Editing an Existing Local Broker
Use these steps to update an existing Local Broker configuration:
-
Confirm the Local Broker is not in a Connected state. You can only edit brokers in other states (for example, Disconnected or Not Registered).
-
In the Local Brokers table, scroll horizontally to the far right of the broker’s row.
-
Click the more actions menu (
...) on that row. -
Select Edit to reopen the configuration panel and update the settings as needed.
From this same menu, you can also Generate Token, Associate Labels, or Delete the broker.
Register a Local Broker
Note: If you already generated a registration token while creating or editing the Local Broker, skip steps 1–4.
Note: Local Broker must not be in a Connected state. You can generate or edit settings only when the broker is in another state (for example, Disconnected or Not Registered).
- In your Netskope tenant, go to Settings > Security Cloud Platform > Local Broker and open the broker you want to register.
- Click Generate Token.

- Click Copy to copy the registration token and store it securely.
- Click Done.
- SSH to the Local Broker host. When the wizard menu appears, select Register.
- When prompted, paste the Netskope registration token and press Enter. Or run:
sudo ./npa_localbroker_wizard -token <TOKEN> --local-broker
-
Verify that the Local Broker pods are running:
ubuntu@npa-local-broker:~$ sudo microk8s kubectl get pods -A
NAMESPACE            NAME                                       READY   STATUS    RESTARTS      AGE
kube-system          calico-kube-controllers-759cd8b574-wncl6   1/1     Running   2 (69m ago)   3d7h
kube-system          calico-node-649nt                          1/1     Running   0             68m
kube-system          coredns-7896dbf49-8xxf8                    1/1     Running   2 (69m ago)   3d7h
npa-dp-localbroker   local-npa-stproxy-fd8c4c976-zpqsv          1/1     Running   0             5m33s
npa-dp-localbroker   local-npagw-f47c986d8-k9x9t                1/1     Running   0             5m33s
npa-dp-localbroker   local-npastitcher-7869c5c5d8-jpvpk         1/1     Running   0             5m33s
-
Confirm services are exposed and reachable:
ubuntu@npa-local-broker:~$ sudo microk8s kubectl get svc -A
NAMESPACE            NAME                  TYPE        CLUSTER-IP       EXTERNAL-IP    PORT(S)                  AGE
default              kubernetes            ClusterIP   10.152.183.1              443/TCP                  3d7h
kube-system          kube-dns              ClusterIP   10.152.183.10             53/UDP,53/TCP,9153/TCP   3d7h
npa-dp-localbroker   npa-stproxy-service   NodePort    10.152.183.125   10.136.10.25   5000:30128/TCP           11m
npa-dp-localbroker   npagw-service         NodePort    10.152.183.70    10.136.10.25   443:30443/TCP            11m
npa-dp-localbroker   npastitcher-service   NodePort    10.152.183.54    10.136.10.25   1443:30444/TCP           11m
- Go to Settings > Security Cloud Platform > Local Broker in your tenant, verify the Local Broker status is Connected.
Enabling Latency-based (GSLB) Local Broker Selection for Clients
Notes
- Gateway Selection (GSLB selection) for Local Brokers works only when Enable Dynamic Steering is enabled.
- Enable Latency-Based Local Broker Selection for Clients directly from the Netskope UI: navigate to Settings -> Security Cloud Platform -> Netskope Client → Client Configuration → Global Attributes → Private App tab and enable Enable Latency-Based Local Broker Selection for Clients. This feature is Generally Available from release R136.
-
Go to Settings > Security Cloud Platform > Steering Configuration.
Configure a new steering configuration or edit an existing one -
In the Gateway Selection section for Private Access:
-
Turn on Gateway Selection.
-
Choose different selection criteria for on-premises and off-premises.
-
Choose Primary and Fallback Broker from the options.
-
Set Client-to-Broker selection priorities based on latency within the primary or fallback broker.
-
(Optional) Select Optimal Latency Gateway Selection so the client can use a significantly faster gateway, even if it is not the primary type.
-

-
- Click Save.
Configure and Validate Local Broker Connections for Publishers
Use this setting to have a Publisher connect to a Local Broker instead of the cloud. Apply it when you create or edit a Publisher. Follow the steps below for a quick, customer-ready setup.
Enable Local Broker for a Publisher
-
Go to Settings > Security Cloud Platform > Traffic Steering > Publishers.
-
Deploy a dedicated Publisher (or multiple) for your Local Broker(s).
-
If you have configured a DNS Hostname under Local Broker or enabled Latency-based (GSLB) Broker Selection, the Local Broker Connection option appears in the Publisher configuration.
-
Open the configuration panel and click New Publisher (top-left), or select an existing Publisher (panel opens on the right).
-
In the right panel, under Local Broker Connection, toggle Connect to Local Broker to On (blue).

-
When enabled, the Publisher connects to a Local Broker instead of the Cloud Broker.
Validate from the Publisher CLI to confirm Local Broker connectivity.
- In the Publishers table, check Local Broker Connected > Yes = uses Local Broker; No = uses cloud.
Optional: Add Filter > Local Broker Connected to show only Yes/No.

Note
If you toggle Connect to local broker from enable to disable or vice-versa, you must manually restart the Publisher for changes to take effect. After Publisher release 133, the Publisher will automatically restart within one hour if the switch is toggled. For an immediate effect, you can also restart the Publisher.
Enabling Latency-based (GSLB) Local Broker Selection for Publishers
-
Prerequisite: Configure Publisher connectivity to Local Brokers as described here.
-
Enable Latency-Based Local Broker Selection for Publishers directly from the Netskope UI: navigate to Settings -> Security Cloud Platform -> Traffic Steering → Publishers → Publisher Global Attributes and enable Enable Latency-Based Local Broker Selection for Publishers. This feature is Generally Available from release R135.
-
This feature uses Global Server Load Balancing (GSLB) to route Publishers to the nearest, lowest‑latency Local Broker.
-
Validate: From the Publisher CLI, confirm the feature flag (
npa_publisher_gslb_lbr_selection) is set to 1 and that the Publisher reports a Local Broker connection.ubuntu@npa-local-broker:~$ cd resources/ ubuntu@npa-local-broker:~/resources$ sudo cat nsconfig.json {"Remote":{"Publisher":{"publisher_lb_enabled":false,"npa_local_broker_v1":"","local_broker_configs":{"hostname":""},"npa_gslb_publisher_v3":"1","gslb_service_host":"gateway.gslb.goskope.com","npa_gslb_publisher_pop_count":"8","npa_gslb_publisher_no_fallback":"0","enable_non_web_app_browser_access":"1","npa_publisher_gslb_lbr_selection":"1","npa_publisher_auto_reconnect_enabled":"1"}},"State":{"PreviousNsConfigPull":"2026-03-31T18:59:39Z"},"ConfigUpdate":{"UpdateIntervalInMin":0},"Docker":{"RegistryServer":""}} ubuntu@npa-local-broker:~/resources$

Add a DNS Hostname
Note: This step is optional if you use Latency-based Local Broker Selection with GSLB, Netskope’s Global Traffic Management (GTM) service. Configuring a DNS hostname also provides a fallback if GSLB is down or unreachable.
Configure in the UI
-
On the Local Brokers page, locate the DNS Hostname field.
-
Click the Edit (pencil) icon to open DNS Hostname.
-
Enter the Fully Qualified Domain Name (FQDN), for example
lbr.acme.com. -
Click Save and confirm the green banner: “DNS Hostname successfully added.

Connectivity Requirements
After you save the DNS Hostname, both Netskope Client and Publisher retrieve it. Allow the following outbound connections through your internal firewalls:
-
Client connectivity: TCP 443 to the configured DNS hostname.
-
Publisher connectivity: TCP 1443 to the configured DNS hostname.
Example: If you configure lbr.acme.com, ensure both Client (TCP 443) and Publisher (TCP 1443) can reach that hostname.
Local Broker Selection and Fallback with DNS Hostname
Please find details here.
DNS Requirements and Setup
To work, the Local Broker hostname must resolve for both the Client and Publisher inside your corporate network.
Key DNS requirements:
-
Internal resolution: The hostname must resolve via your internal (on‑premises) DNS.
-
No public resolution: Do not publish the hostname to public DNS. This prevents attempts to connect from outside your corporate network.
-
Load balancing: Use multiple A records to map the hostname to several IPs; connections will be distributed across available addresses.
-
Internet-facing brokers: If brokers are reachable from the internet, configure split DNS so remote users resolve a public IP while on-prem users resolve private IPs.
Example: AWS Route 53 (private hosted zone) -> use a private zone to resolve the Local Broker hostname inside your VPC(s).
-
In AWS, open Route 53 > Hosted zones.
-
Create a Private hosted zone for your FQDN (for example,
lbr.acme.com) and associate it with the VPCs where Clients/Publishers run. -
Add A records that point the hostname to your Local Broker IPs.
For example: lbr.acme.com →172.31.25.83,172.31.2.185,172.31.34.120
In the example above, DNS Hostname is configured as lbr.acme.com. Here, A records for three local broker instances – 172.31.25.83, 172.31.2.185 and 172.31.34.120 have been defined:
Go to Route 53 > DNS hosted zones and create a private hosted zone for lbr.acme.com, and add A records for lbr.acme.com to point to Local Broker IP address(es).