

Overview
This guide provides instructions for deploying the Netskope DSPM Sidecar as a pre-packaged virtual appliance using an OVA/OVF template on a VMware vSphere environment. This method provides a streamlined, minimal-touch deployment for on-premises data stores.
Prerequisites
Ensure you have the following components and configurations ready:
-
vSphere Environment: VMware vSphere version 6.7 or newer.
-
OVA File: Download the latest DSPM Sidecar
.ovafile provided by Netskope by clicking here. -
Netskope DSPM Tenant: Your DSPM Tenant URL (e.g.,
mytenant.goskope.com). -
Sidecar Pool Token: Generated from the Netskope DSPM console. To create one, go to Administration > Sidecar > Add sidecar pool.
-
Network Access: The virtual appliance requires outbound internet access to connect to the Netskope DSPM platform.
-
SSH Client: An SSH client (like PuTTY or the terminal) to connect to the appliance for initial configuration.
-
Virtual Appliance Hardware Requirements: A 1:4 CPU-to-Memory ratio is recommended for optimal performance.
Specification Recommended Requirements Minimum Requirements CPU 8 vCPUs 6 vCPUs Memory 32 GB RAM 24 GB RAM Storage 100 GB available disk space 100 GB available disk space DLP Appliance Connectivity: Sidecars require connectivity to a local DLP appliance to perform classification activities using your DLP Profiles and Rules. Before deploying the sidecar, ensure the following:
- A DLP appliance has been deployed and is accessible within the same network where the sidecar will be installed (or in directly connected networks, to avoid additional peering or complex routing).
- The sidecar and DLP appliance must be able to communicate via HTTPS (port 443).
- You have generated or obtained the required REST API v1 Key and License Key.
Architecture
Netskope DSPM uses a flexible architecture where you deploy one or more sidecars alongside your main application. These sidecars connect directly to your data stores to collect samples, which a local DLP appliance then scans. Afterward, the sidecars upload the classification results back to the Netskope DSPM application.
A single sidecar can efficiently scan multiple data stores within its installed environment. Although you typically deploy one sidecar per isolated network (such as a VPC or VNet), you can install multiple sidecars to achieve higher scalability and redundancy. In these highly available setups, the Netskope DSPM application automatically load-balances scan operations across all healthy sidecars within a given pool.
The following diagram illustrates the relationship between Netskope DSPM resources and your environment:

Configure Outbound Egress
Since Netskope hosts and manages the Netskope DSPM application, you must update your firewall or security group settings to allow outbound egress. Configure your allowlist on port 443 using the following group.
-
Required for Core Connectivity: Add these addresses to ensure the sidecar can communicate with the DSPM platform. Substitute
[TENANT]with your actual tenant name:Address [TENANT].goskope.comsidecar-[tenant].goskope.comnetskope-dspm-release.s3.us-west-2.amazonaws.com995750983908.dkr.ecr.us-west-2.amazonaws.com
-
Required for Installation Packages (Temporary) Add these addresses to download the necessary packages during the installation process.
These domains are required only for the initial setup. You may remove them from your allowlist once the sidecar is fully deployed.Address api.snapcraft.iodashboard.snapcraft.io.snapcraftcontent.com
Configure Sidecar Pool
To set up the relationship between your sidecars and Netskope DSPM-hosted tenant, you will provide the sidecars with unique authentication tokens generated within our Sidecar Administration UI.
-
Log in to the Netskope DSPM application.
-
Go to the Administration > Sidecar menu.
-
Click Add Sidecar Pool.
-
On the Details tab, complete the following field:
Field Value Name Any friendly value to describe the sidecar pool. -
Click Save.
-
Click Copy at the bottom of the Sidecar Authentication Token modal to save the generated token to your clipboard.

-
Click the X button to exit the modal.
Since you haven’t yet associated this token with a sidecar, the sidecar pool will appear only when you click the Show Inactive Sidecars icon in the upper right, with empty Version, Status, and DLP Status columns for now.
Deploy and Configure the Sidecar Appliance
The deployment process involves deploying the OVA template in vSphere, running an initial configuration script, and then launching an automated bootstrap script to complete the installation.
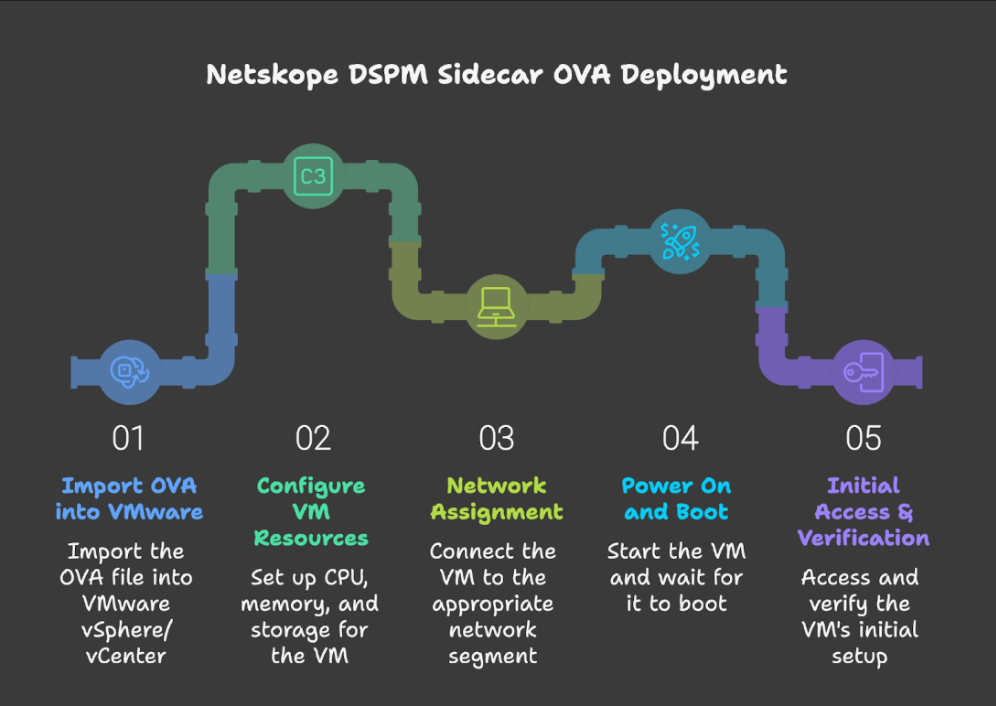
Step 1: Deploy the OVA Template in vSphere
-
Log in to the VMware vSphere Client.
-
Right-click an inventory object (such as a cluster, host, or VM folder) and select Deploy OVF Template.
-
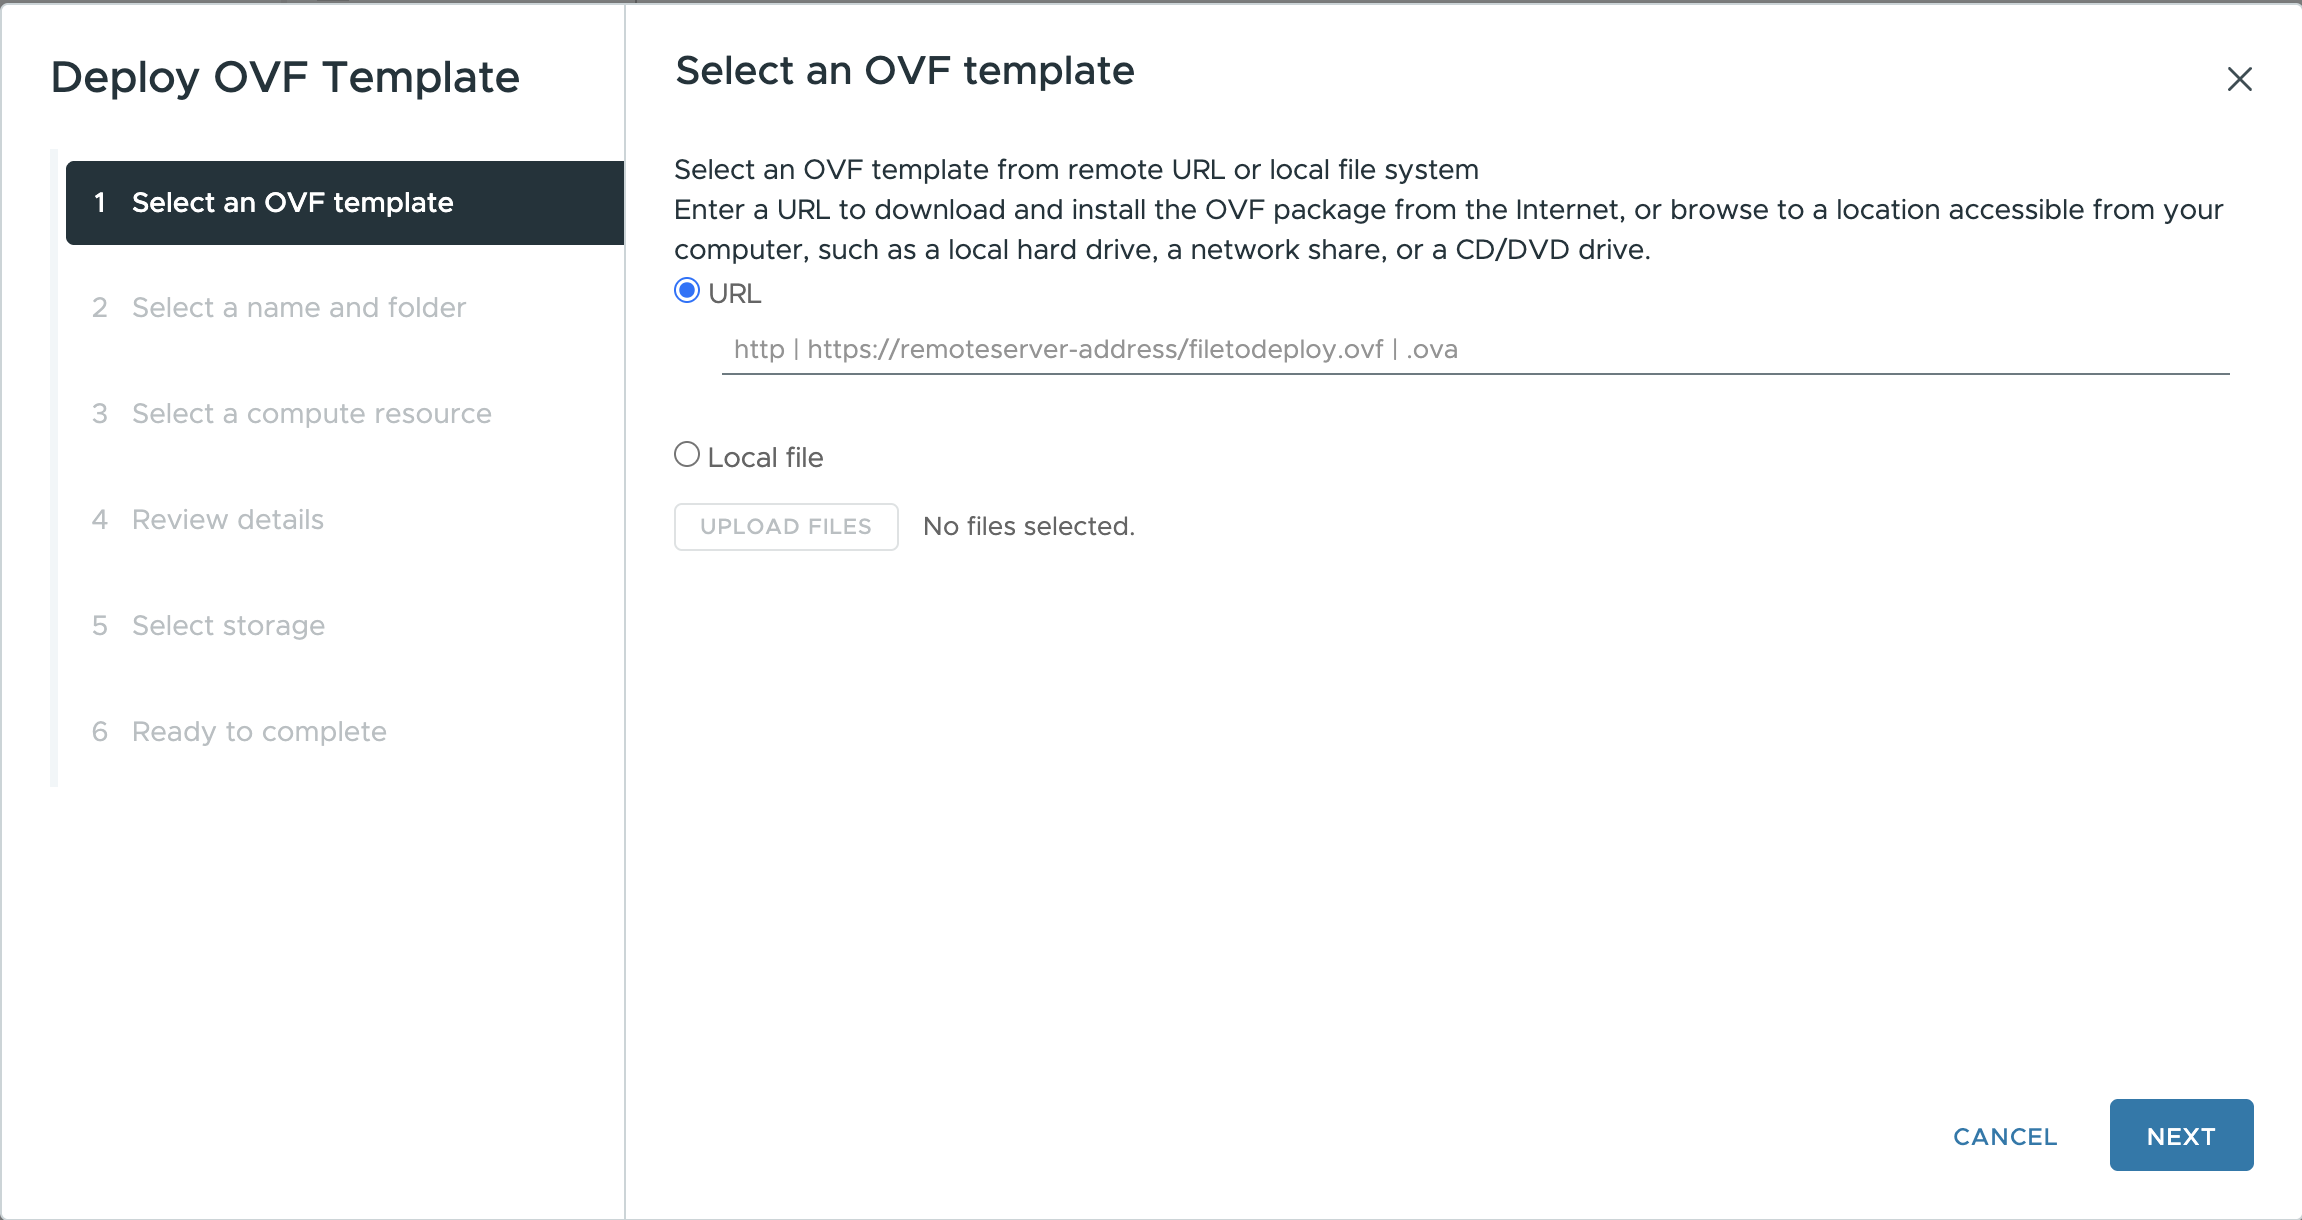
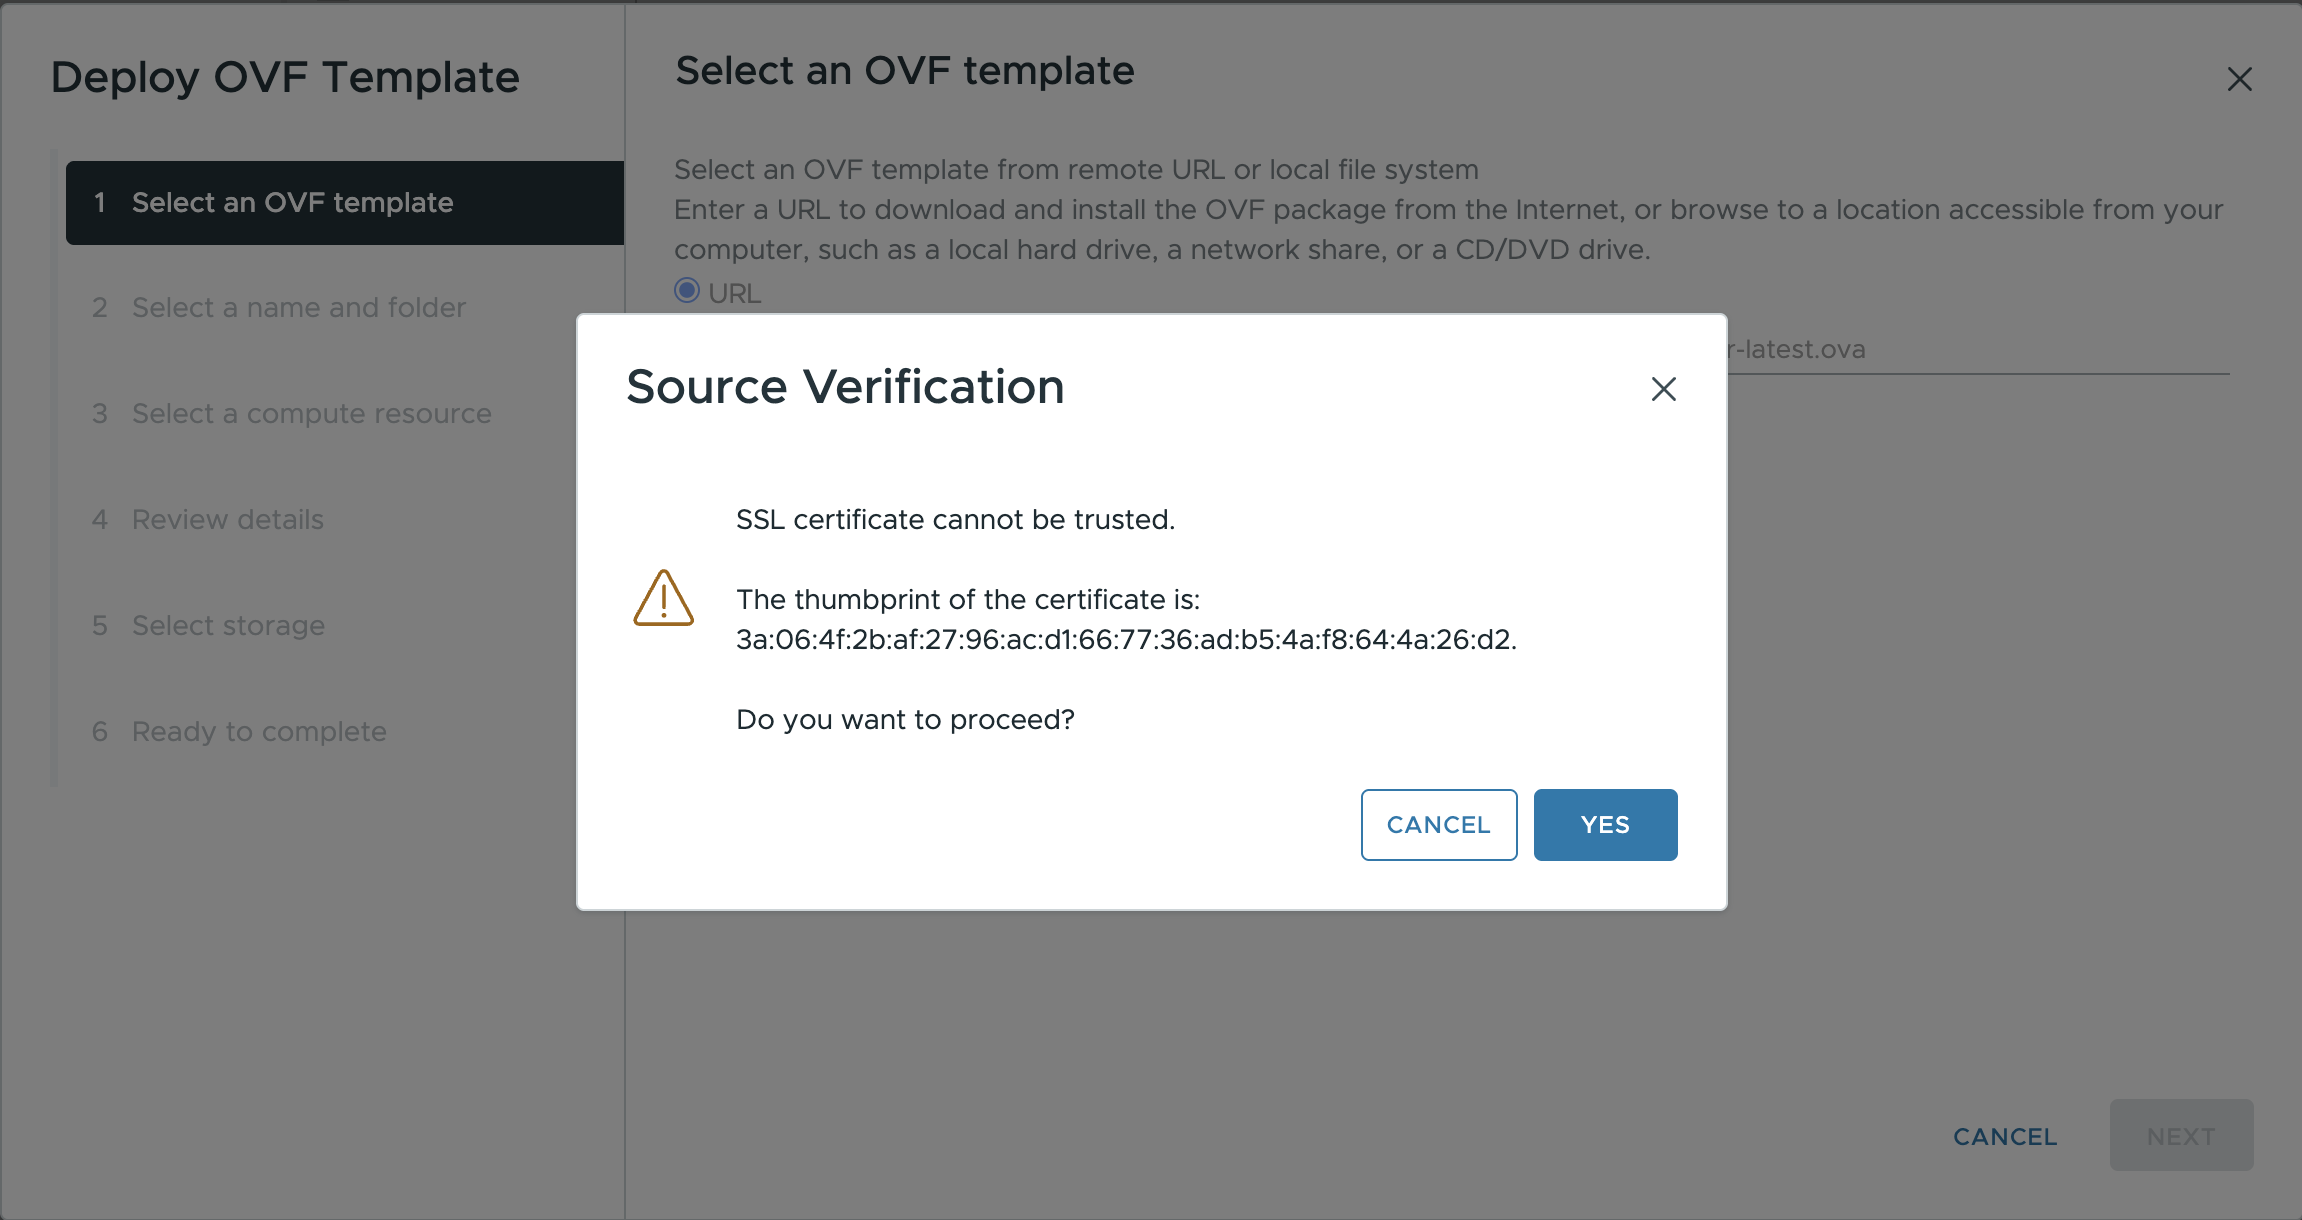
On the Select an OVF template screen:
Choose Local file > Click Upload Files > Select the
.ovafile you downloaded from the Prerequisites section > Click Next.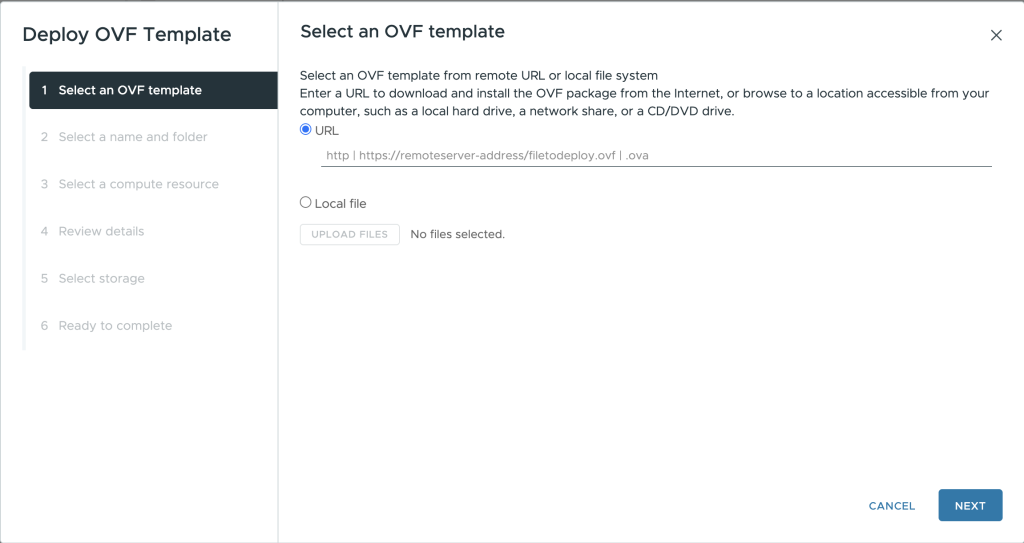 During this step, you may see a “Source Verification” warning stating that the “SSL certificate cannot be trusted”. This is expected. Click YES to proceed.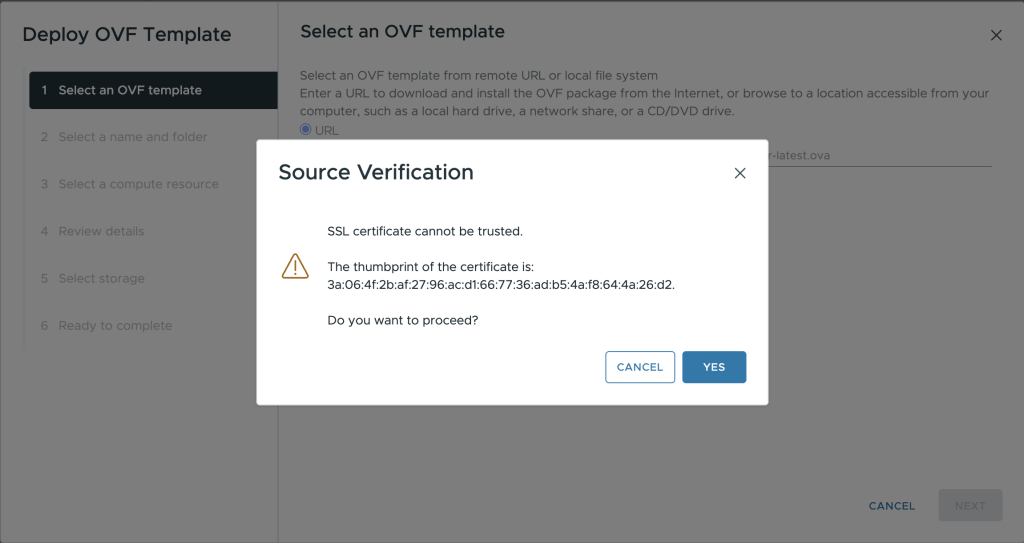
-
Provide a unique and descriptive name for the Virtual Machine (e.g.,
netskope-dspm-sidecar) > Select a datacenter or folder location > Click Next.
-
Select a target host or cluster where the Virtual Machine (VM) will run > Click Next.
-
Select a datastore with at least 50 GB of available space > Click Next.
-
Select the appropriate network segment (VM Network) from the dropdown list. Ensure this network has internet access > Click Next.
-
On the final Ready to complete screen, review your settings > Click Finish.
Step 2: Customize Deployment Properties
During the deployment process, vSphere will prompt you to customize the properties for the appliance.
On the Customize template screen, enter the following required parameters:
- Tenant Host Configuration: Your tenant URL, without the
https://prefix (e.g.,mytenant.goskope.com). - Authentication Configuration: The token you generated from the DSPM tenant.
- Sidecar Configuration: A custom name for this specific sidecar instance (e.g., netskope-dspm-sidecar-latest).
- HTTPS Proxy Configuration (Optional): if your organization routes outbound traffic through an SSL proxy, populate with a HTTPS address to force sidecar traffic thru your designated proxy.
- Note: If you need to configure an SSL proxy after the virtual machine is already running, see Manage DSPM Virtual Appliance Sidecars (OVA) for post-deployment instructions.
Step 3: Power On and Connect to the Appliance
-
After the OVA deployment task is complete, locate the new Virtual Machine (VM) in your vSphere inventory > Click the Play button to power it on.

-
Once the VM has booted, obtain its IP address from the VM Summary screen in vSphere.
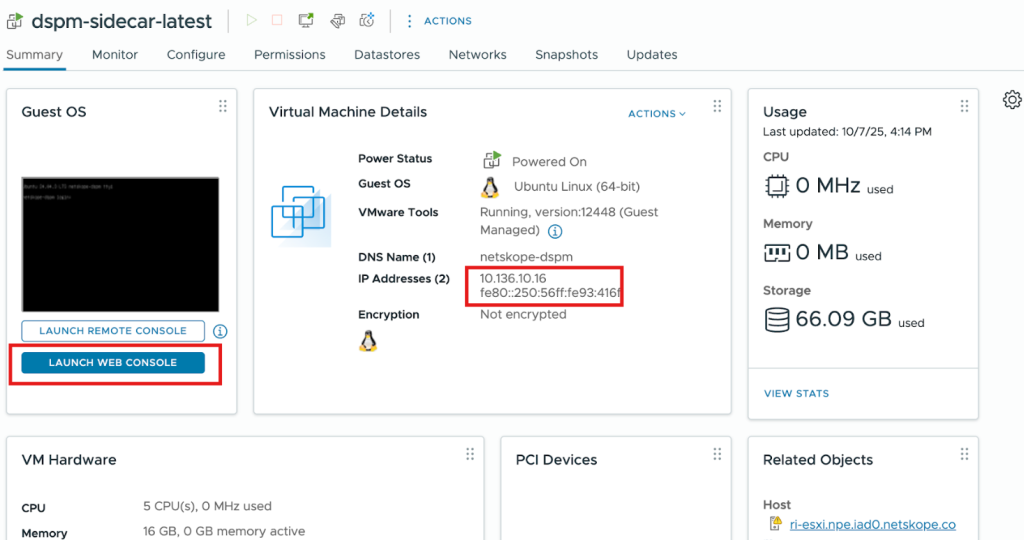
-
Use an SSH client to connect to the appliance’s IP address:
ssh netskope@<VM_IP_ADDRESS> -
Log in with the default credentials:
- Login:
netskope - Password:
netskope

A successful login confirms that the base system is operational, network connectivity is established, and SSH access is working correctly.
For security purposes, it is highly recommended to change the default password immediately after your first login. Run thepasswdcommand and follow the prompts. - Login:
-
Execute the setup script with
sudoprivileges:sudo /opt/netskope/setup-sidecar.sh- The script will first validate that the VM meets the minimum CPU and memory requirements.

-
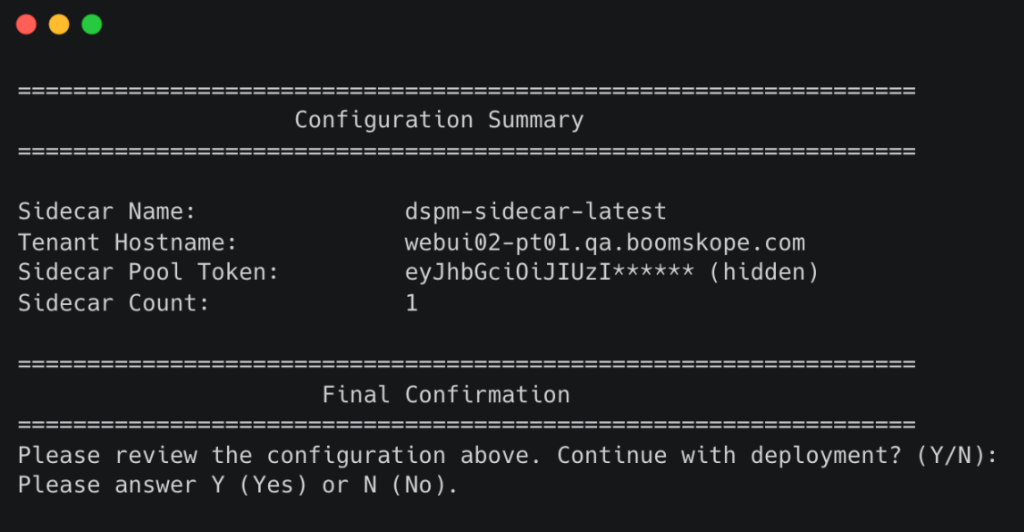
Follow the on-screen prompts to confirm your configuration parameters (Sidecar Configuration, Tenant Host Configuration, Authentication Configuration). The values you entered during the OVA deployment will be shown as defaults.

When prompted
Are you sure to use these variables for Sidecar deployment? (Y/N):, typeyand press Enter to save the configuration.- The configuration will be stored in the
/opt/netskope/sidecar-config.envfile.
- The configuration will be stored in the


Step 4: Run the Automated Bootstrap Script
After saving the configuration, execute the bootstrap script:sudo /opt/netskope/bootstrap.sh
This script automates the installation of all necessary components. The process can take 10–15 minutes. Upon completion, you will see a confirmation message: Appliance is fully configured and ready!.

Deployment Verification
Run the following commands for a local Verification (via SSH), to ensure all components are active:
| Bash | Validation | Expected Output |
|---|---|---|
microk8s kubectl get pods -n netskope | Check the status of the pods. This is the most important command to verify the application components are running. | - Both deployments should show 1/1 in the READY column- You should see in the dspm-sidecar and netskope-classification-engine pods a STATUS of Running. |
microk8s kubectl get deployments -n netskope | Check the status of the deployments. This confirms that the desired number of pods for each component is available. | - Both deployments should show 1/1 in the READY column- You should see 1 in the UP-TO-DATE and AVAILABLE columns |

Validate Sidecar Connection
When deploying sidecar, you’ll need to ensure that the sidecar has the ability to reach your tenant. Take the following steps to verify the connectivity from the sidecar.
- Log in to the Netskope DSPM application.
- Go to Administration > Sidecar.
- For the sidecar(s) in question, validate that:
- The Version column is populated.
- The Status indicator is green.
- The DLP Status column shows a healthy connection to your DLP appliance.
It may take a few minutes for newly-running sidecars to communicate with the Netskope DSPM application.

Next Steps
Once your sidecar is fully deployed and linked to your DLP appliance, it will automatically process data store scans. To link your sidecar to a DLP appliance and enable data classification, see Link a DLP Appliance to a Sidecar Pool, and for ongoing maintenance tasks—such as upgrading the sidecar version, rotating security tokens, or configuring a proxy post-deployment—see Manage DSPM Virtual Appliance Sidecars (OVA).