

Once you have deployed the Cloud TAP stitcher, you can enable Cloud TAP in your Netskope tenant.
Enabling Cloud TAP
To enable Cloud TAP:
- Go to Settings > Security Cloud Platform > Cloud TAP.
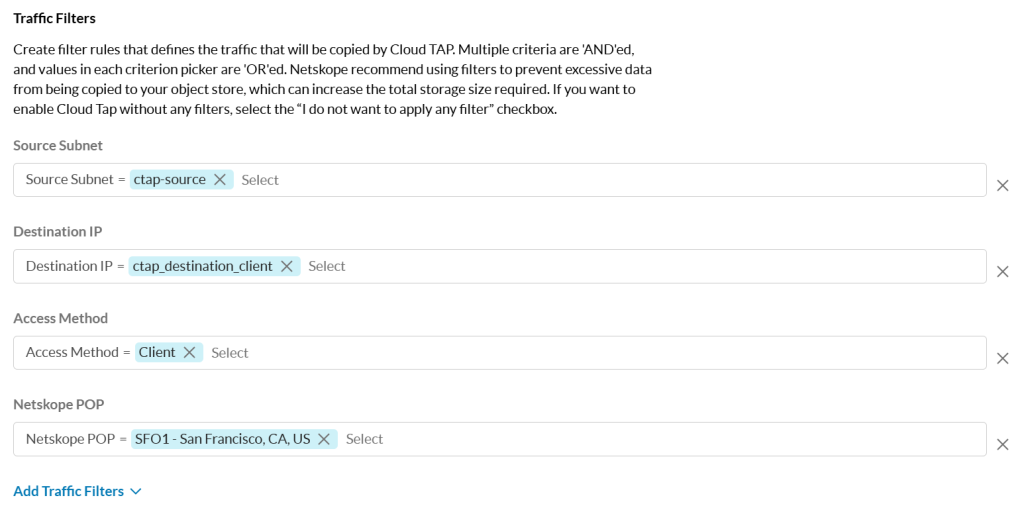
- On the Cloud TAP page, go to the Traffic Filters section. Click Add Traffic Filters to create filter rules that define the traffic Cloud TAP copies. If you select the I do not want to apply any filter checkbox, then Cloud TAP will copy all traffic.
Important
In order to enable Cloud TAP, you must configure at least one traffic filter or select the checkbox. Netskope highly recommends configuring traffic filters for Cloud TAP.
Thoroughly configuring all relevant traffic filters ensures that desired traffic is copied through Cloud TAP. If the filters are not specific enough, too much data can be copied to your object store (i.e., the cloud storage you configured) and increase the total storage size needed. Depending on the scale, this might also affect overall performance.

You can configure the following filters:
- Source Subnet: Select the source IP addresses for the endpoints to which the rule applies. Go to Policies > Network Locations to specify these IPs.
- Destination IP: Specify the destination IP for the endpoints to which the rule applies. Go to Policies > Network Locations to specify these IPs.
- Protocols and Destination Ports: Specify the TCP connections to which the rule applies. You can add a single port, multiple ports, or a port range. If no TCP ports are specified, then all traffic from all TCP ports is copied to Cloud TAP.
- Access Method: Select the access method configurations to which the rule applies. You can choose GRE, IPSec, or Client as your access method, including IPSec/GRE sites. When you select IPsec or GRE in the access method filter, only traffic from the specified tunnels is steered to Cloud TAP. If no access method is selected, then traffic on all tunnels and from all users will be copied to the object store.
- User: This filter is only applicable if the access method is Client. Specify the users to which the rule applies. When a user is specified, only traffic from that user is steered to Cloud TAP.
- Netskope POP: Select the Netskope NewEdge Data Center or POP to which the rule applies.

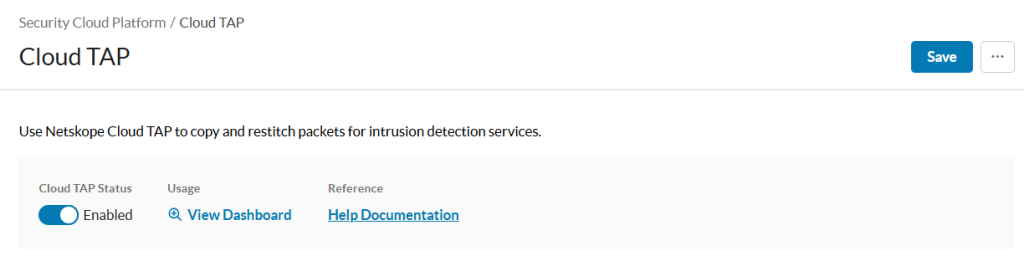
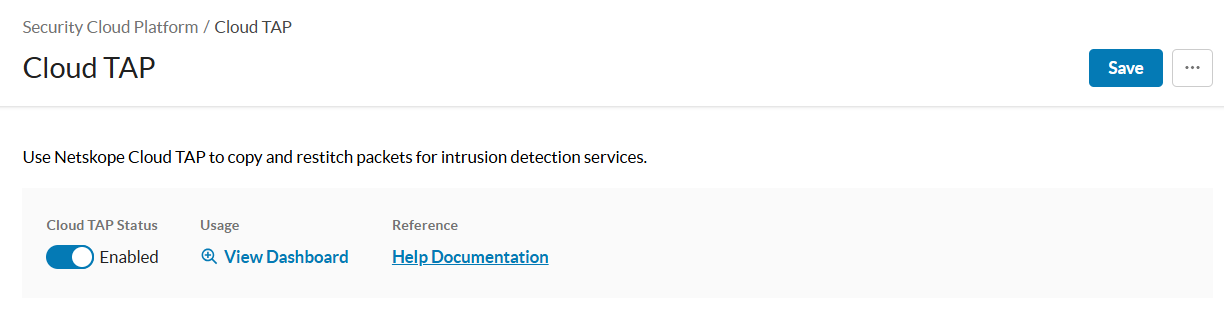
- Under Cloud TAP Status, click to Enable the feature.
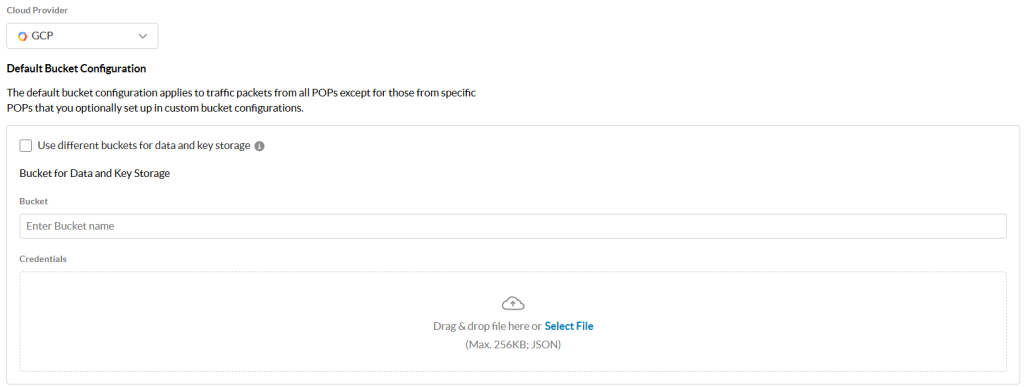
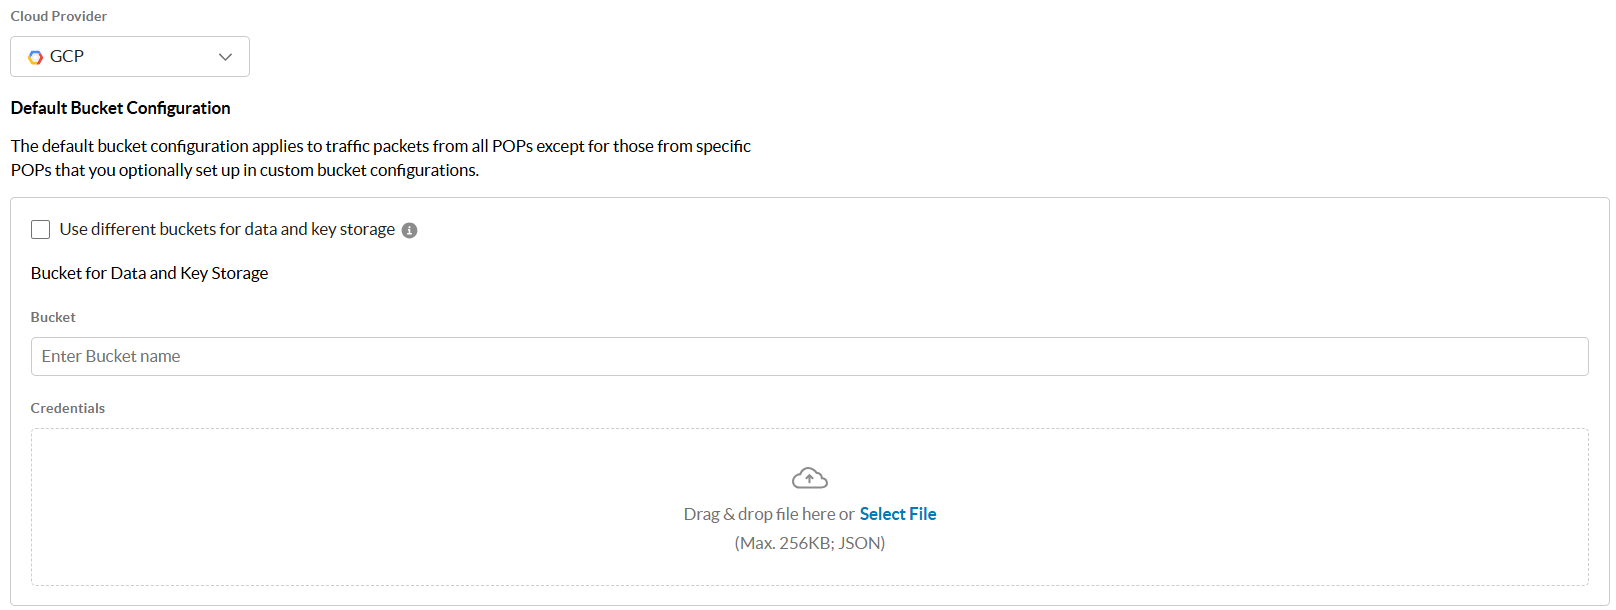
- For Traffic Storage Setup, provide your cloud provider’s storage account information and the buckets for storing the traffic copied by Cloud TAP:
- Cloud Provider: Select the cloud provider.

- Default Bucket Configuration: Specify the bucket that applies to traffic from all POPs. Click the Use different buckets for data and key storage to specify separate buckets for the data and key.
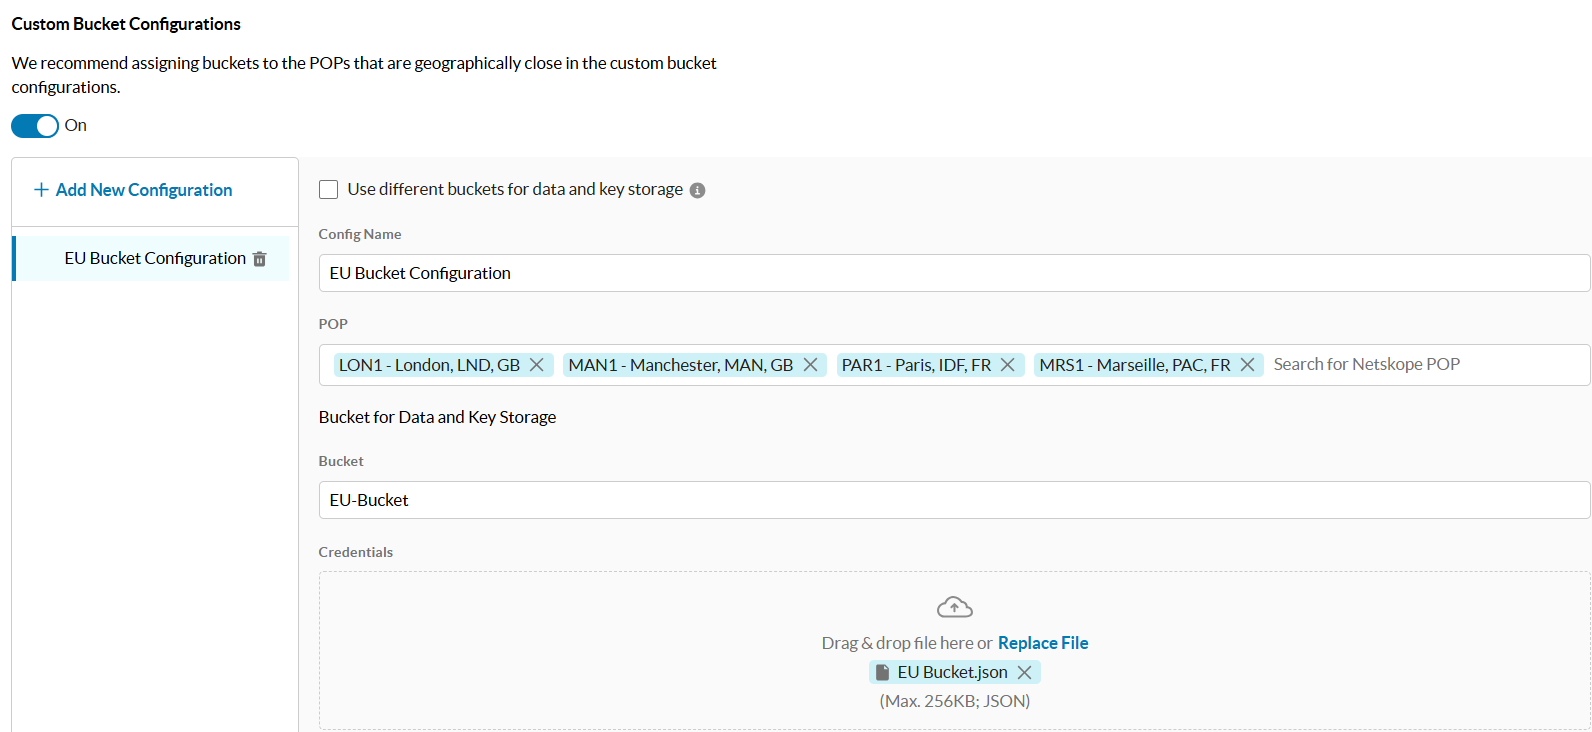
- (Optional) Custom Bucket Configurations: Specify region-specific buckets to store traffic copied from specific Netskope POPs:
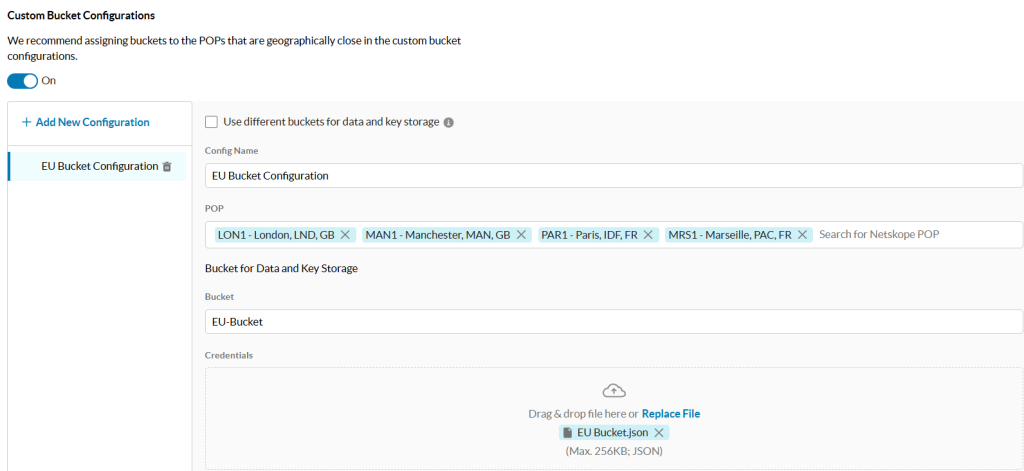
- Click the switch to enable or disable this feature.
- Click the Use different buckets for data and key storage to specify separate buckets for the data and key.
- Enter a Config Name.
- In the POP field, select the geographically closest Netskope POPs for the bucket. You can select multiple POPs per custom bucket configuration.
- Cloud Provider: Select the cloud provider.
Note
- You must also allow Netskope to have write access to the buckets.
- To enable custom bucket configuration, contact your Netskope representative.
- A maximum of 5 custom bucket configurations is supported.
- When configuring default and custom buckets, you can only choose one cloud provider for all buckets.
- When region-specific buckets are configured to store copied traffic from certain Netskope POPs, but Cloud TAP copies traffic from a POP not configured against a region-specific bucket, then the default bucket serves as the storage bucket for this traffic.
- You must enter the following information for each bucket:
- For GCP, provide the bucket name and upload the account credentials in JSON format. The maximum size allowed is 256 KB.
- For Azure, provide the storage account name and the access key.
- Click Save.
Usage Dashboard
You can view the Usage Dashboard by clicking View Dashboard.

The Usage Dashboard shows the amount of data copied from Netskope to storage.
