This guide illustrates using explicit proxy to steer SWG / CASB traffic from managed Chromebooks using the Netskope Chrome extension.
When steering private app traffic, the Chrome extension can work alongside the Netskope Cloud Director for Android that is used for Netskope Private Access (NPA) steering on Chromebooks. Ensure that you add private domains to the bypass_list or the PAC file so they are not steered to the explicit proxy.
Prerequisites
To steer SWG/CASB traffic in Chromebooks, configure your tenant with SAML forward proxy authentication.
You can push the Netskope Chrome extension through Google Workspace Admin console and pre-provision the necessary configuration.
Installing the Netskope TLS CA Certificate
Install the TLS CA certificates to allow TLS decryption of traffic from managed Chromebooks. Before you proceed, download the certificates from the Netskope tenant admin console.
Downloading Certificates from Netskope Tenant
-
Login to Netskope tenant as administrator.
-
Go to Settings > Manage > Certificates > Signing CA.
-
Download the following certificates:
-
Root CA (Remote Users)
-
Root CA
-
Intermediate CA
-
Installing Certificates in Google Workspace Admin Console
-
Login to Google Workspace Admin console.
-
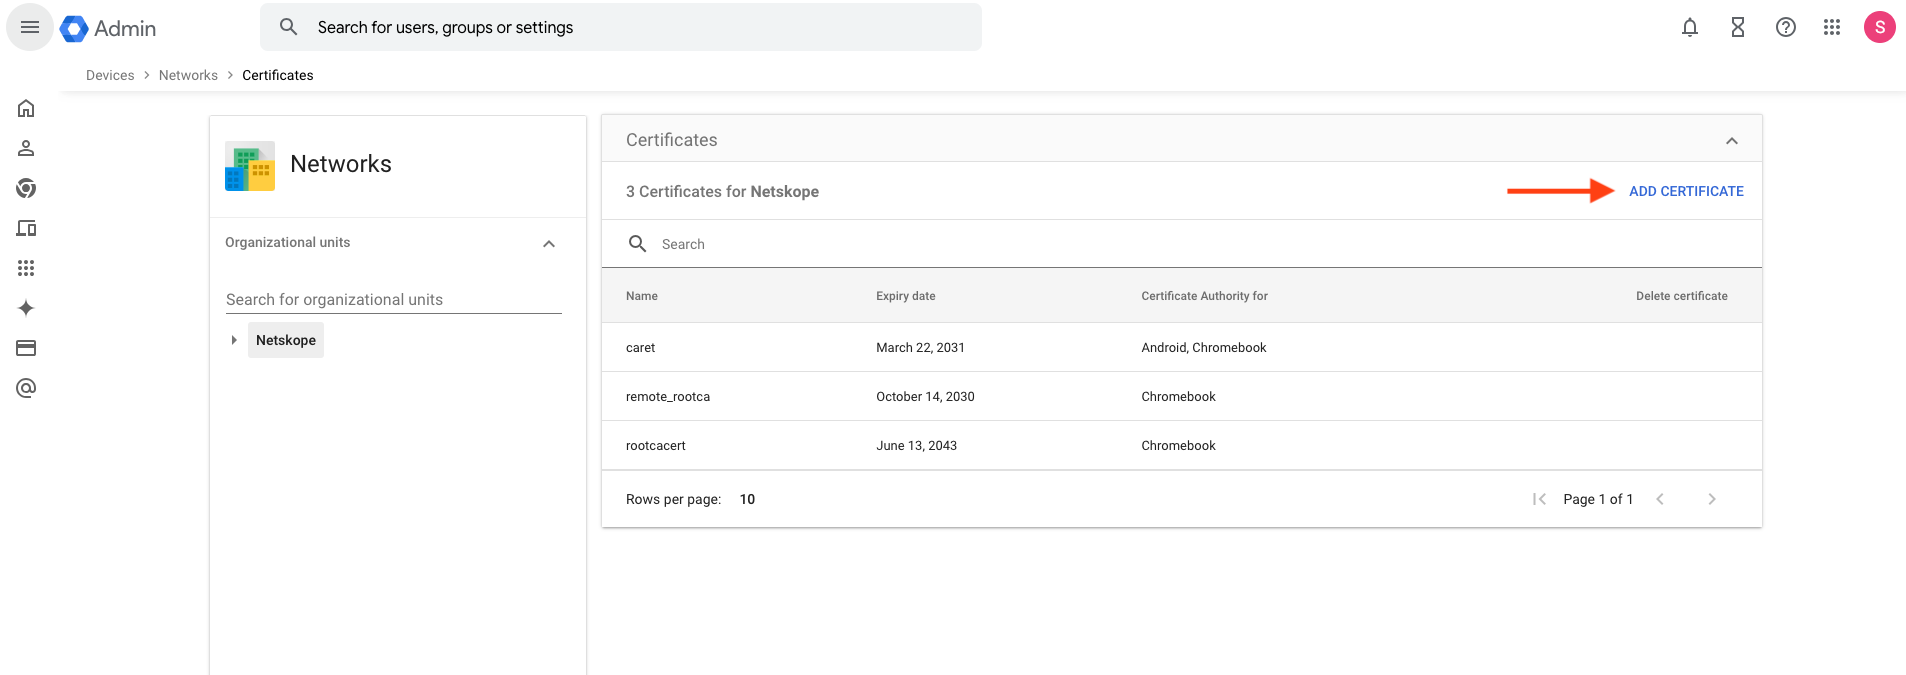
Go to Devices > Networks > Certificates.
-
Click Add Certificate to add the certificates you downloaded from your Netskope account.
Setting Proxy Mode to Allow User Configuration
-
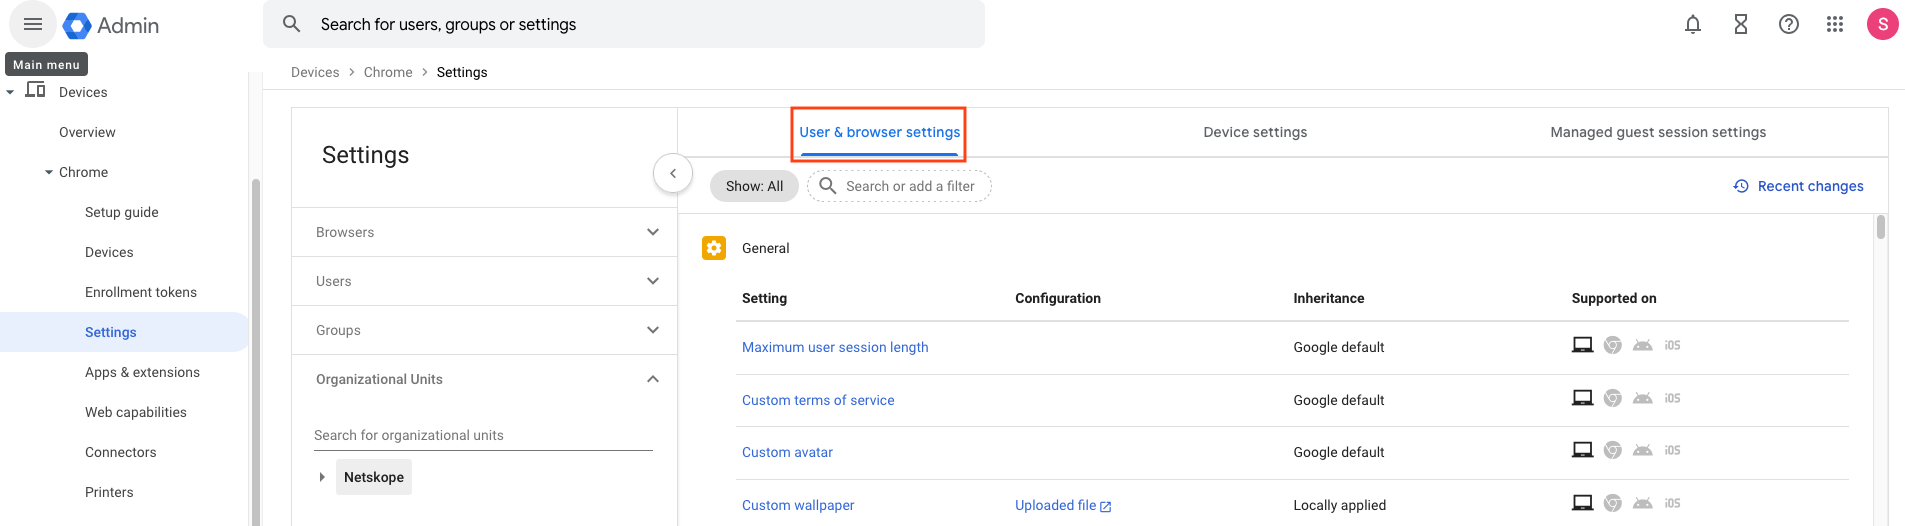
In the Google Workspace Admin console, go to Devices > Chrome > Settings > Users & browsers.
-
Click the Users & browser settings tab.
-
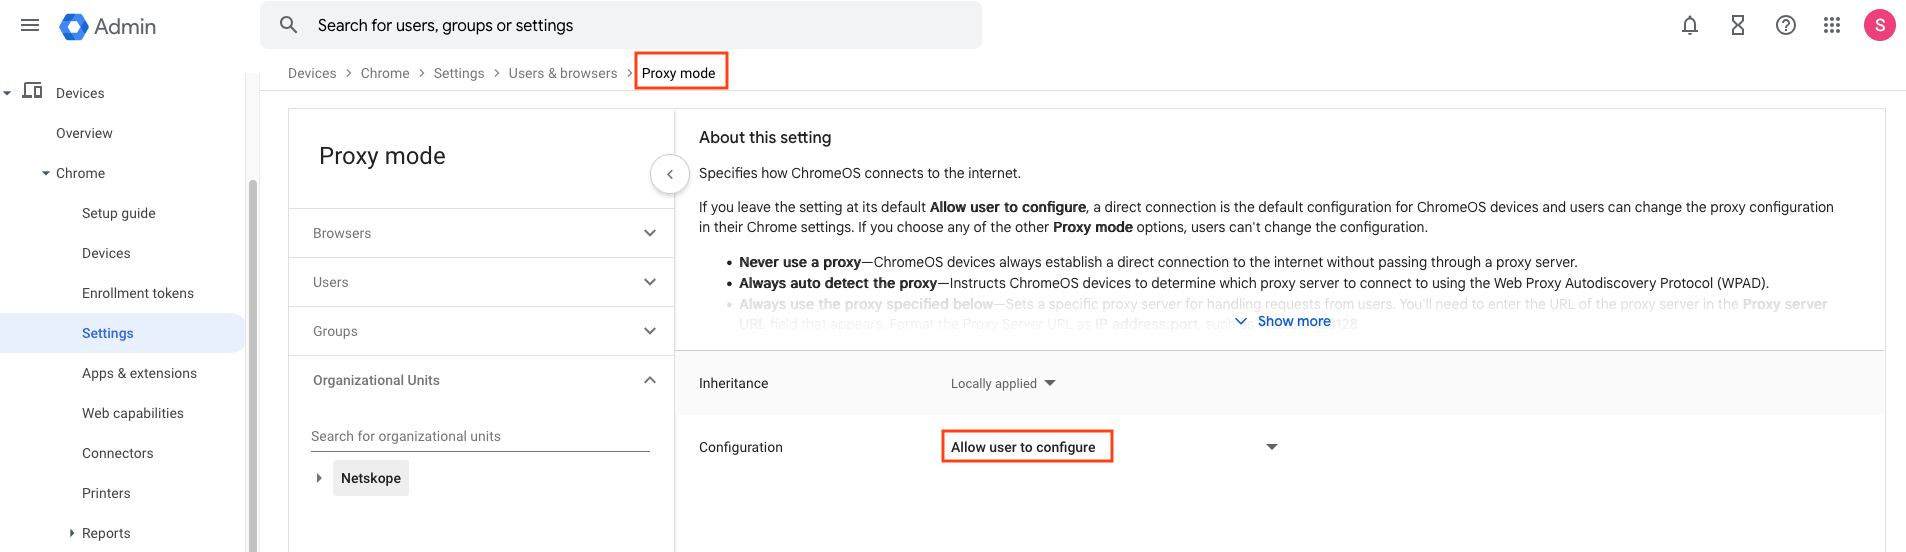
Select the organizational units that should use the extension, and ensure Proxy mode is set to Allow user to configure (this is the default setting):
Configuring the Netskope Chrome Extension
-
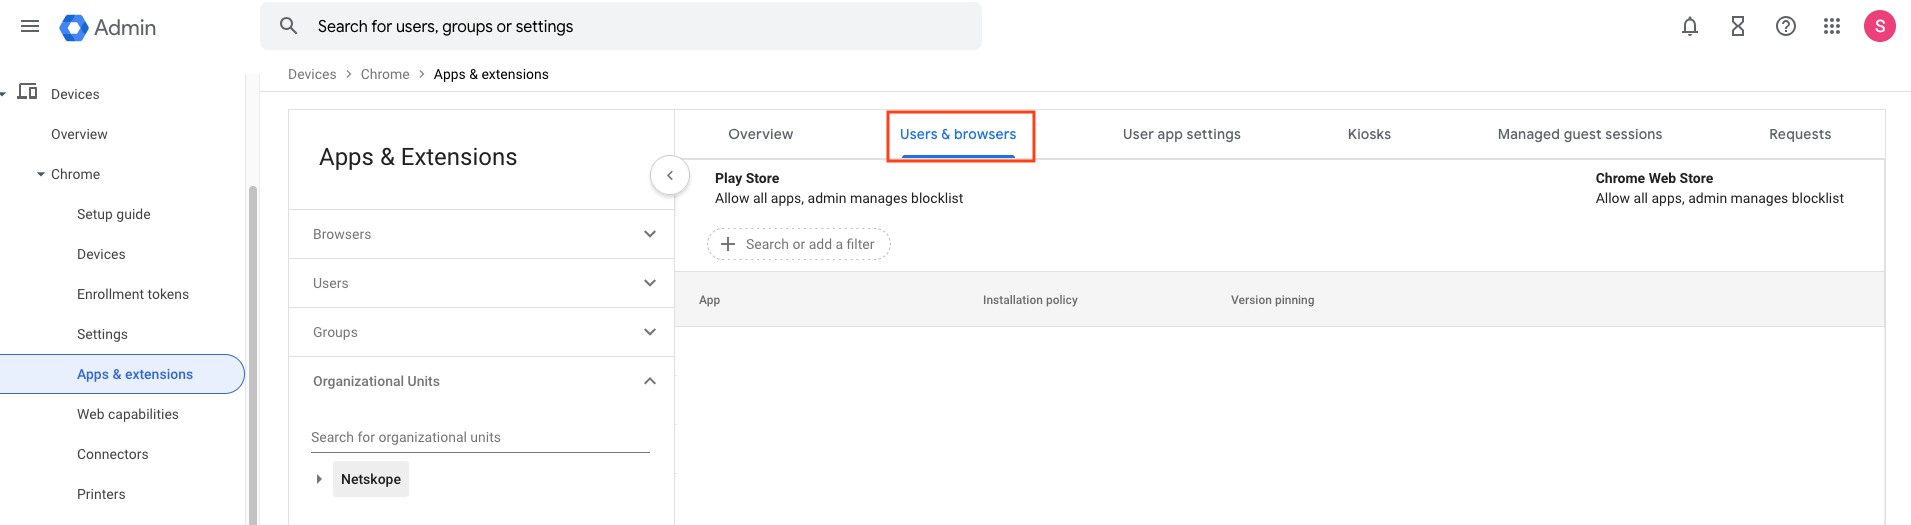
In Google Workspace Admin console, go to Devices > Chrome > Apps & extensions.
-
Click the Users & browsers tab.
-
Select the organizational units that must be provisioned with the extension.
-
On the bottom right of the screen, click the + icon to add an extension from Chrome Web Store.

-
In the pop-up window, search Netskope in the Chrome store to get the Netskope Chrome Extension.

-
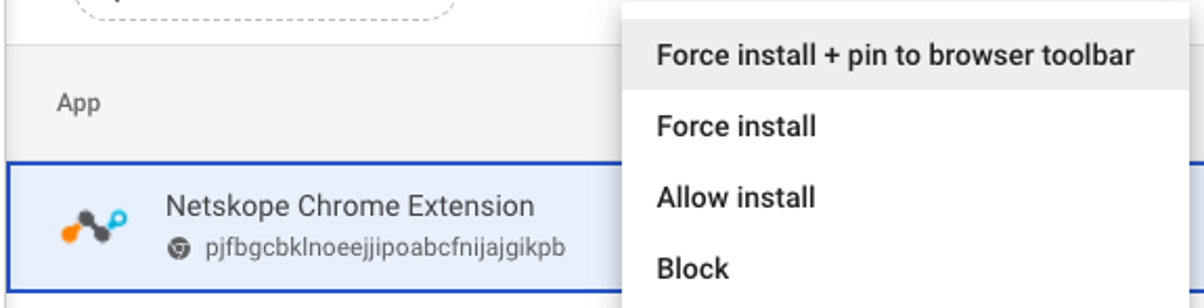
Set the Installation Policy to Force Install + pin to browser toolbar option.
-
Click the Netskope Chrome Extension to specify JSON objects as Policy for extensions.
Policy for extensions
{
  "tenant": {
    "Value": "mytenant.goskope.com"
  },
  "block_disable": {
    "Value": false
  },
  "user_notification_enabled": {
    "Value": false
  },
  "enforce_os": {
    "Value": [
      "cros"
    ]
  },
  "bypass_list": {
    "Value": [
     "www.google.com"
    ]
  }
}
The following keys are available in managed policies:
-
tenant (string): Defines the tenant name and removes the user’s ability to change it. You must include
.goskope.comsuffix. This setting is mandatory for managed operation. -
block_disable (boolean): If you set this to true, it removes Steering disabled checkbox.
-
enforce_os (array of strings): If you set this to non-empty array, the extension only works on matching operating systems. Valid entries are
cros,win,mac,android,linux,openbsd. This is useful if the extension and managed settings are pushed through a managed chrome profile to multiple operating systems, but the administrator wants the extension only on a subset of them.Google Chrome on Android does not support extensions, so this parameter is valid only for third-party Chromium based browsers. -
bypass_list (array of strings): A list of bypasses for the proxy. See chrome.proxy | API | Chrome for Developers for options and syntax. This setting applies only when
pac_urlandpac_dataaren’t set. -
pac_data (string): The contents of the PAC file you want to apply. If you set this, the contents of this string is used instead of
eproxy-<tenant name>:8081. Also, enabling this setting disablesbypass_list.If bothpac_dataandbypass_listare provided, only thepac_datais used. -
pac_url (string): A URL for PAC file to be applied. If you set this, it takes precedence over static configuration based on tenant name or
pac_data. This setting disablesbypass_list. -
user_notification_enabled (boolean): A policy to turn user notifications on or off. If the value is set to
true, user notifications pop up when user activity is blocked/coached. If set tofalse, user activity is allowed without a user notification message. The default value isfalseif you don’t see the policy displayed in the admin console.
-
-
After providing the policy for the extension, click Save on the top right corner to save the settings.
Verifying Policy Propagation
To verify if policy is correctly propagated, on a managed Chromebook go to chrome://policy. At the bottom of the page you can see a formatted table for Netskope Chrome Extension policies.

Hardening Managed Chromebook Configuration
To ensure that users are not able to bypass the steering to Netskope, we recommend that you configure the following settings in Google Workspace Admin console:
-
Go to Devices > Chrome > Settings > Users & browsers.
-
Click Disallow incognito mode.

-
Go to Devices > Chrome > Apps & extensions > Users & browsers.
-
For Allow/block mode, click Edit in legacy view.

-
In Additional Settings, block unauthorized extensions with Set proxy or VPN provider permissions and disable any user-installed extensions (such as, Ad Blockers and NoScript) to mess with goskope.com domains by adding
*://*.goskope.comto the Runtime blocked hosts list.
-
Block all apps not in the allow list for Play Store and Chrome Web Store.

-
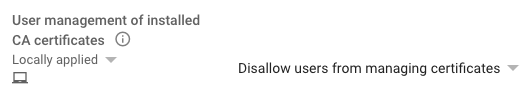
Go to Devices > Chrome > Settings > Users & Browsers, and prevent users from managing certificates so they won’t tamper with the Netskope CA pushed by Google Workspace Admin.