

With SAML configured in Google and Netskope, now install the Client on your devices.
-
If you have access to the Netskope support portal, download the Netskope Client from here: https://support.netskope.com/s/article/Download-the-Netskope-Client-and-Installation-Scripts
If you do not have access to the Netskope support portal, you can download the client from the Netskope tenant:
-
For Windows: https://download-<tenant-name>/dlr/win/get
-
For Mac: https://download-<tenant-name>/dlr/mac/get
-
-
Double-click the Netskope Client and install the software.
-
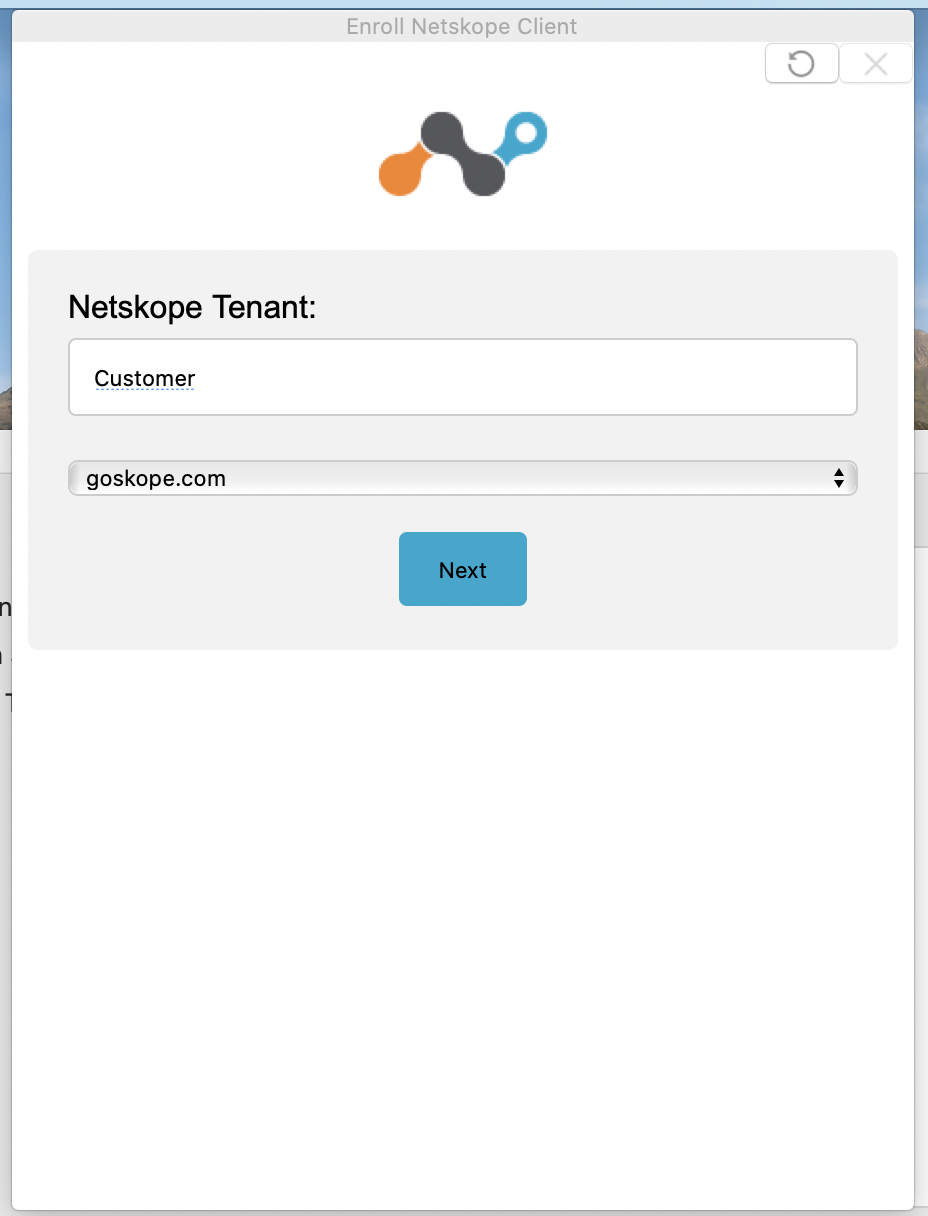
The Client will open an enrollment window. Enter your tenant name.
-
Log in with your Google username and password.

-
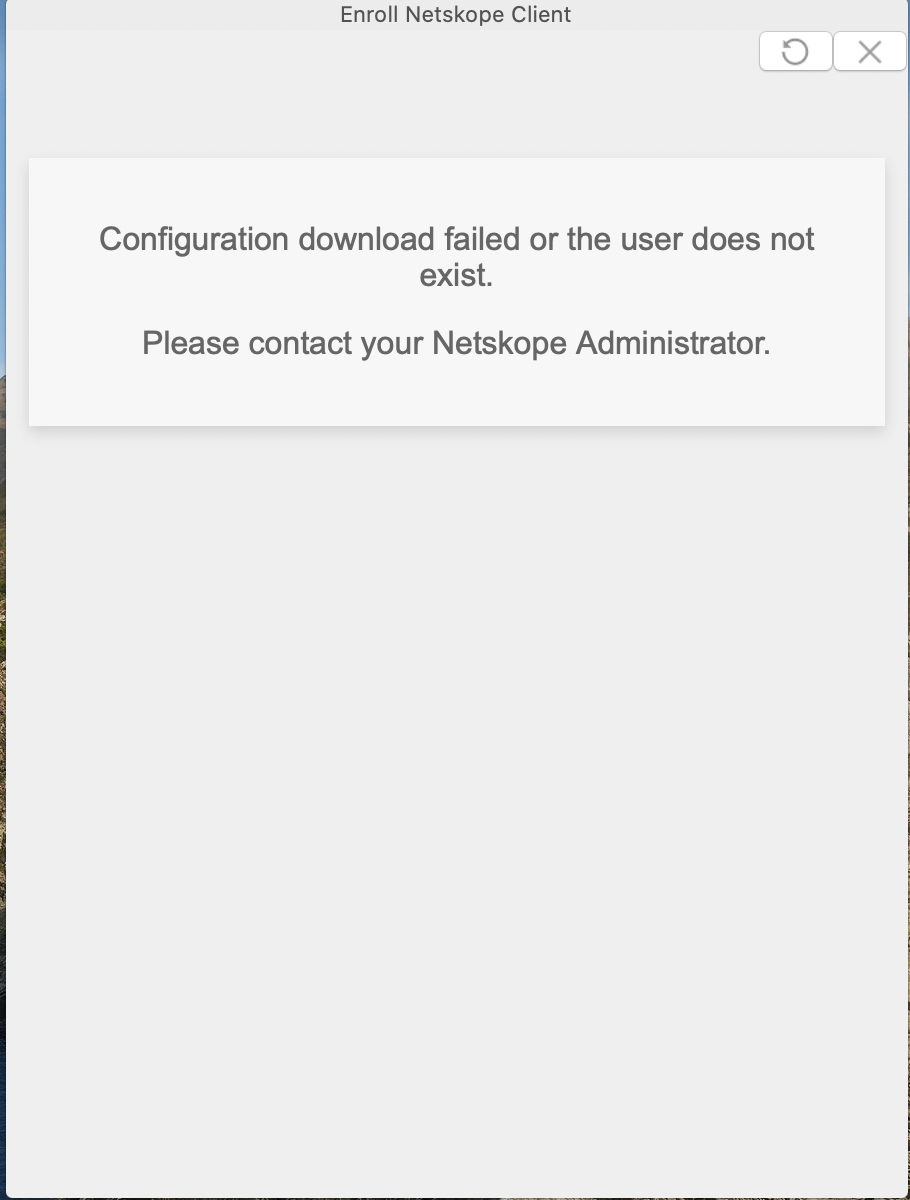
If you see the following error, make sure the user exists in the Netskope tenant under Settings > Security Cloud Platform > Netskope Client > Users.
-
The following message indicates successful enrollment, and the Client will appear in the system tray or menu bar, and be automatically enabled within 10-15 seconds.

You’ll see the Netskope icon in color when the Client is enabled.

After validation of enrollment and SSO works as expected, proceed with using software deployment tools to push out to the remainder of your pilot group or user base. Assistance can be found on the Support site or via your Netskope Sales Engineer or Technical Customer Success Manager.