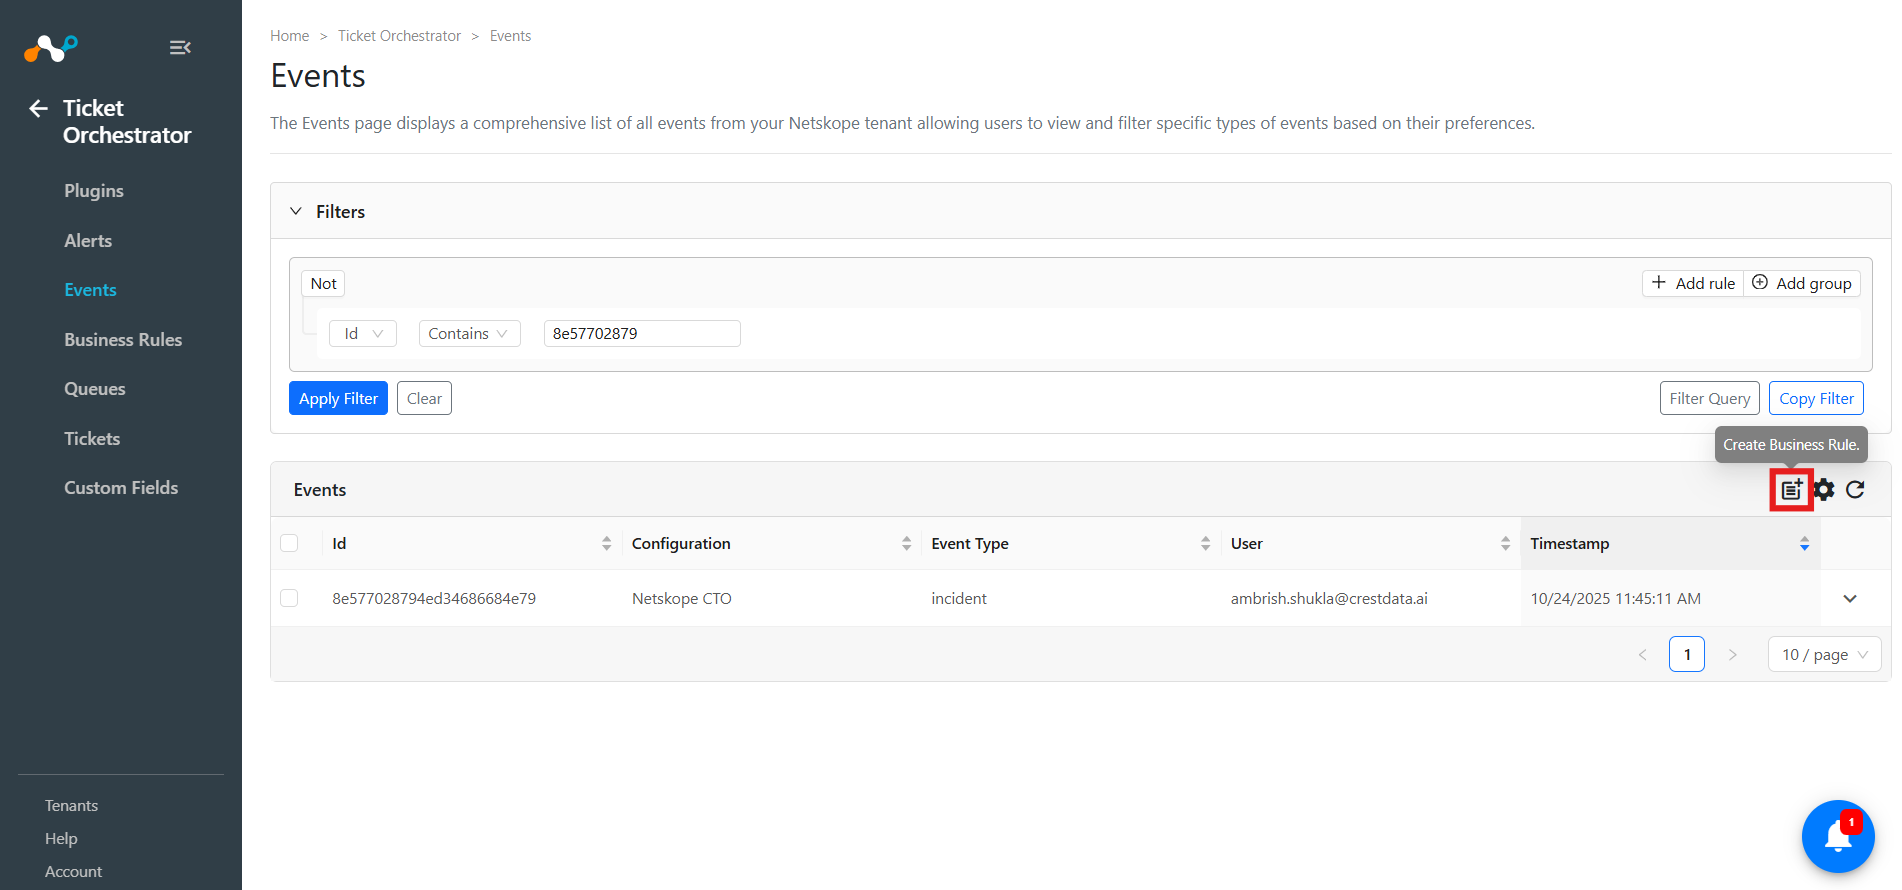
Both Admins and Users can list Events. Ticket Orchestrator maintains a database of Events captured from configured plugins. Users can list the available Events, view Events metadata, and filter the Events.
- Go to Ticket Orchestrator > Events. The Events list shows all events matching any configured filter in the plugin configuration. The list is paginated with a default display of 10, but can be increased using the toggle in the bottom right of the page. The records are sorted in descending order of alert timestamp from most to least recent occurrence.

New fields will be added in Netskope Field that Cloud Exchange learns from the new events. The new fields generated from events will also be shown in notifications as well as in Netskope Cloud Exchange logs. - You can create a negative filter by selecting Not in the upper left hand corner.
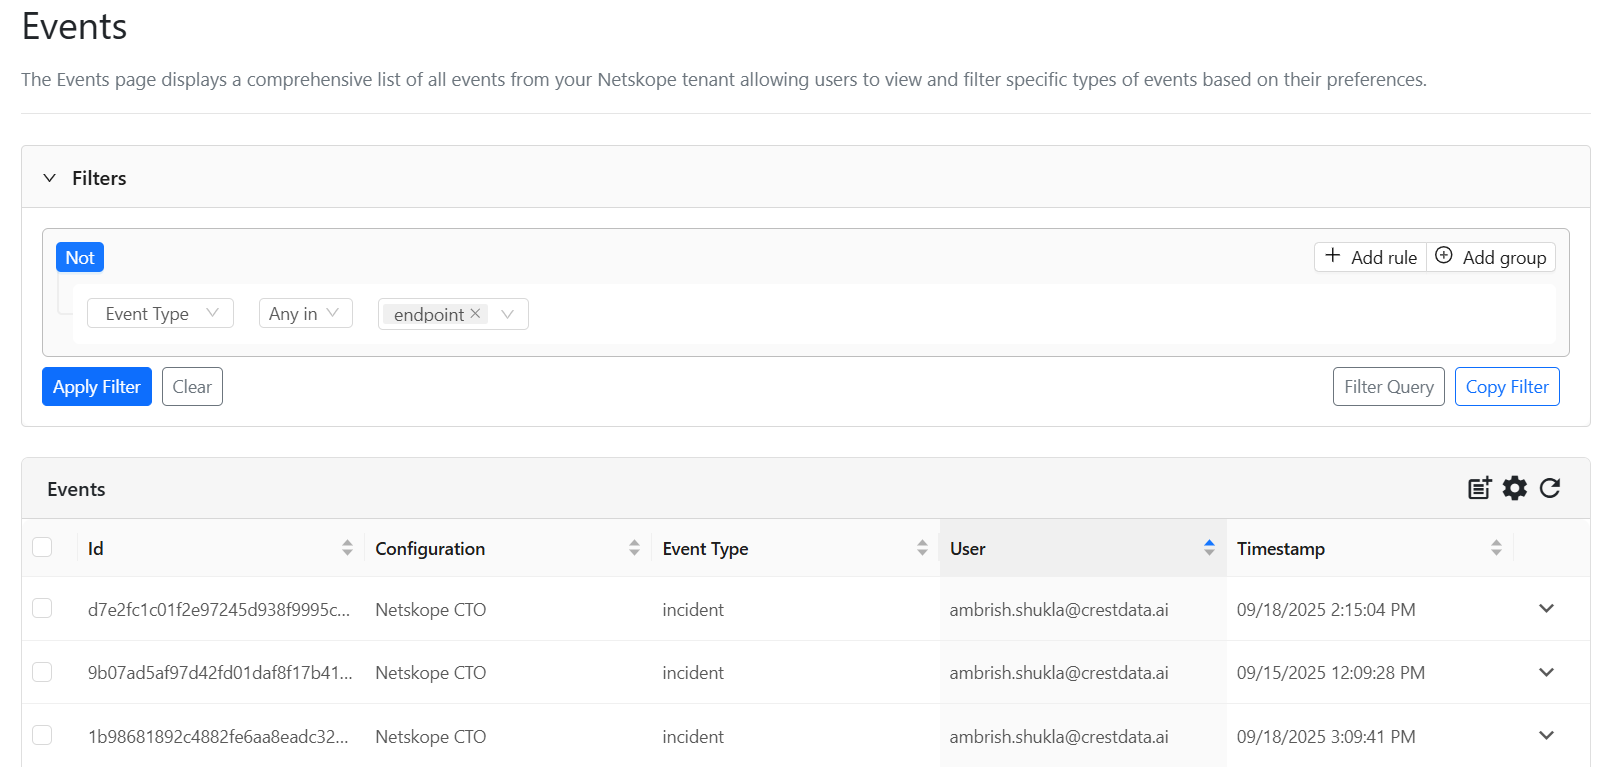
- For more than one filter criteria, move the mouse to the upper right of the filter box to see and select the Add rule option. Then select the appropriate comparison operator And / Or by moving the mouse over the And button in the upper left, creating a multi-variable match as shown in the screenshot below. Individual rules can be deleted by clicking on the red trash icon to the right of the rule.
- For alternative multi-data criteria, select Add group. Rules will be processed from top to bottom. Move the mouse to the upper right of the filter box to see the Add group option.
- Click the Clear button to remove the custom filter; the UI will revert to the default filter and Events matching the default filter will be listed as the screen refreshes.
- After selecting the desired filter, click Apply Filter. Events matching the filtering criteria will be listed.
- You can copy the filter string so it can be used as a filter query in the plugin configuration.
- You can also enter the filter query manually and can load the filters according to the query.
- Expand row functionality in table by clicking on the down carrot to see more detail about individual events.
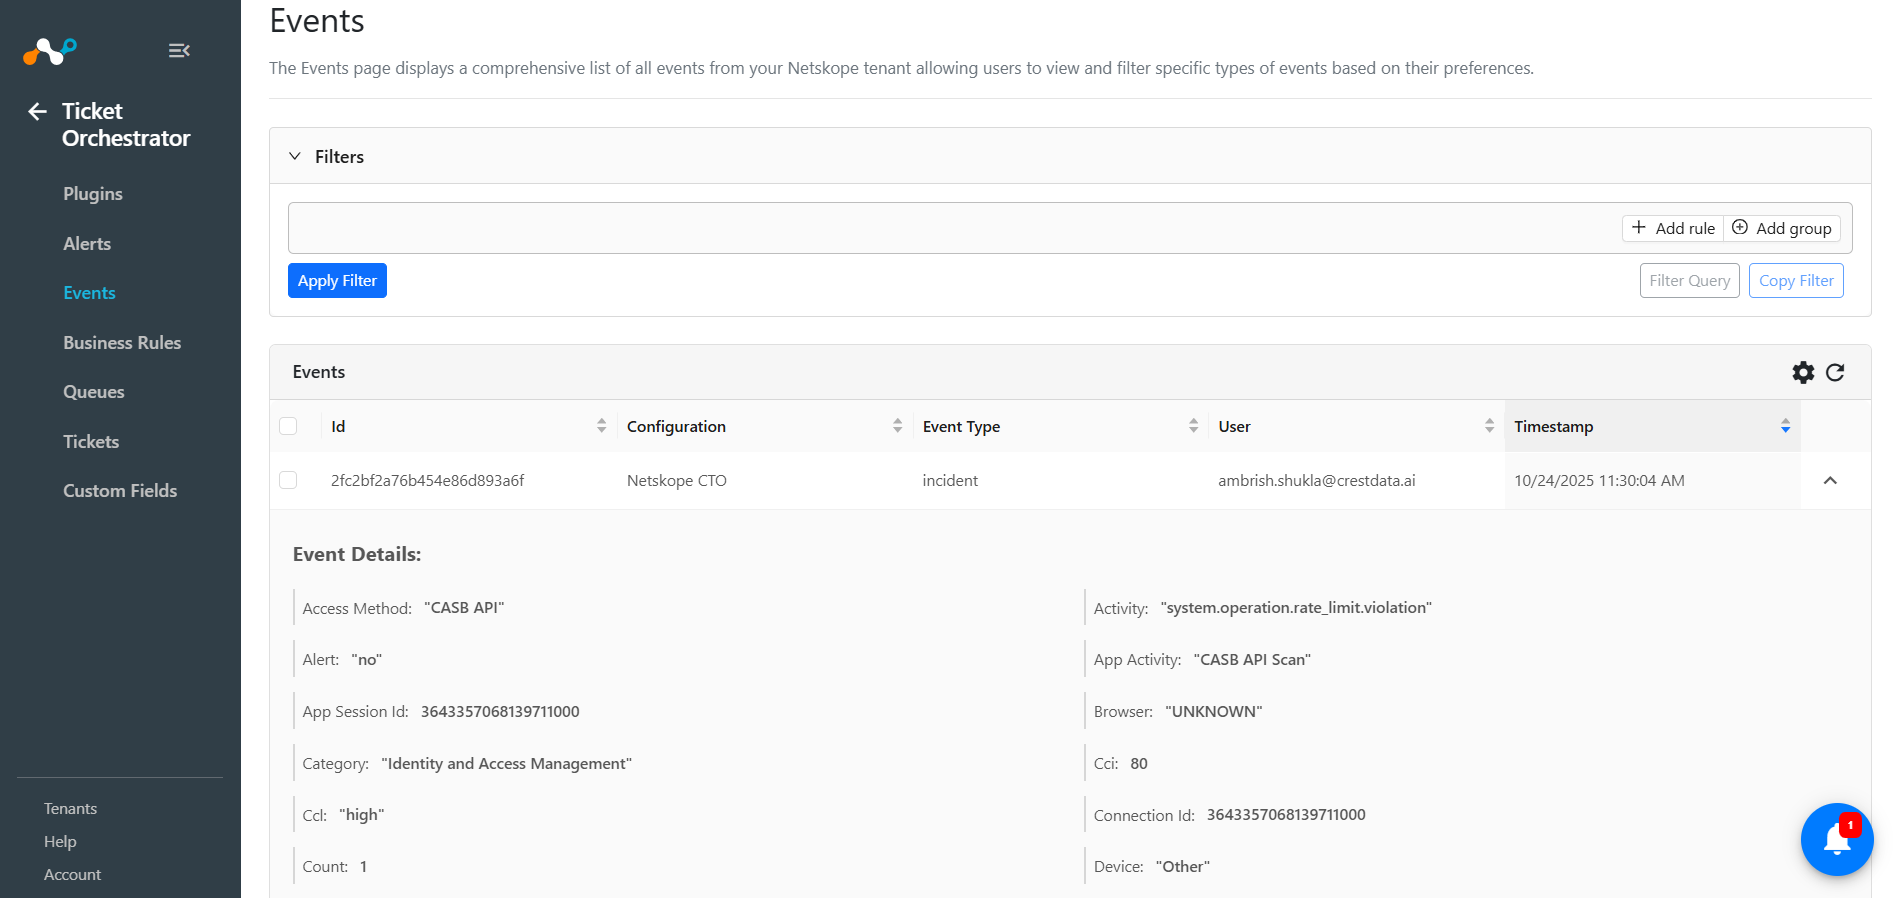
- Admins can create business rules from the Events page when the filter is applied. A business rule based on the filtered query will be created when the File Plus icon is clicked.