

This document explains how to configure the Netskope Borderless WAN Tenant v1.1.0 plugin in Cloud Exchange. This plugin is responsible for configuring BWAN tenants and collecting events of types Audit, Authentication, Client, Gateway, and System from Netskope Borderless WAN.
Prerequisites
To complete this configuration, you need:
- Netskope Borderless WAN Tenant with permission to generate an API token.
- Connectivity to Netskope Borderless WAN Tenant host: Example: https://infiot.api.stage1.infiot.net
CE Version Compatibility
Netskope CE v5.1.1
Borderless WAN Tenant Plugin Support
This plugin is used to pull events from Netskope Borderless WAN Tenant.
| Event Types | Yes (Audit, Authentication, Client, Gateway, System) |
| Alert Types | Not Supported |
| WebTx | Not Supported |
Permissions
You need to have these permissions in the Auth Token:
[
   {
      "rap_privs":[
         "privAuditRecordRead"
      ],
      "rap_resource":"*"
   }
]
API Details
List of APIs Used
| API Endpoint | Method | Use Case |
|---|---|---|
| /v2/auditevents | GET | Fetch Events from Borderless WAN Tenant. |
Fetch Events
API Endpoint: <BASE URL>v2/auditevents
Method: GET
Request Headers
| Key | Value |
|---|---|
| Authorization | Bearer <API TOKEN> |
| User-Agent | netskope-ce-5.1.1-tenant-netskope_borderless_wan-v1.1.0 |
| grant_type | client_credentials |
Request Parameters
| Key | Value |
|---|---|
| first | 100 |
| after | end_cursor (end cursor from previous response) |
| filter | event_time>="<START TIME>" AND event_time<="END TIME" AND (class: <EVENT TYPE>)Example: event_time>="2025-01-29T12:20:42.124910Z" AND event_time<="2025-01-29T12:58:01.122Z" AND (class: AUDIT OR class:AUTHENTICATION OR class:SYSTEM OR class:CLIENT OR class:GATEWAY) |
Sample API Response
{
    "page_info": {
        "end_cursor": "WyIyMDI1LTAxLTI5VDEyOjQzOjIyLjAzNVoiLCI2NzlhMjI2YTIyNmUyYTBmYzU2YzJjOGIiXQ",
        "has_next": true,
        "total_count": 4
    },
    "data": [
        {
            "id": "679a226a226e2a0fc56c2c8b",
            "actor_nrn": "nrn:bwan:authn:us:5dadf8a91602d141e060c93e:token:6245b39c611790724910338f",
            "target_nrn": "nrn:bwan:site:us:5dadf8a91602d141e060c93e:site:673757abb51faf57f043a36a",
            "type": "AUDIT",
            "subtype": "AUDIT_GATEWAY",
            "activity": "SITE_UPDATED",
            "note": "",
            "event_time": "2025-01-29T12:43:22Z"
        },
        {
            "id": "679a24c905aa7377e0924ab0",
            "actor_nrn": "nrn:bwan:authn:us:5dadf8a91602d141e060c93e:user:656e127fd8a92afdc8447576",
            "target_nrn": "nrn:bwan:authn:us:5dadf8a91602d141e060c93e:user:656e127fd8a92afdc8447576",
            "type": "AUTHENTICATION",
            "subtype": "AUTHENTICATION_USER",
            "activity": "USER_LOGIN",
            "note": "",
            "event_time": "2025-01-29T12:53:29Z"
        },
        {
            "id": "679a20d105aa7377e0924931",
            "actor_nrn": "nrn:bwan:authn:us:5dadf8a91602d141e060c93e:token:675145c90f1ebb6e8c59983b",
            "target_nrn": "nrn:bwan:site:us:5dadf8a91602d141e060c93e:site:675145b90f1ebb6e8c59982a",
            "type": "CLIENT",
            "subtype": "CLIENT_SYSTEM",
            "activity": "SITE_CLIENT_DEVICE_ENROLL_STARTED",
            "note": "",
            "event_time": "2025-01-29T12:36:34Z"
        },
        {
            "id": "679a259d05aa7377e0924afa",
            "actor_nrn": "nrn:bwan:authn:us:5dadf8a91602d141e060c93e:token:67343709ca023562f3b8f02e",
            "target_nrn": "nrn:bwan:site:us:5dadf8a91602d141e060c93e:site:6734367c1f66fecb2dff8554",
            "type": "GATEWAY",
            "subtype": "GATEWAY_UNDERLAY",
            "activity": "SITE_LINK_UP",
            "note": "wlp0s0",
            "event_time": "2025-01-29T12:57:00Z"
        },
        {
            "id": "679a25b439a4bd42a70bb934",
            "actor_nrn": "nrn:bwan:authn:us:5dadf8a91602d141e060c93e:token:6245b39c611790724910338f",
            "target_nrn": "nrn:bwan:tenant:us:5dadf8a91602d141e060c93e:tenant:5dadf8a91602d141e060c93e",
            "type": "SYSTEM",
            "subtype": "SYSTEM_SSE_TUNNEL",
            "activity": "SITE_NS_TUNNEL_ERROR",
            "note": "https://tunnel-test.goskope.com (accountId: 62b3a3e3b7f108a3b8b74815): get tunnels: status: 401 -> Unauthorized\naccountId: 62b3a3e3b7f108a3b8b74815",
            "event_time": "2025-01-29T12:57:24Z"
        }
    ]
}
User Agent
netskope-ce-5.1.1-tenant-netskope_borderless_wan-v1.1.0
Workflow
- Generate an Auth Token for your Netskope Borderless WAN tenant.
- Configure the Netskope Borderless WAN Tenant plugin.
- Validate the Netskope Borderless WAN Tenant plugin.
Click play to watch a video.
Generate an Auth Token
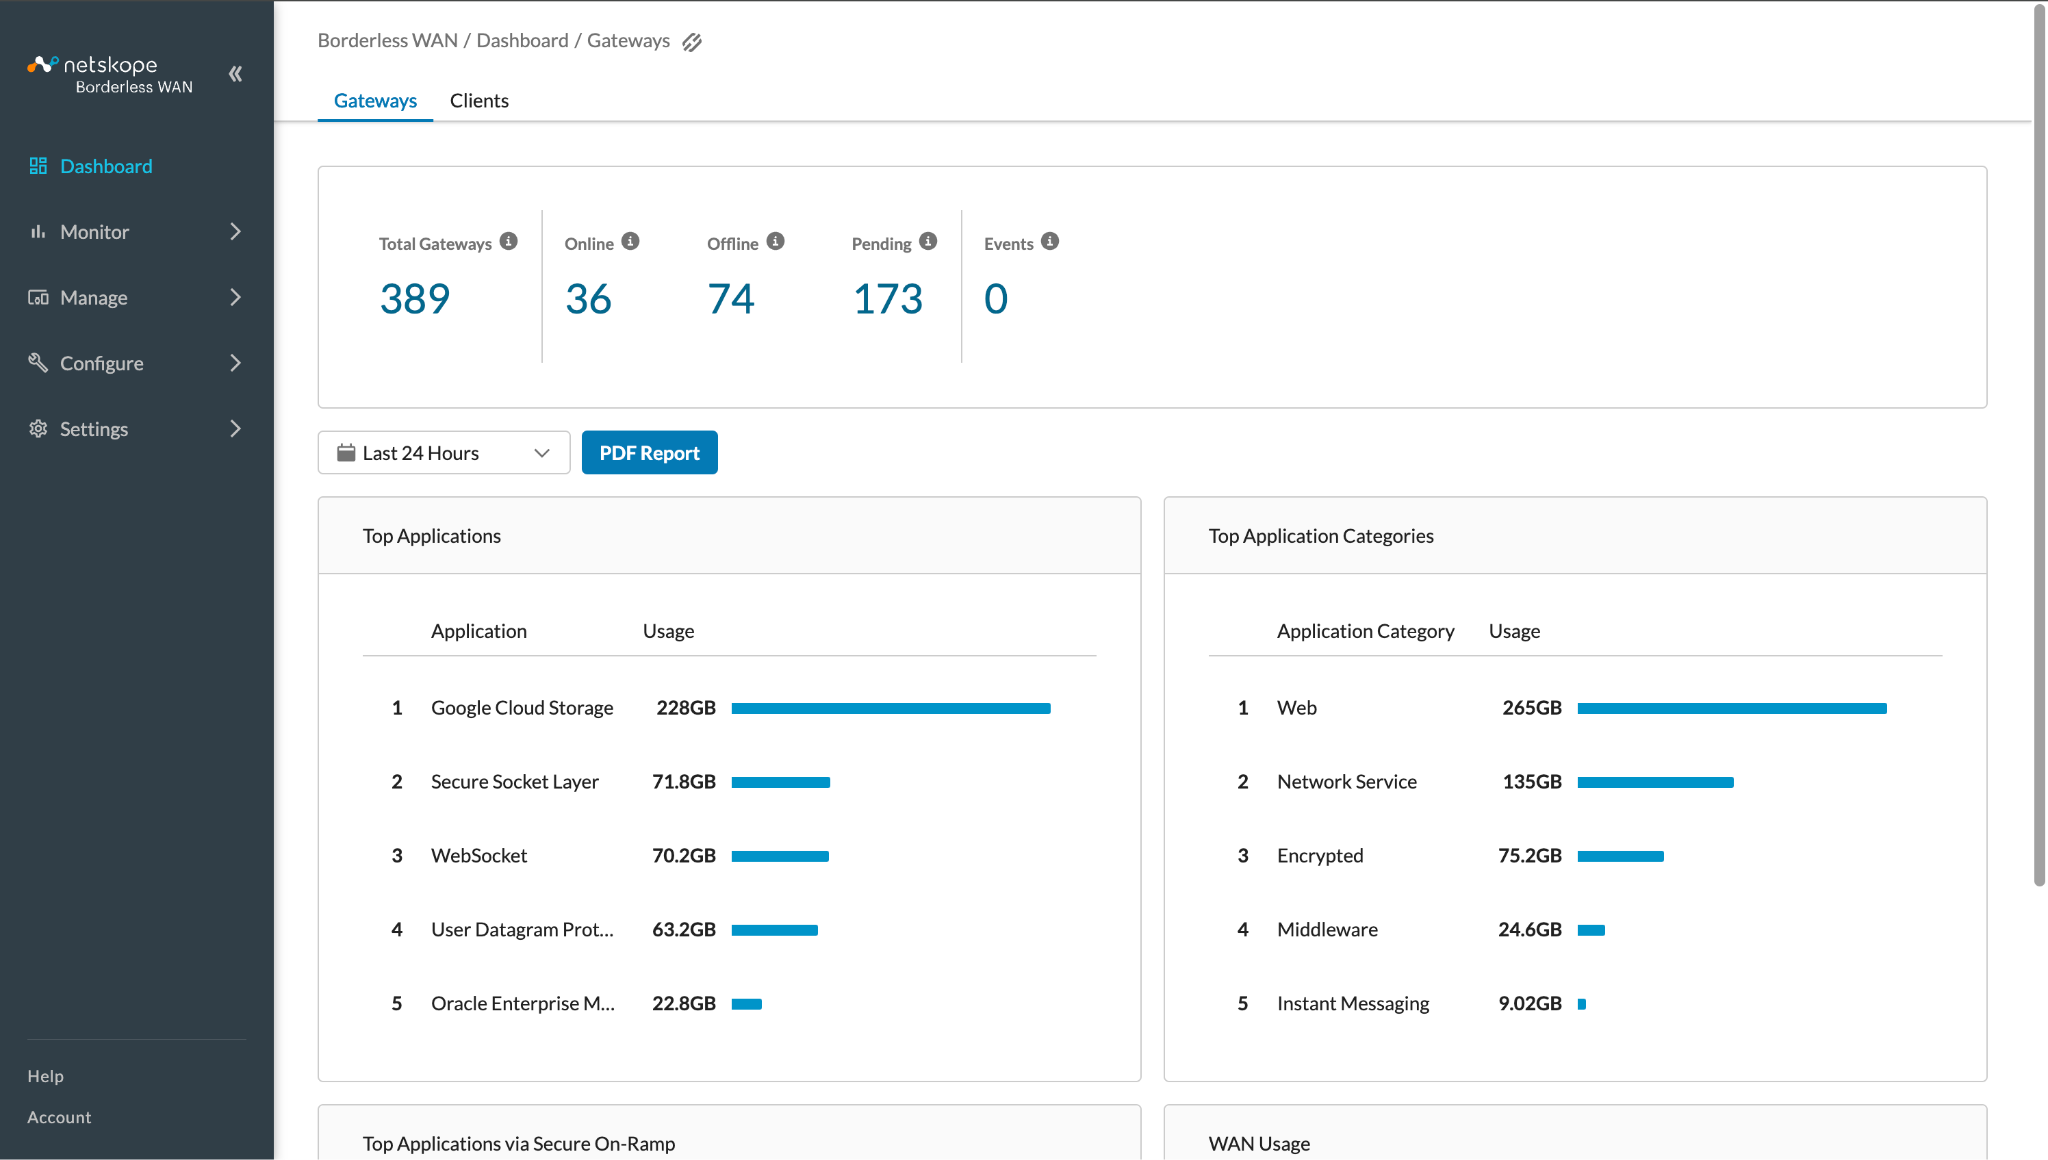
- Log in to your Netskope Borderless WAN Tenant.
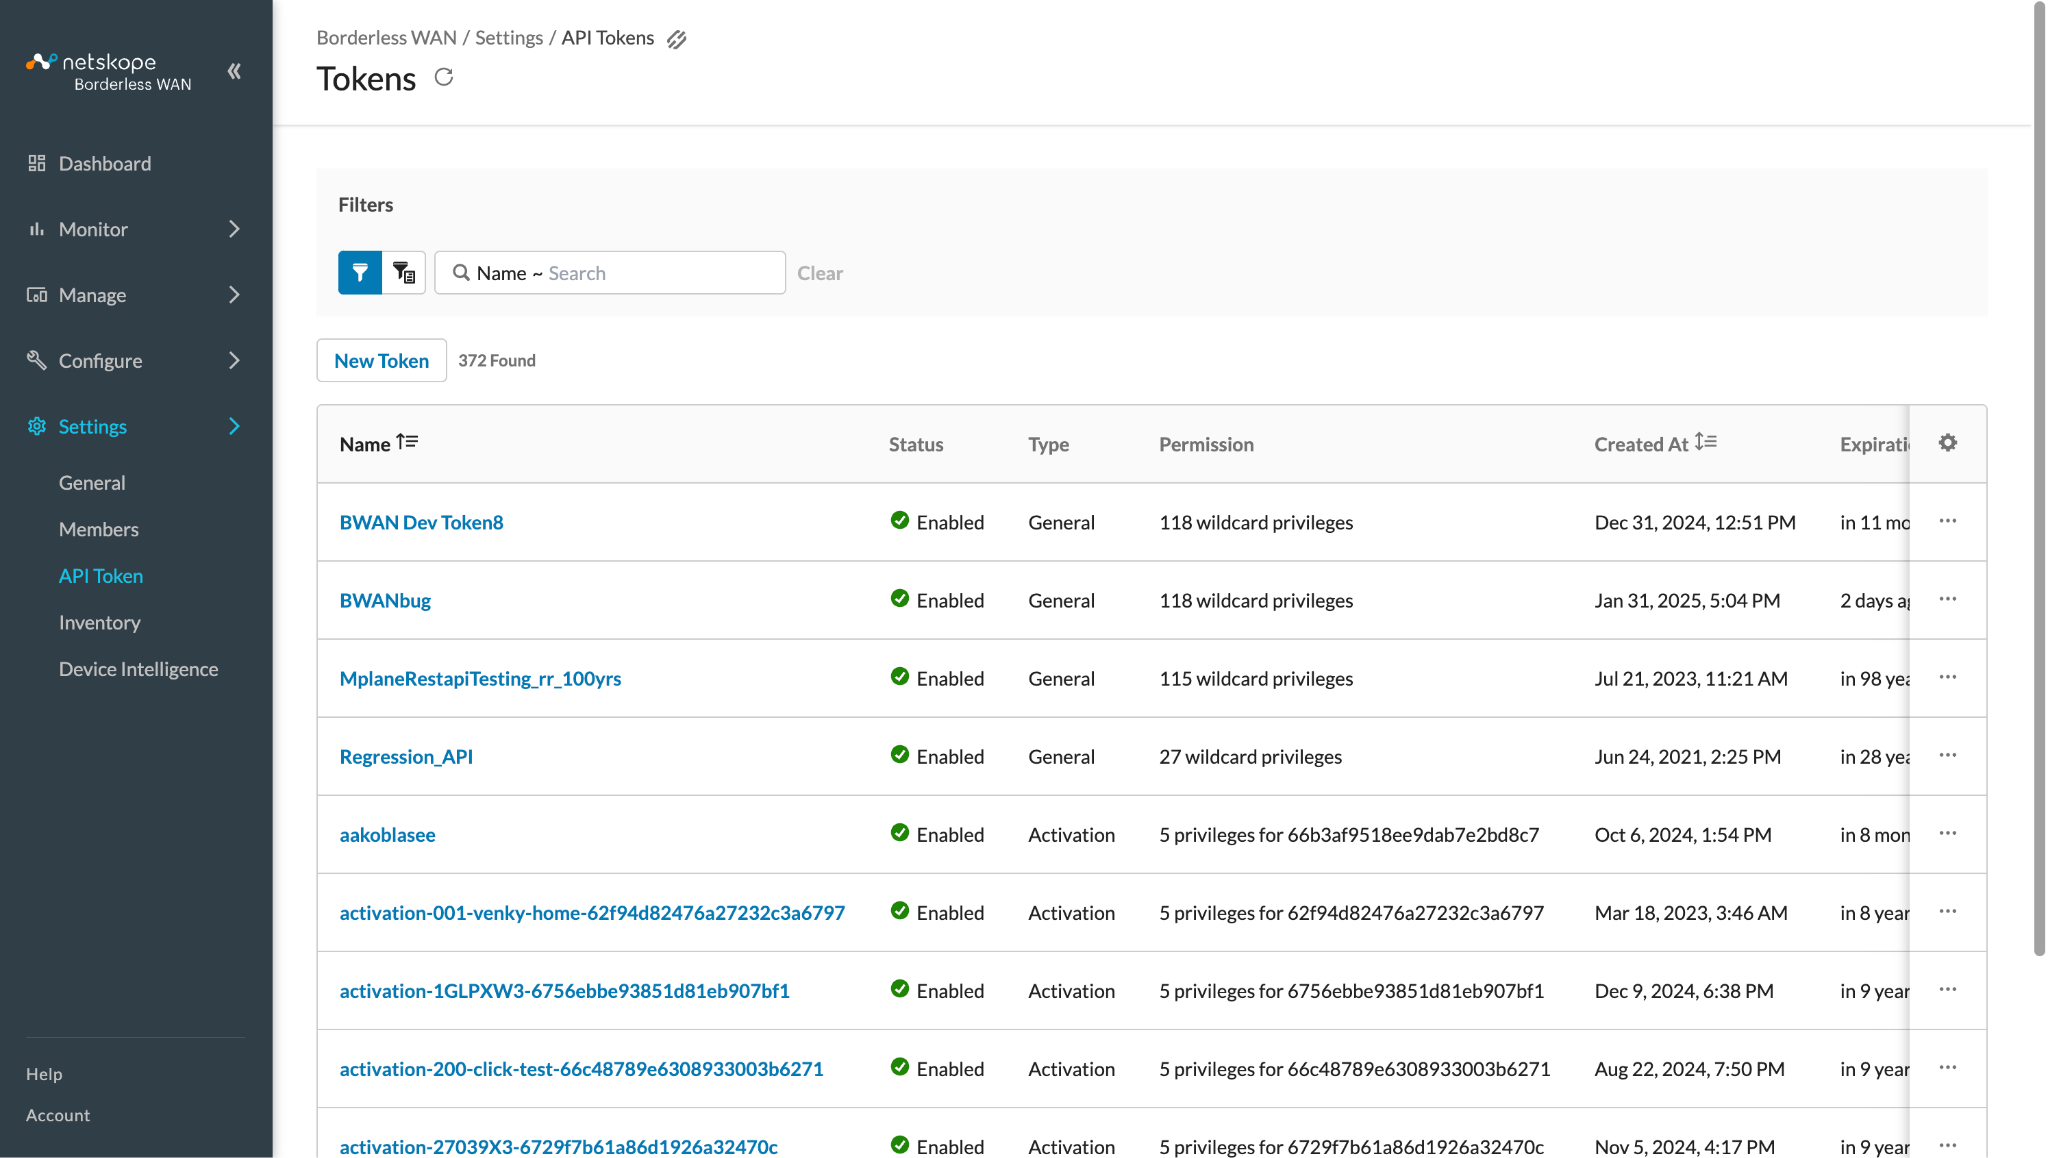
- Go to Settings > API Token and click New Token.
- Enter the Token Name, Expiration, and Description per your requirements.
For Permissions, refer to the Permissions section.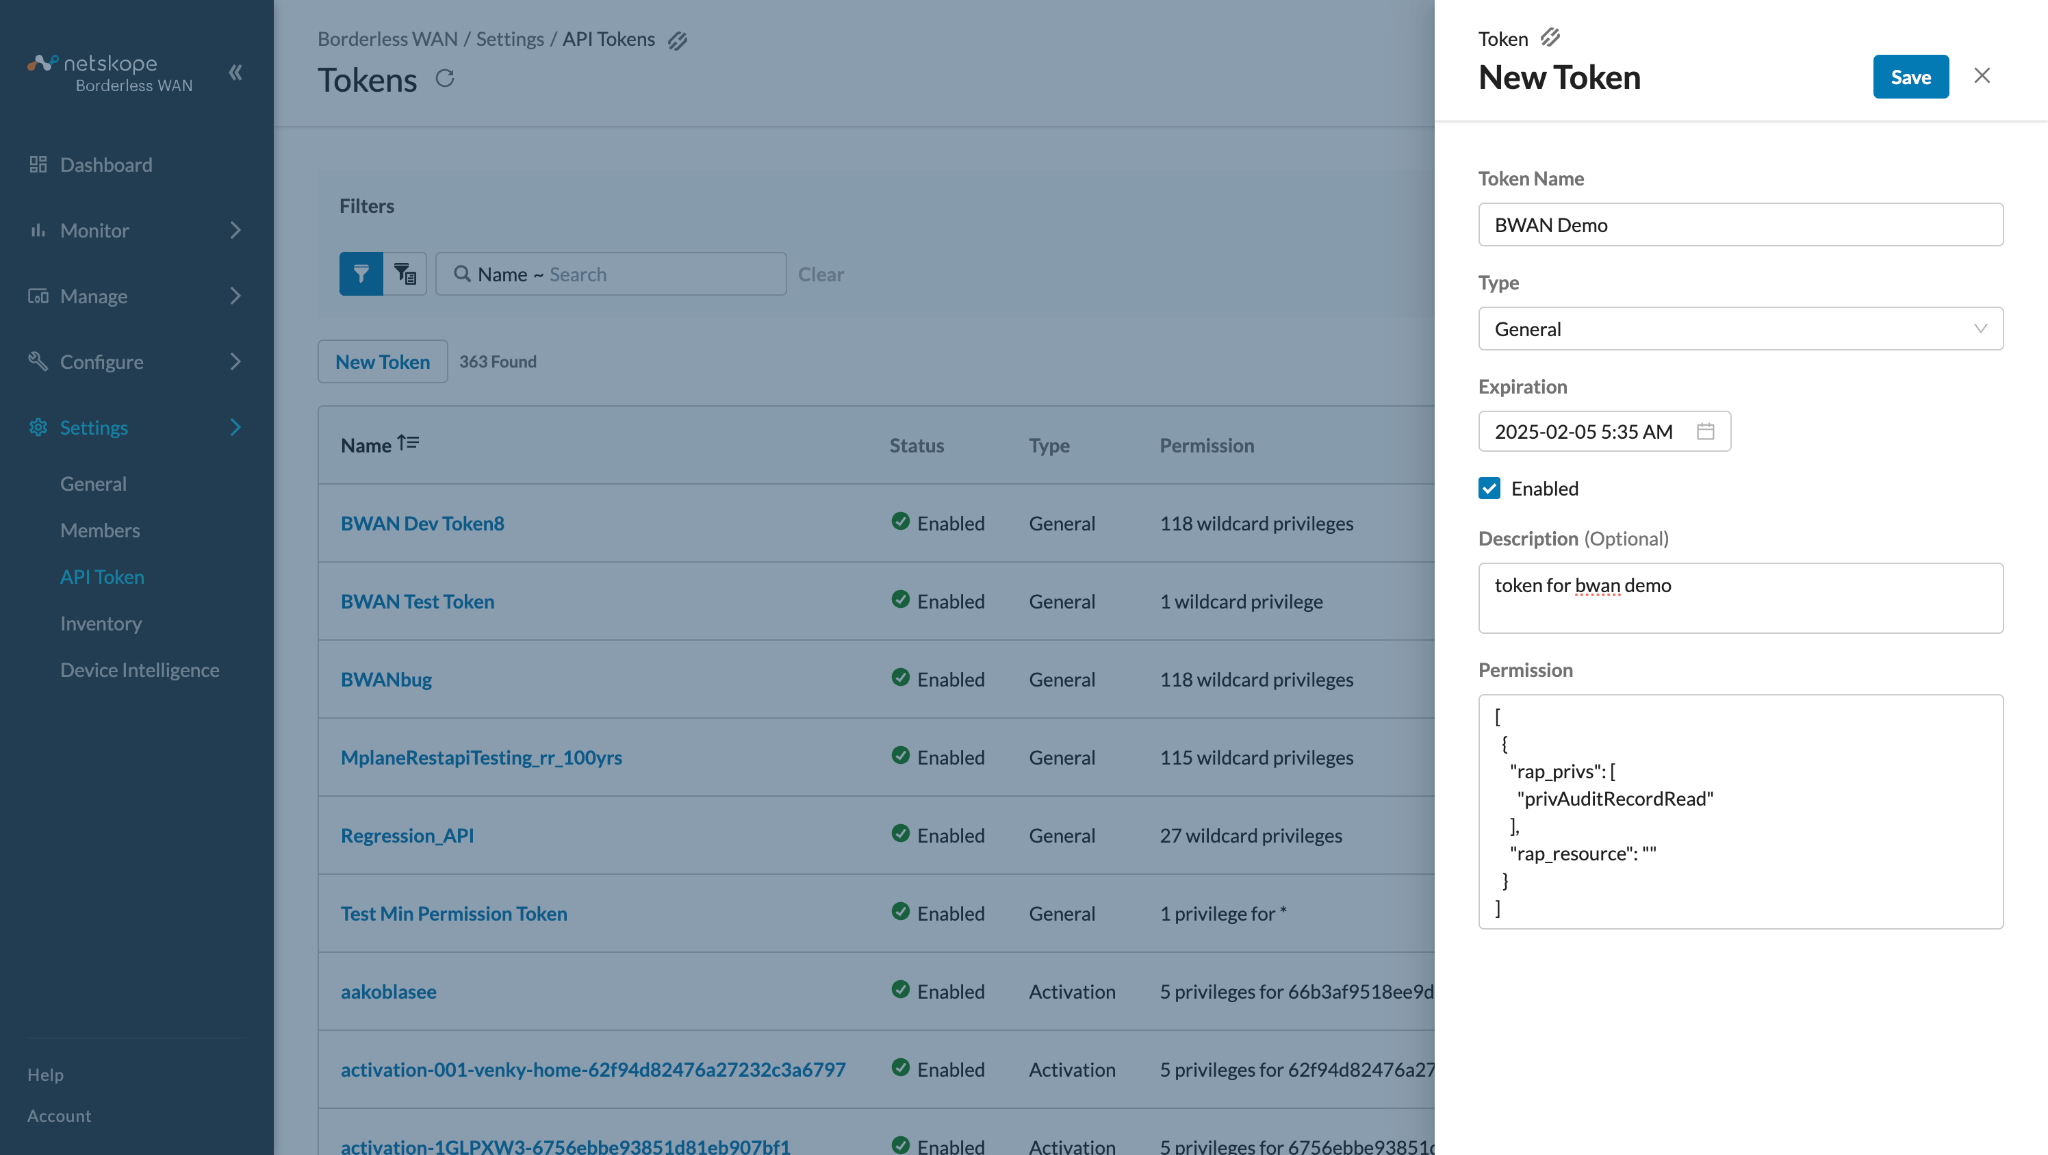
- Click Save and copy the generated token.
The generated token will be used to configure the Netskope BWAN Tenant in Cloud Exchange.
Configure the Netskope BWAN Tenant Plugin
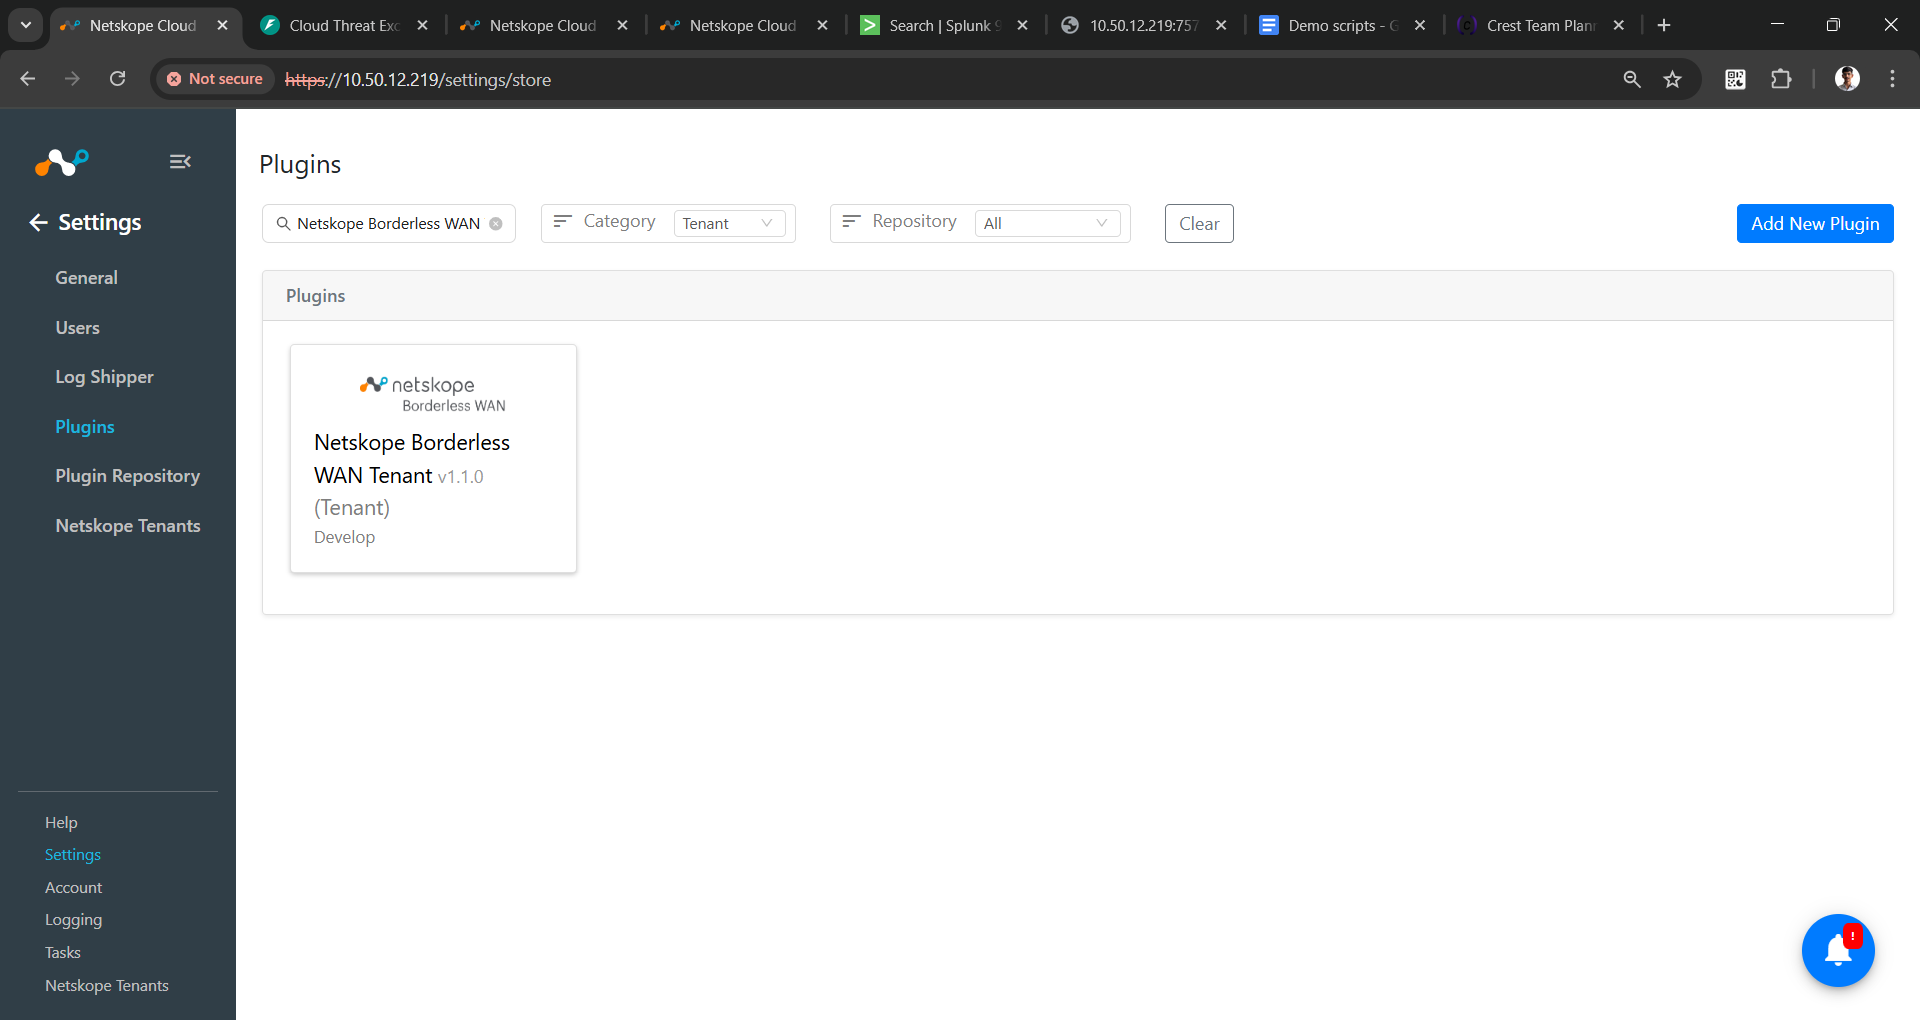
- In Cloud Exchange, go to Settings > Plugins. Search for and select the Netskope Borderless WAN Tenant v1.1.0 plugin box.
- Enter the tenant parameters. Make sure to enter full tenant URL (Example: https://infiot.api.stage1.infiot.net), and then enter the Auth Token your generated previously.
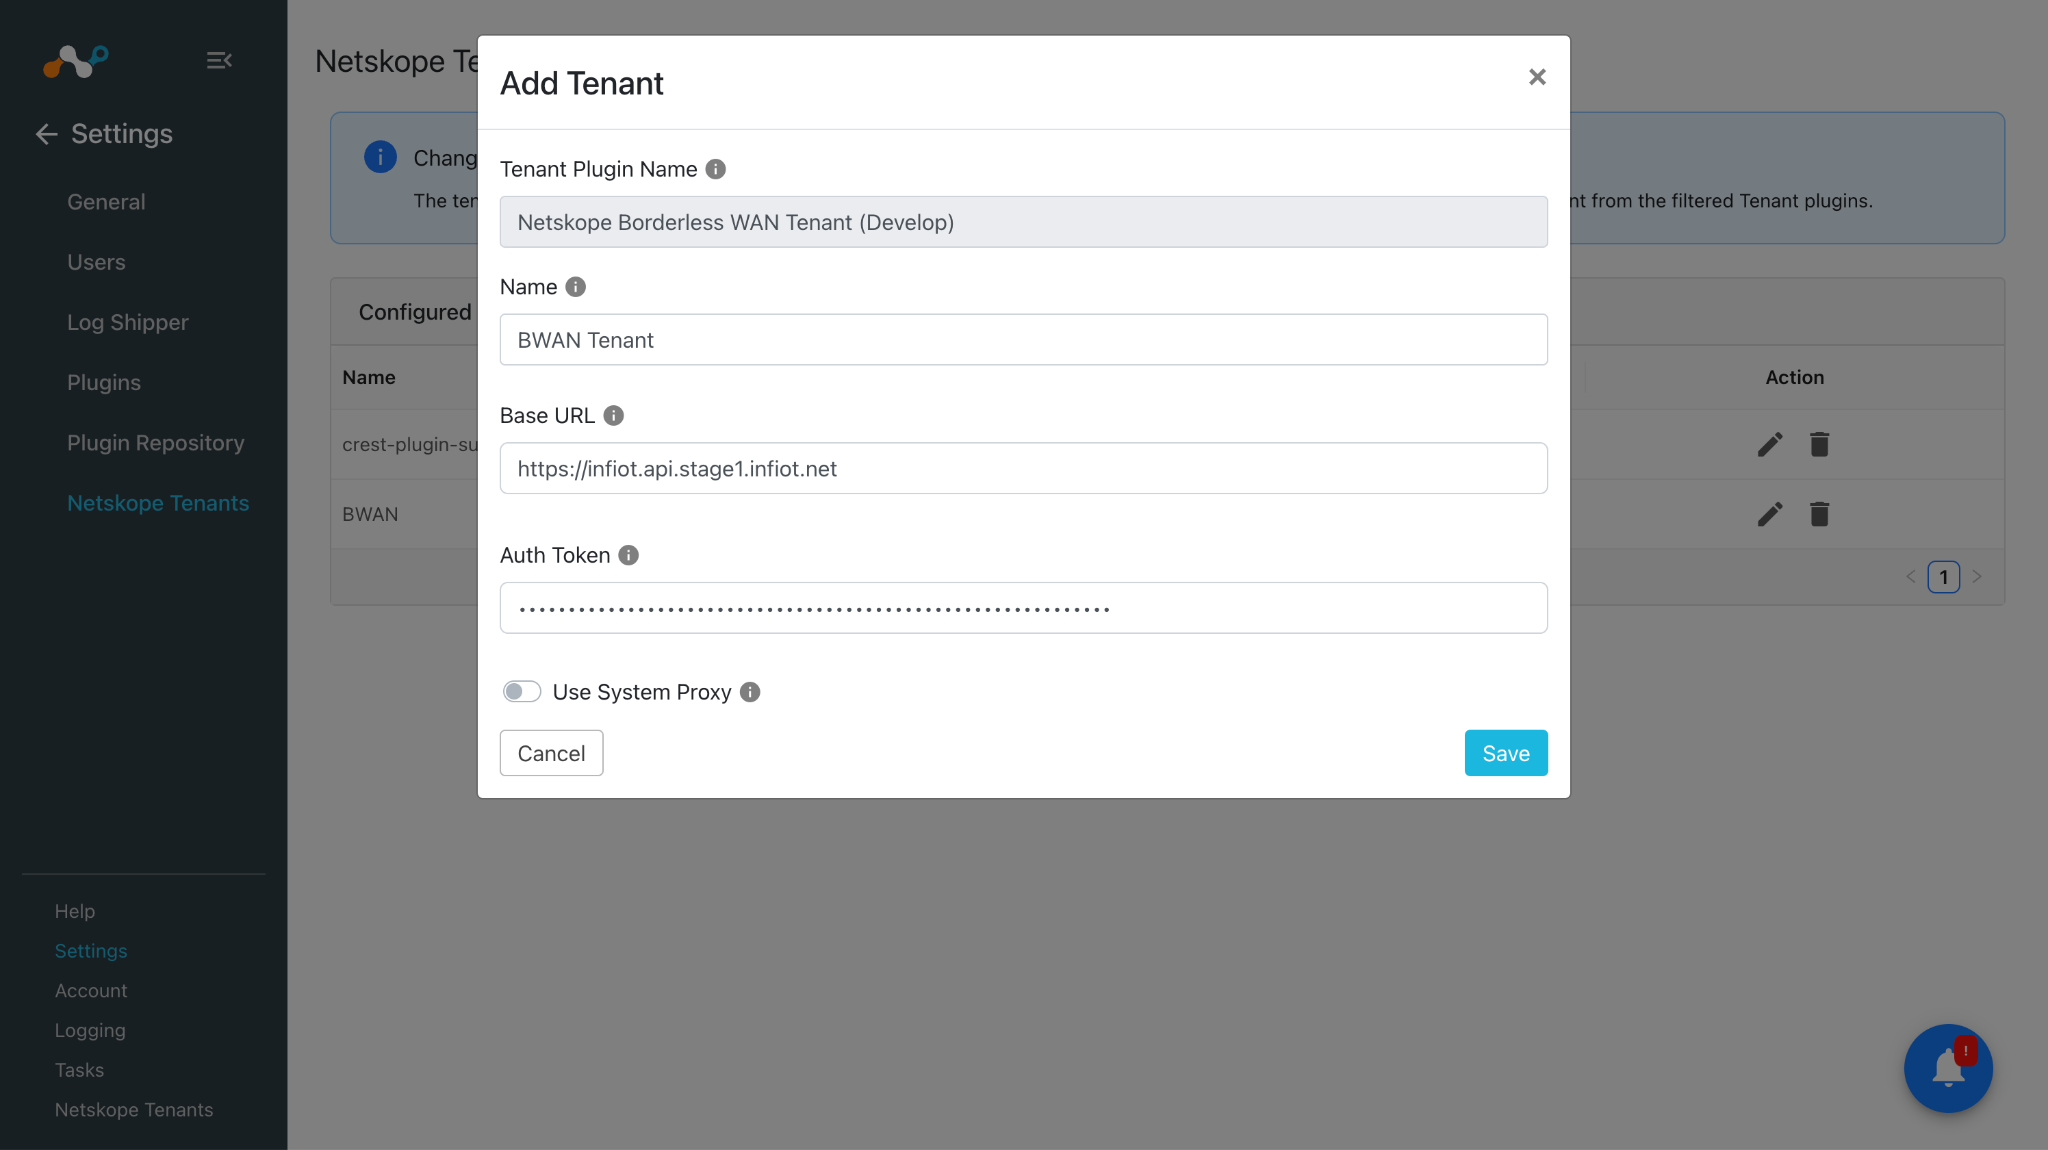
- Click Save.
Validate the Borderless WAN Tenant Plugin
To verify the configured BWAN Tenant in Cloud Exchange, go to Settings > Netskope Tenants. You will see the newly configured tenant in the list.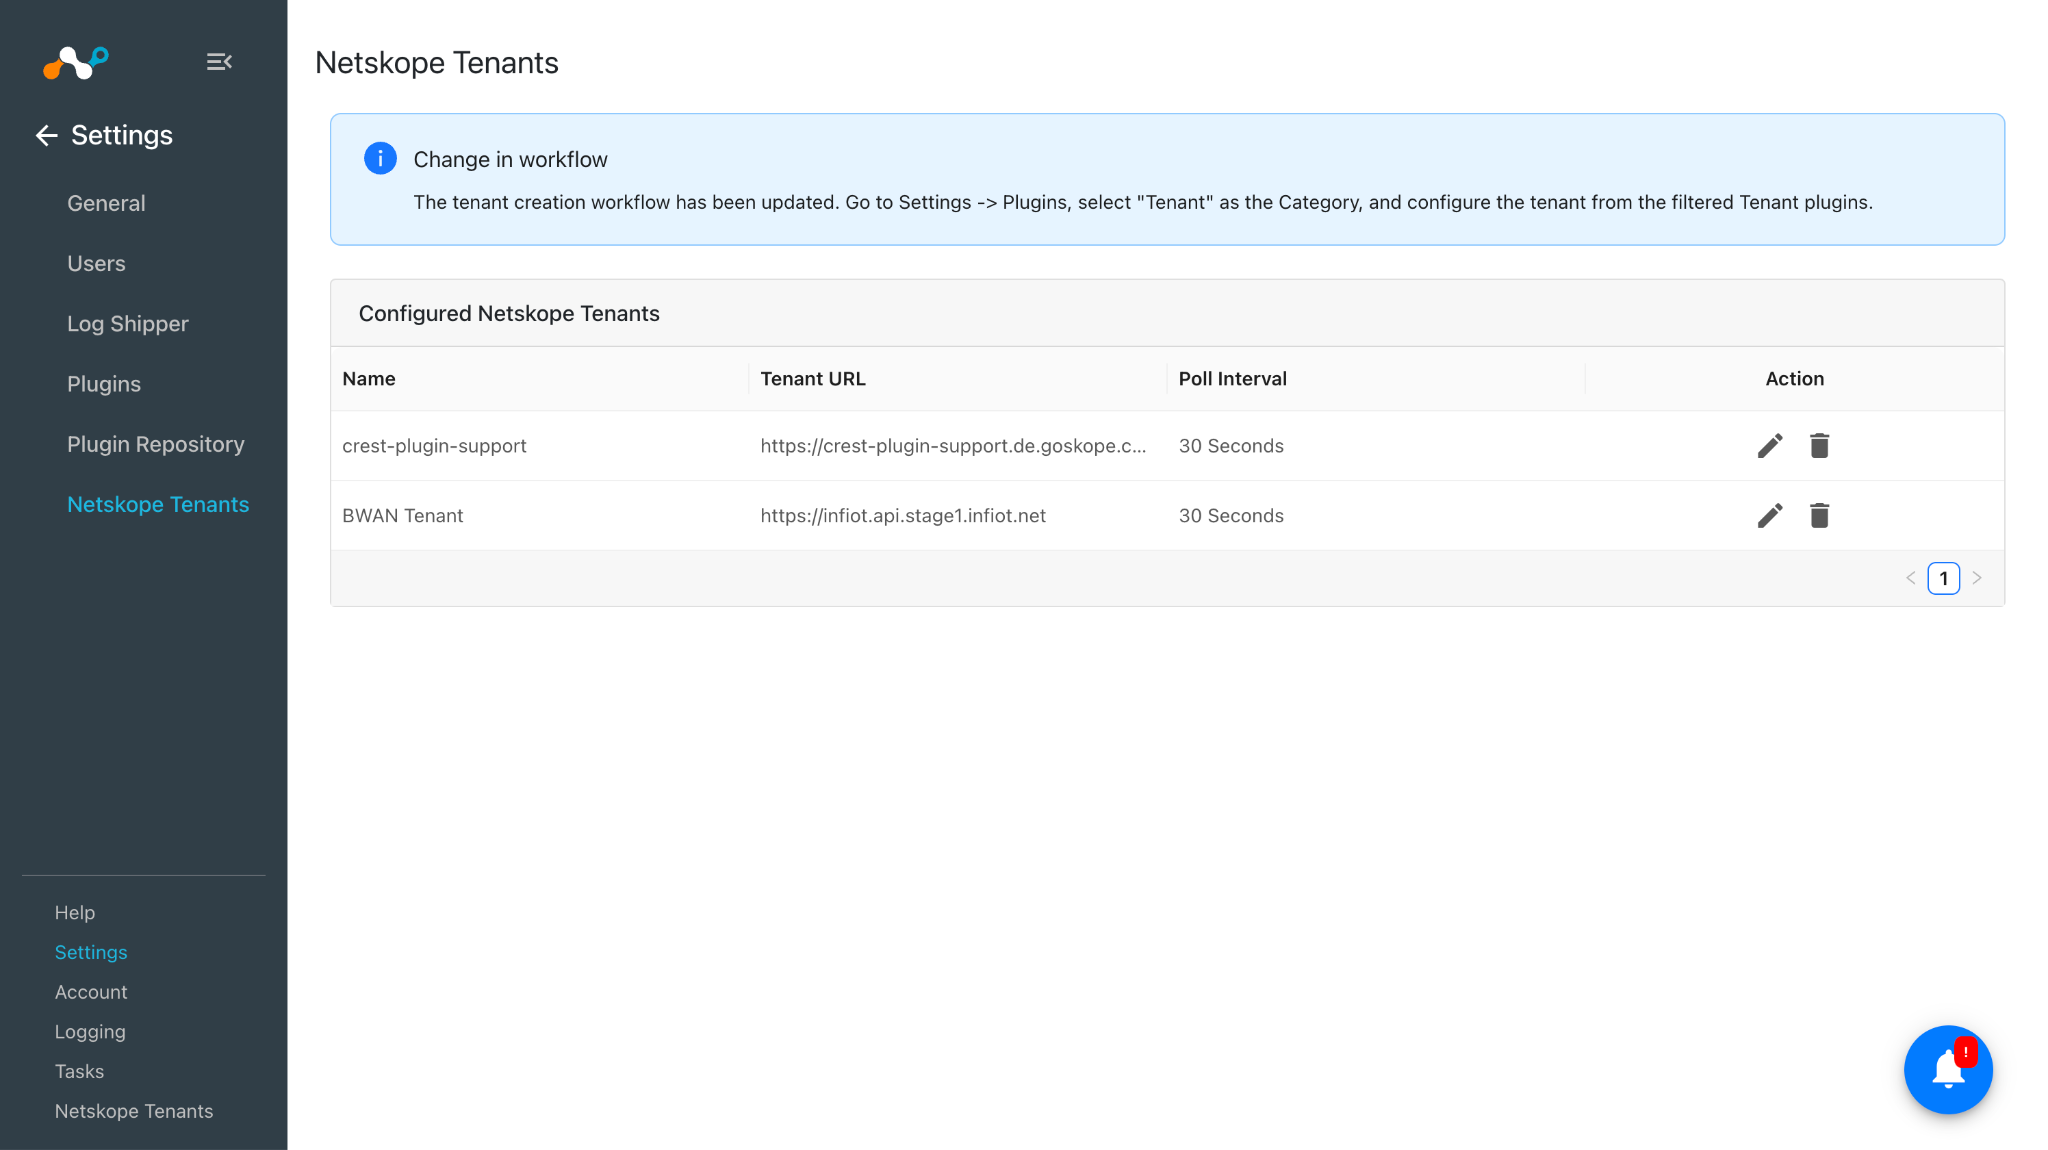
Troubleshooting the Borderless WAN Tenant Plugin
Receiving error while configuring the tenant
- Getting the error: “TENANT Netskope Borderless WAN Tenant [BWAN Tenant Demo]: Validation error occurred. Unable to establish connection with Netskope Borderless WAN platform. Proxy server or Netskope Borderless WAN server is not reachable.”
What to do: Verify whether the Base URL of your tenant is entered correctly. Refer to Connectivity in the following hosts list item.
- Getting the error: “TENANT Netskope Borderless WAN Tenant [BWAN Tenant Demo]: Validation error occurred. Invalid Auth Token provided in the configuration parameters. Make sure that the Auth Token has all the required permissions and is not expired.”
What to do:- Verify whether the Auth Token of your tenant is entered correctly.
- Verify the Auth Token has the necessary permissions. Refer to Generate an Auth Token section.