This article provides steps to add a new SAML account.
- Log in to your Okta site.
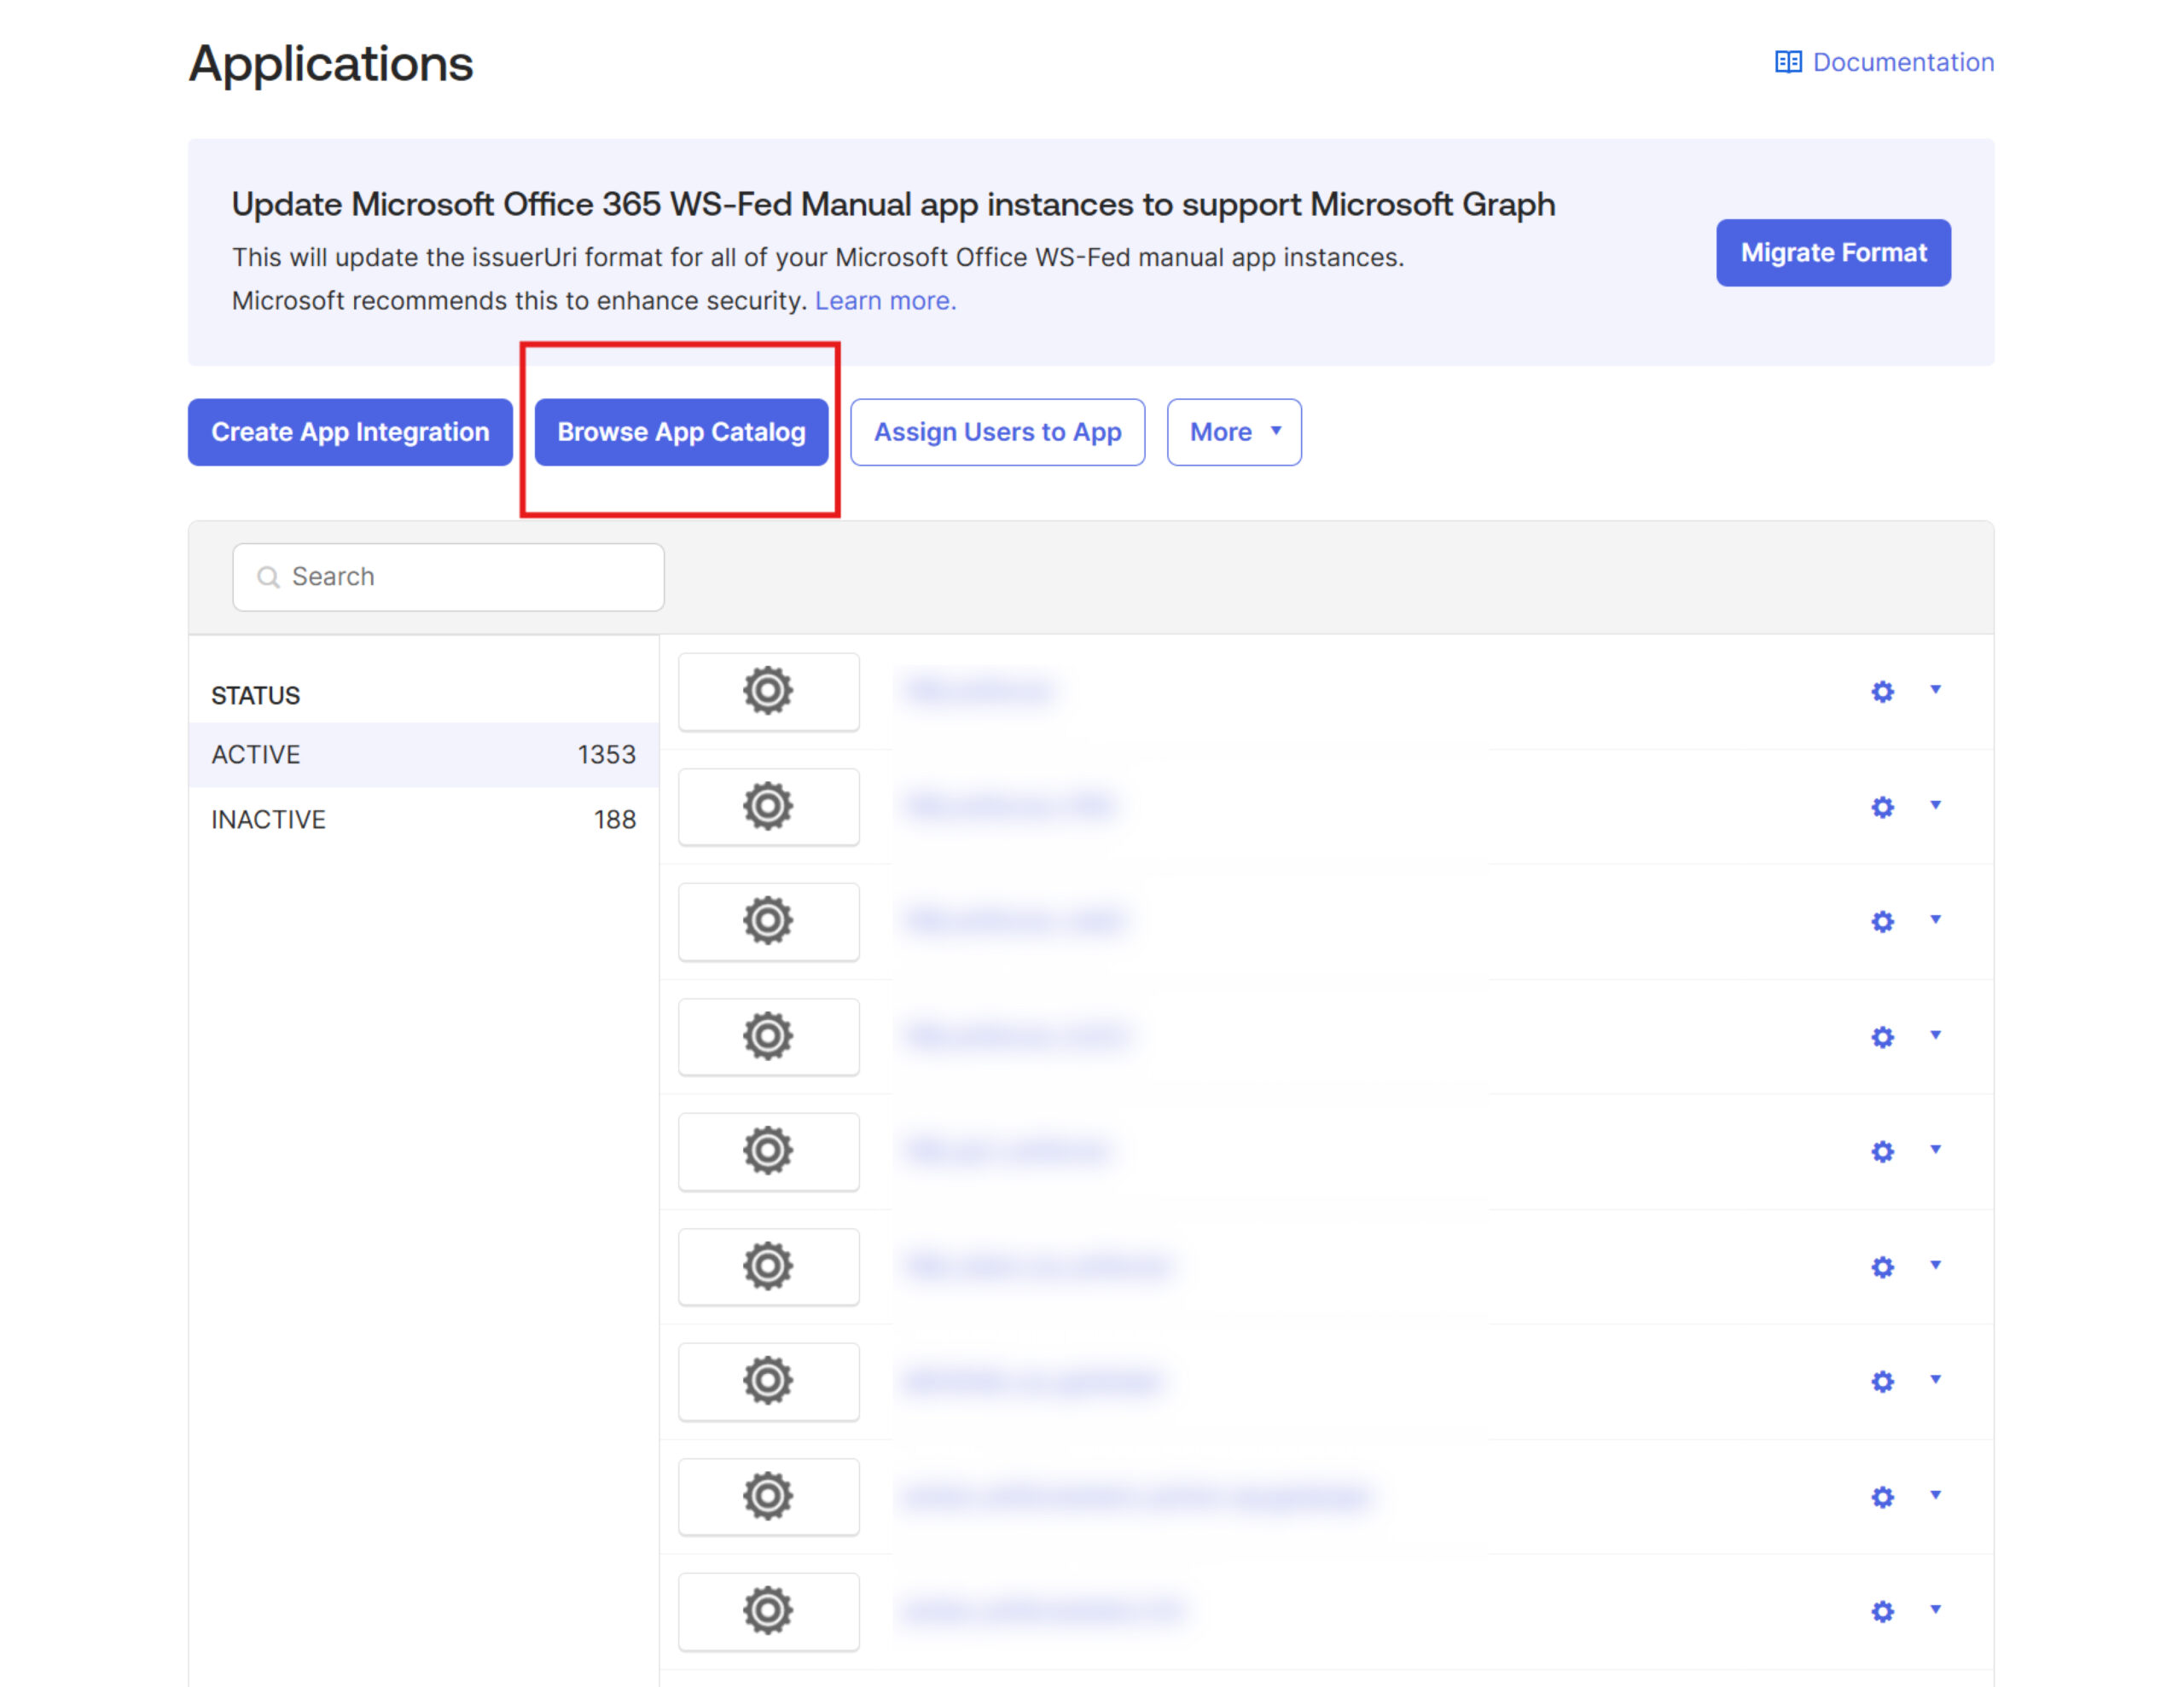
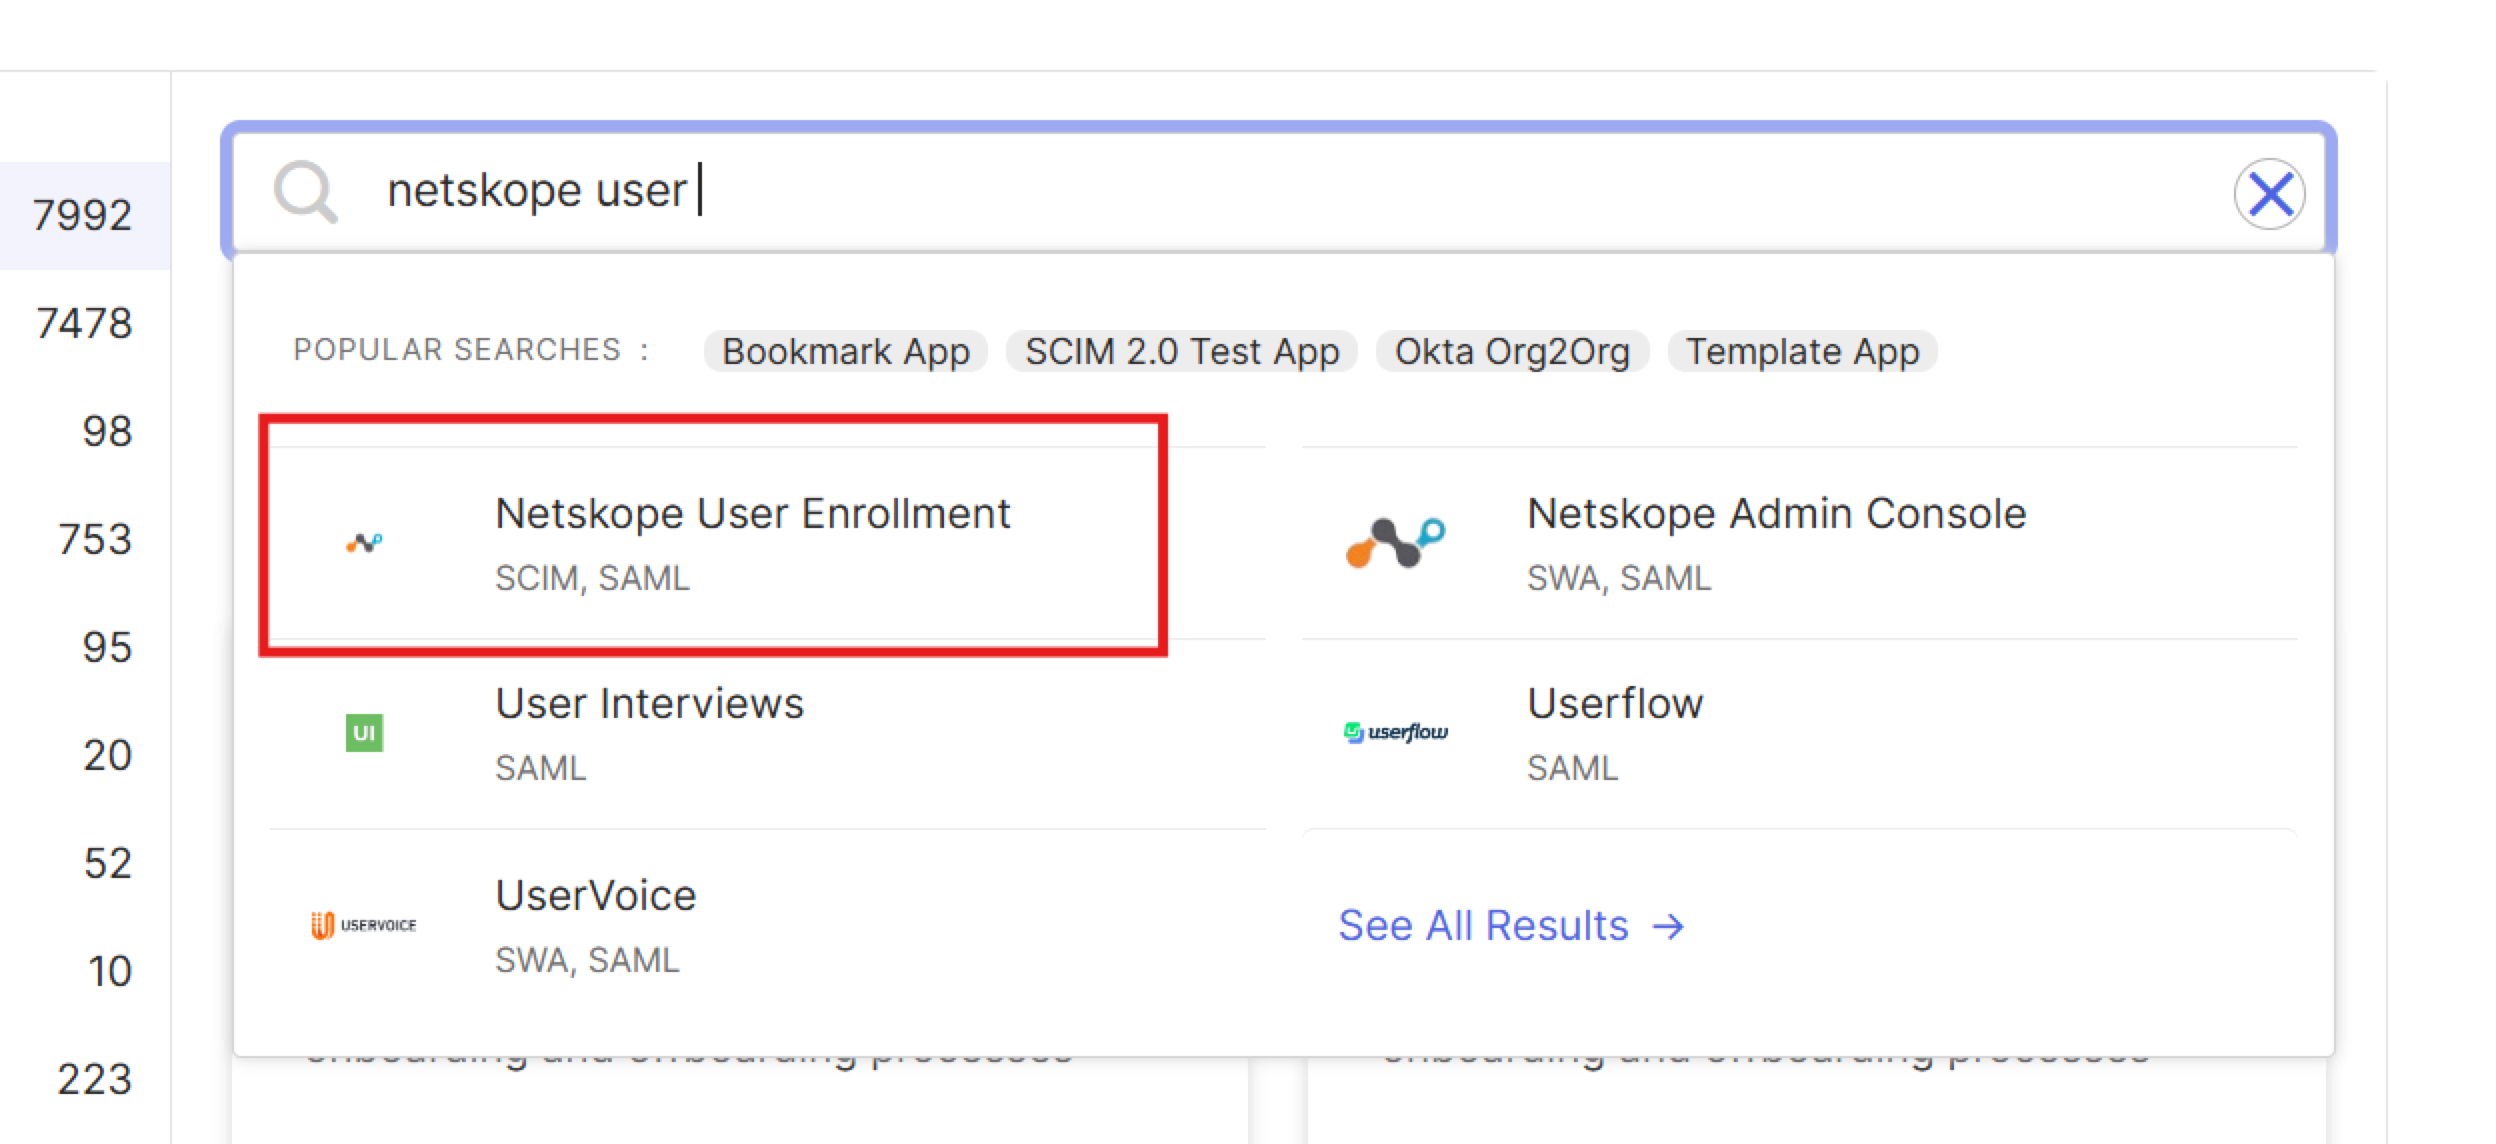
- Navigate to Applications > Browse App Catalog > Netskope User Enrollment.
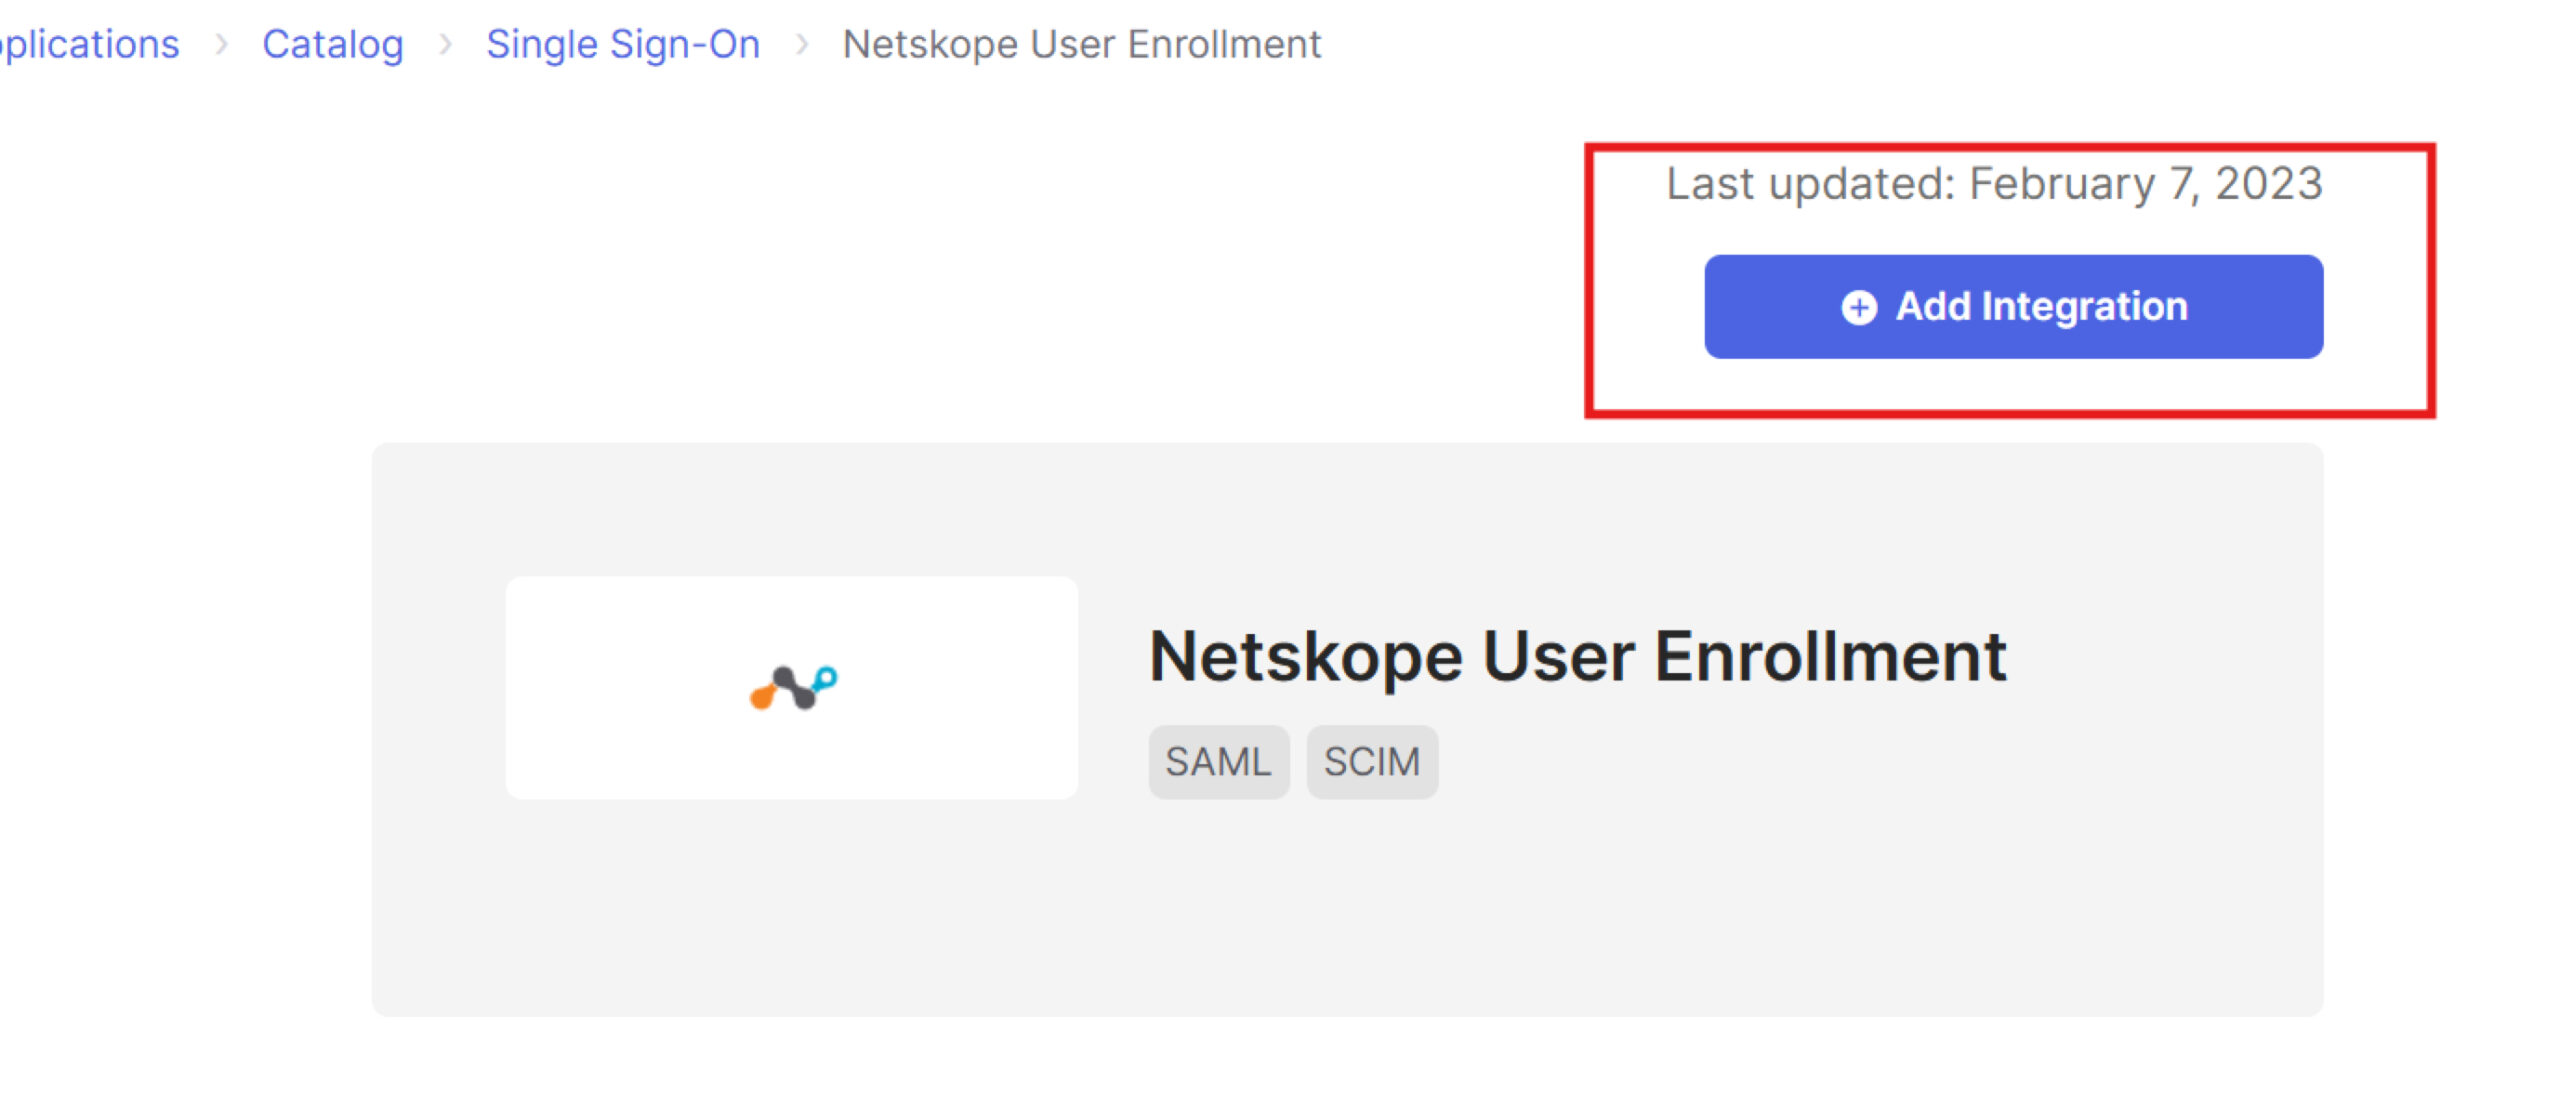
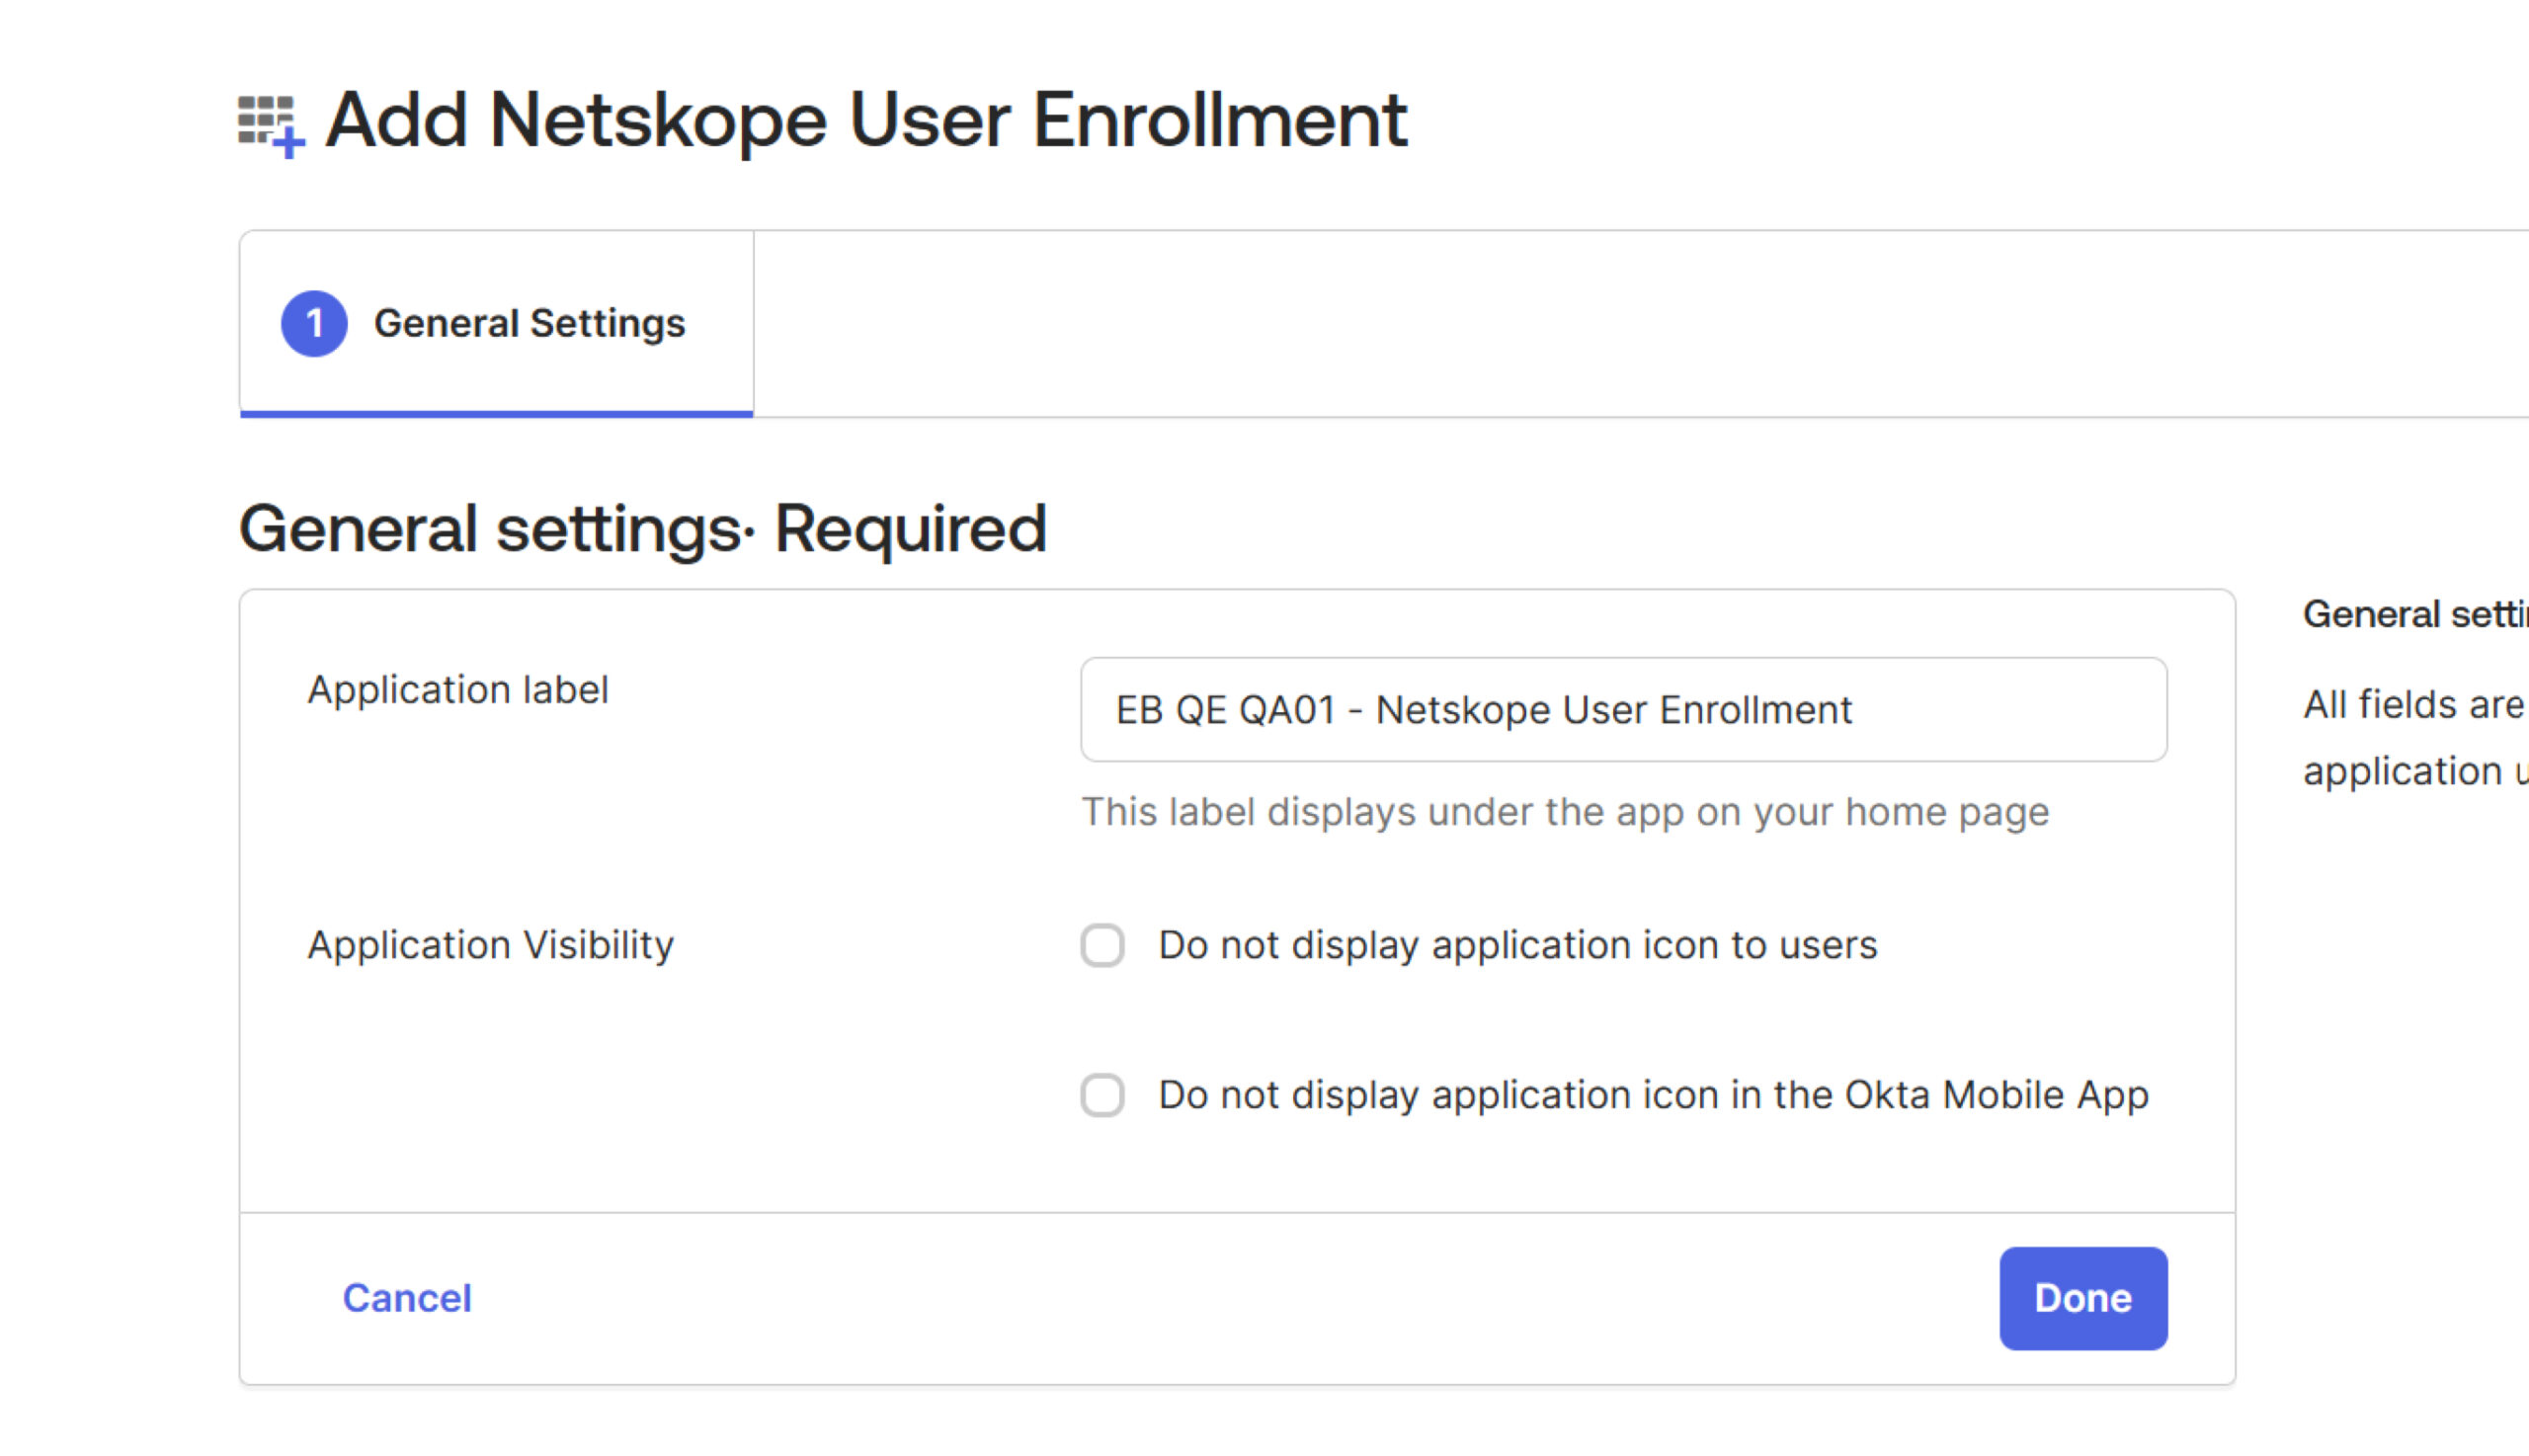
- Click Add integration for the Netskope User Enrollment app and add a name for the application.
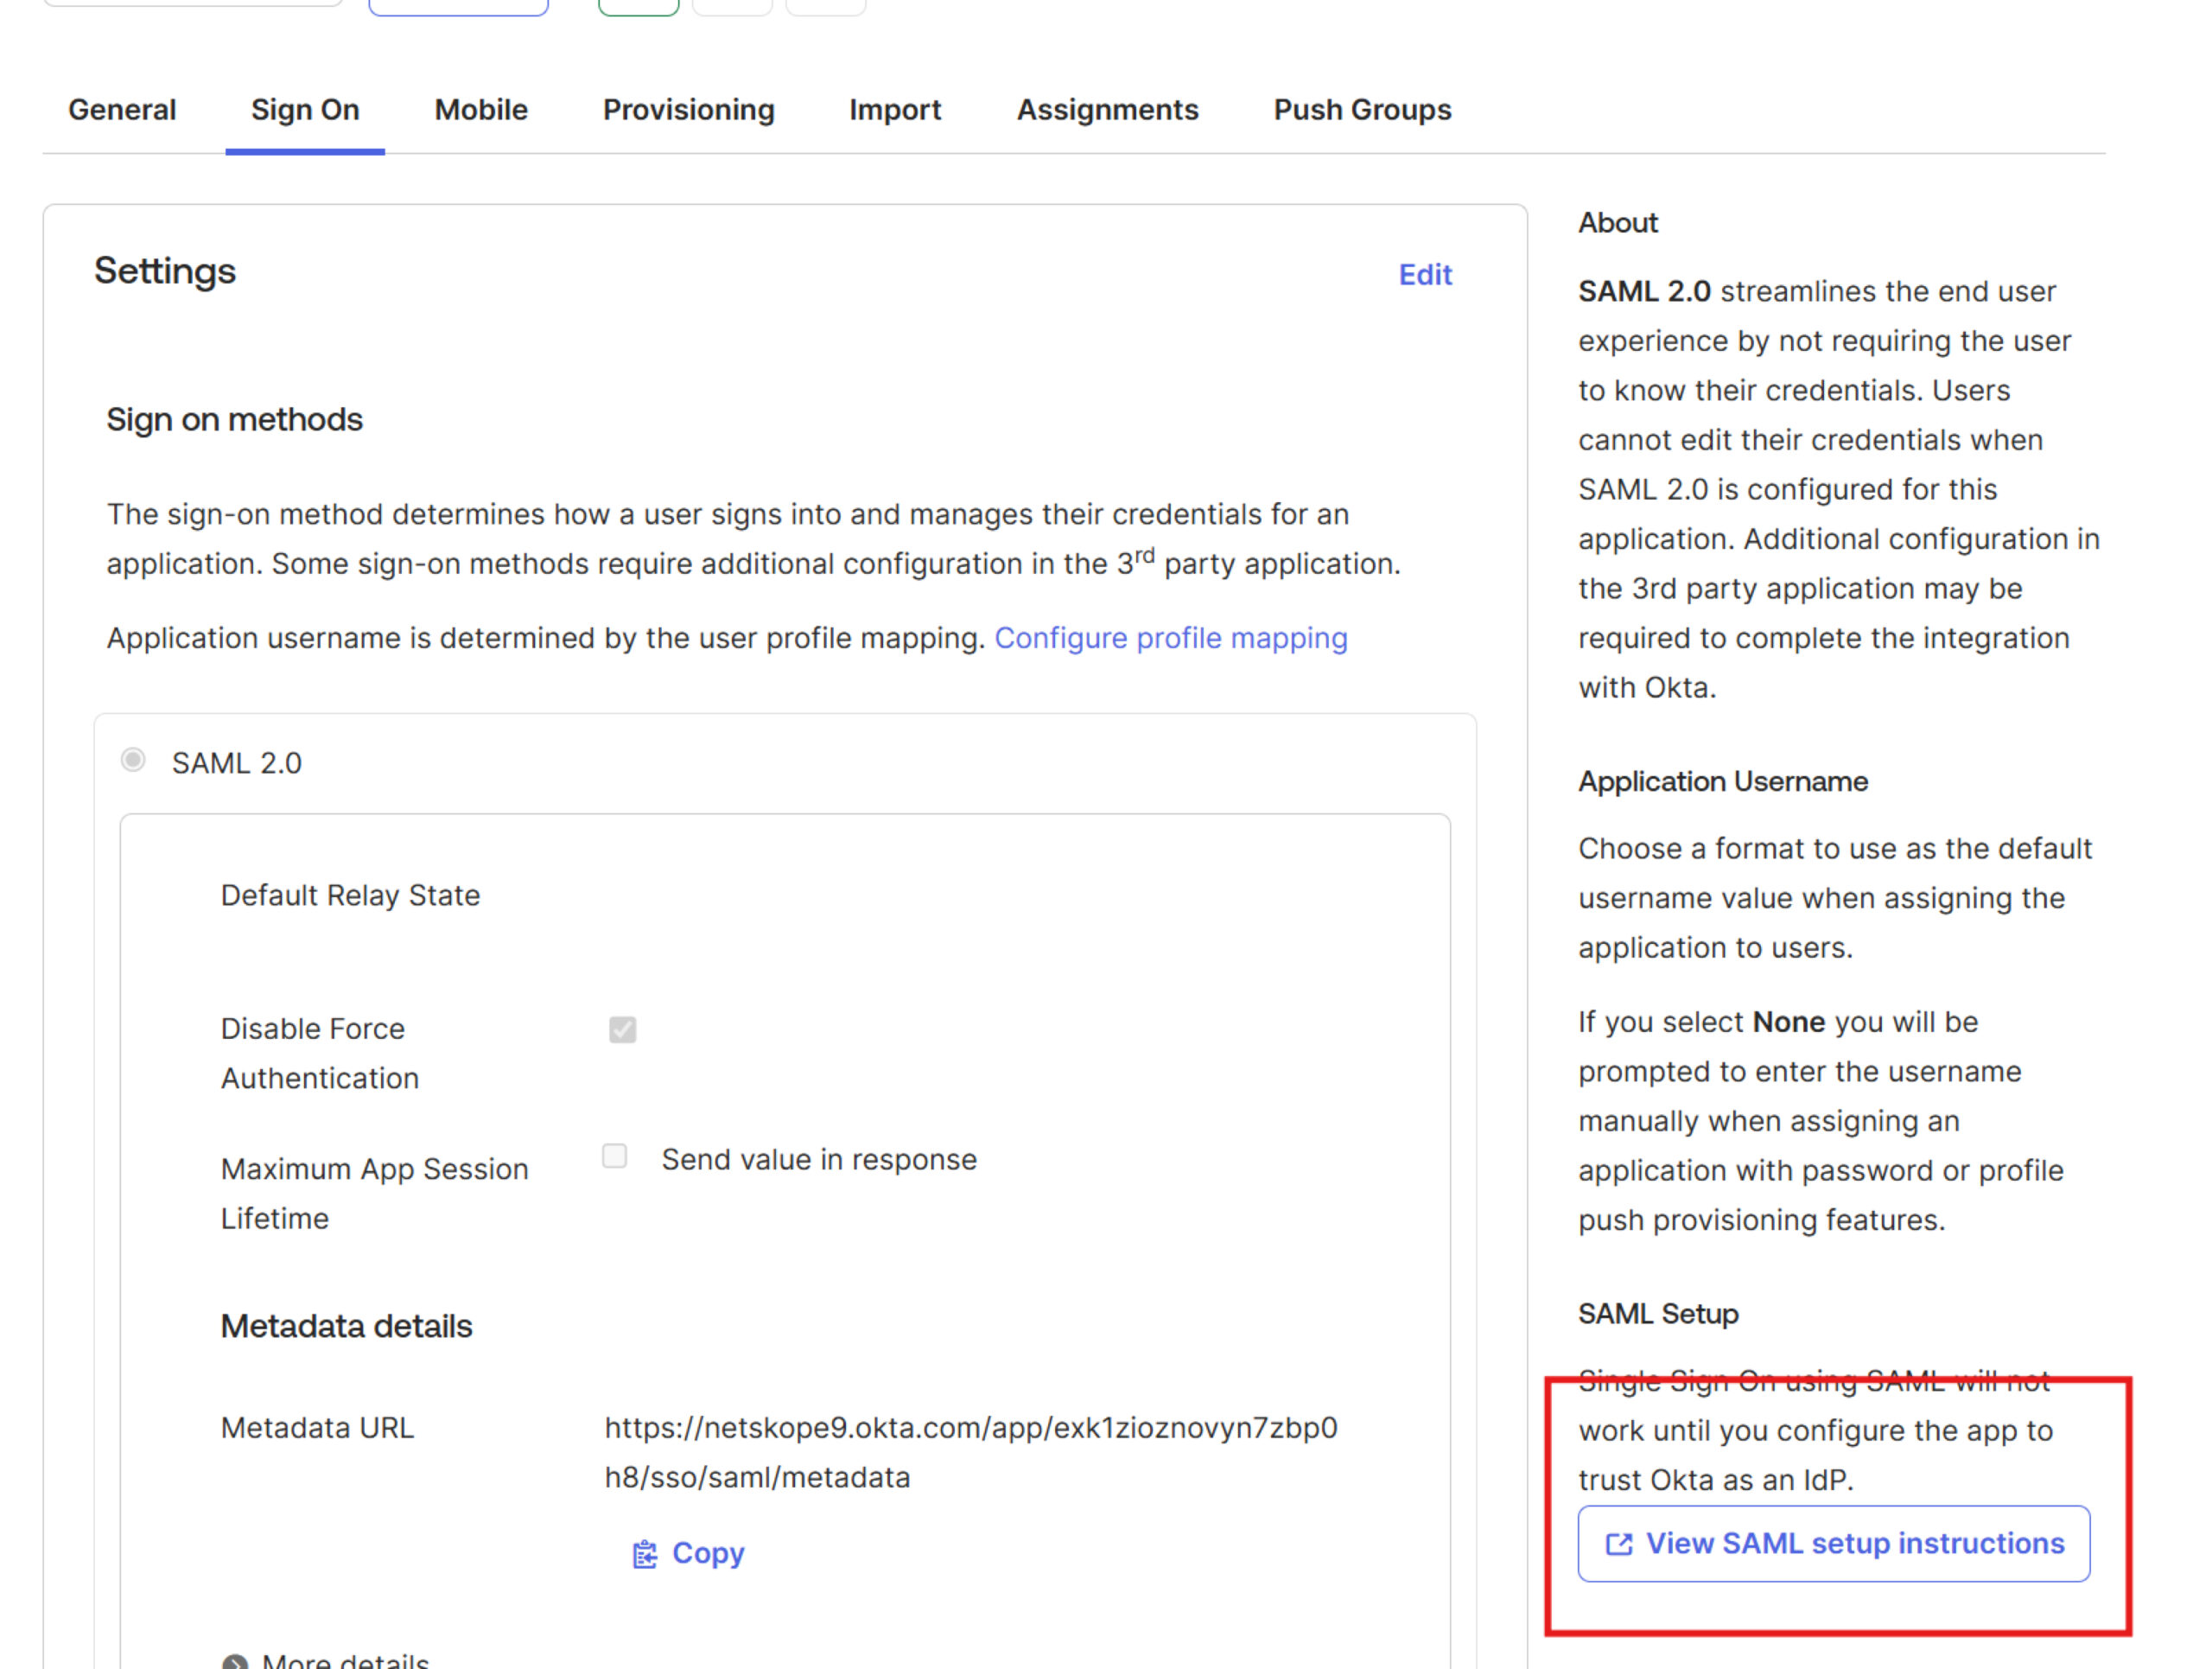
- Click View SAML Setup Instructions for the integration setup between the web UI and OKTA, follow the instructions.
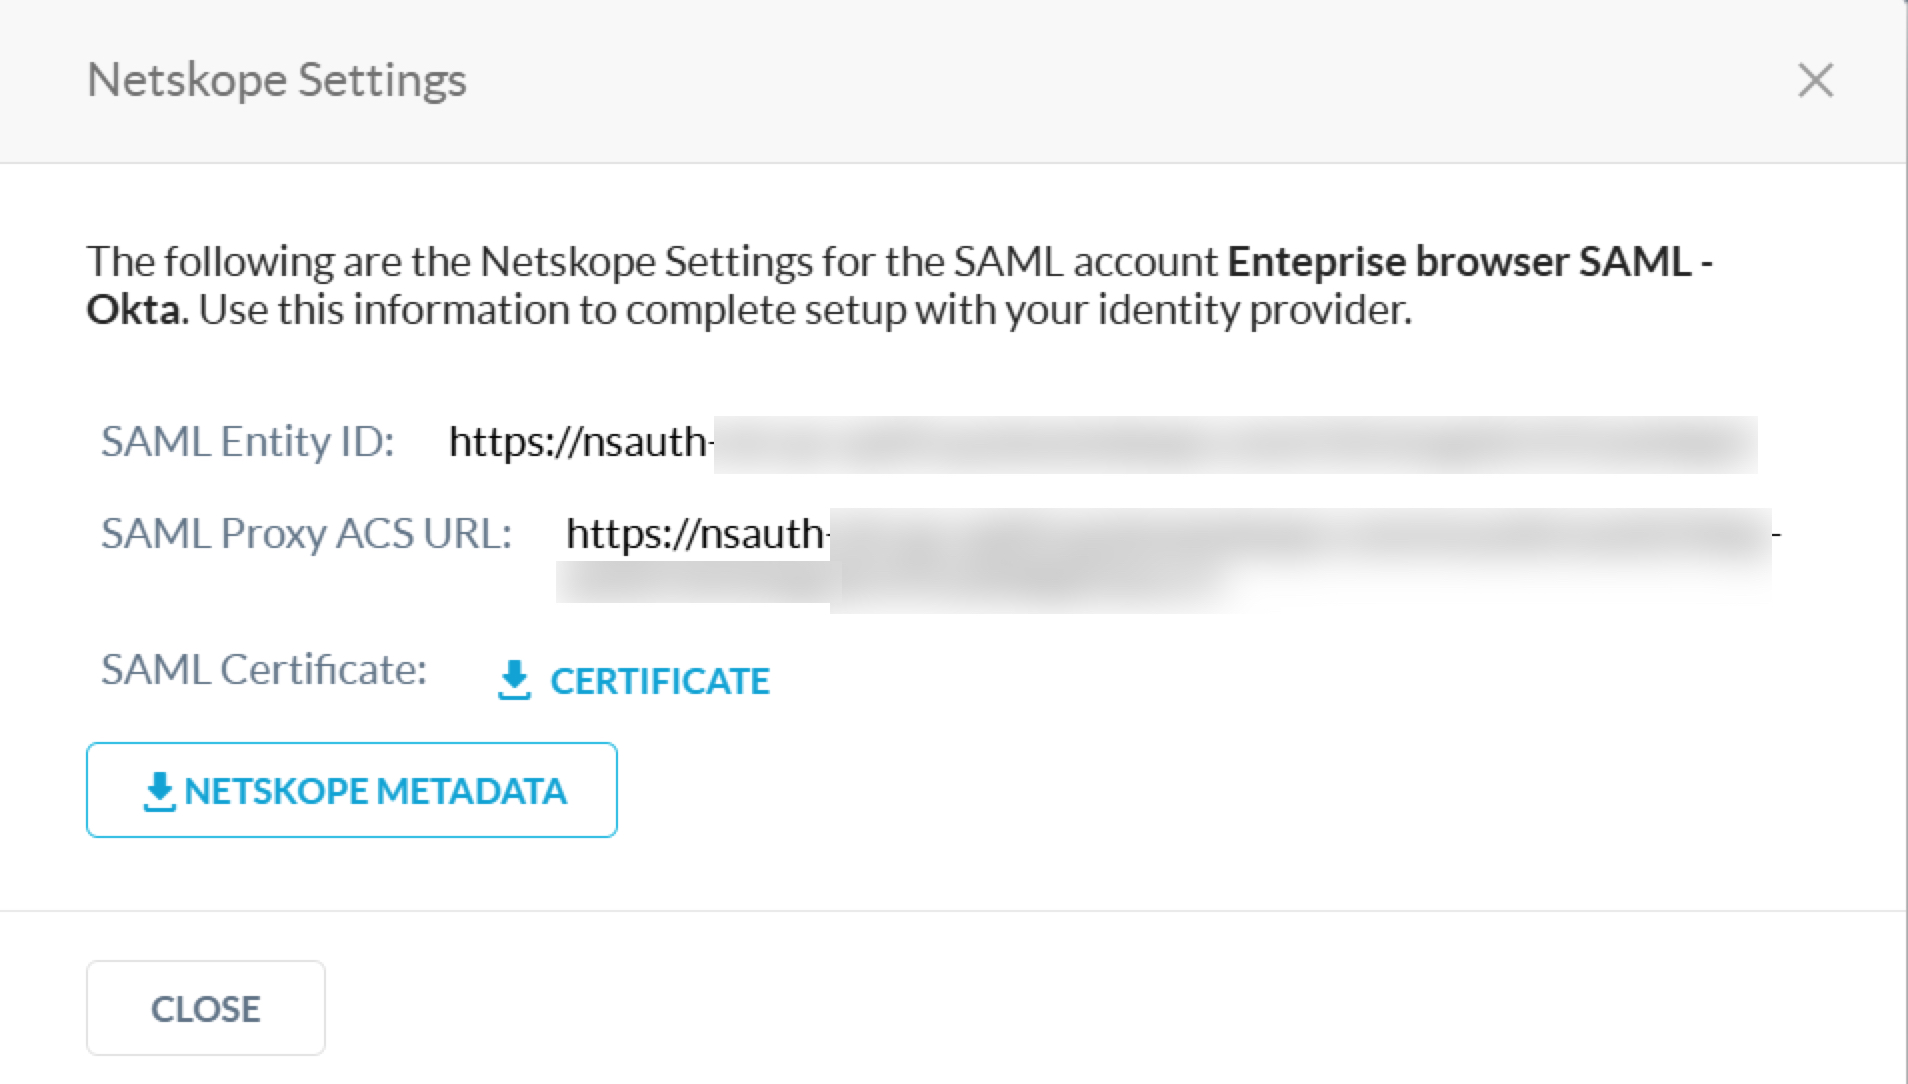
- In the Netskope UI navigate to Settings → Security Cloud platform → Forward Proxy SAML and create a new account:

- Click Netskope Settings and save the settings data.

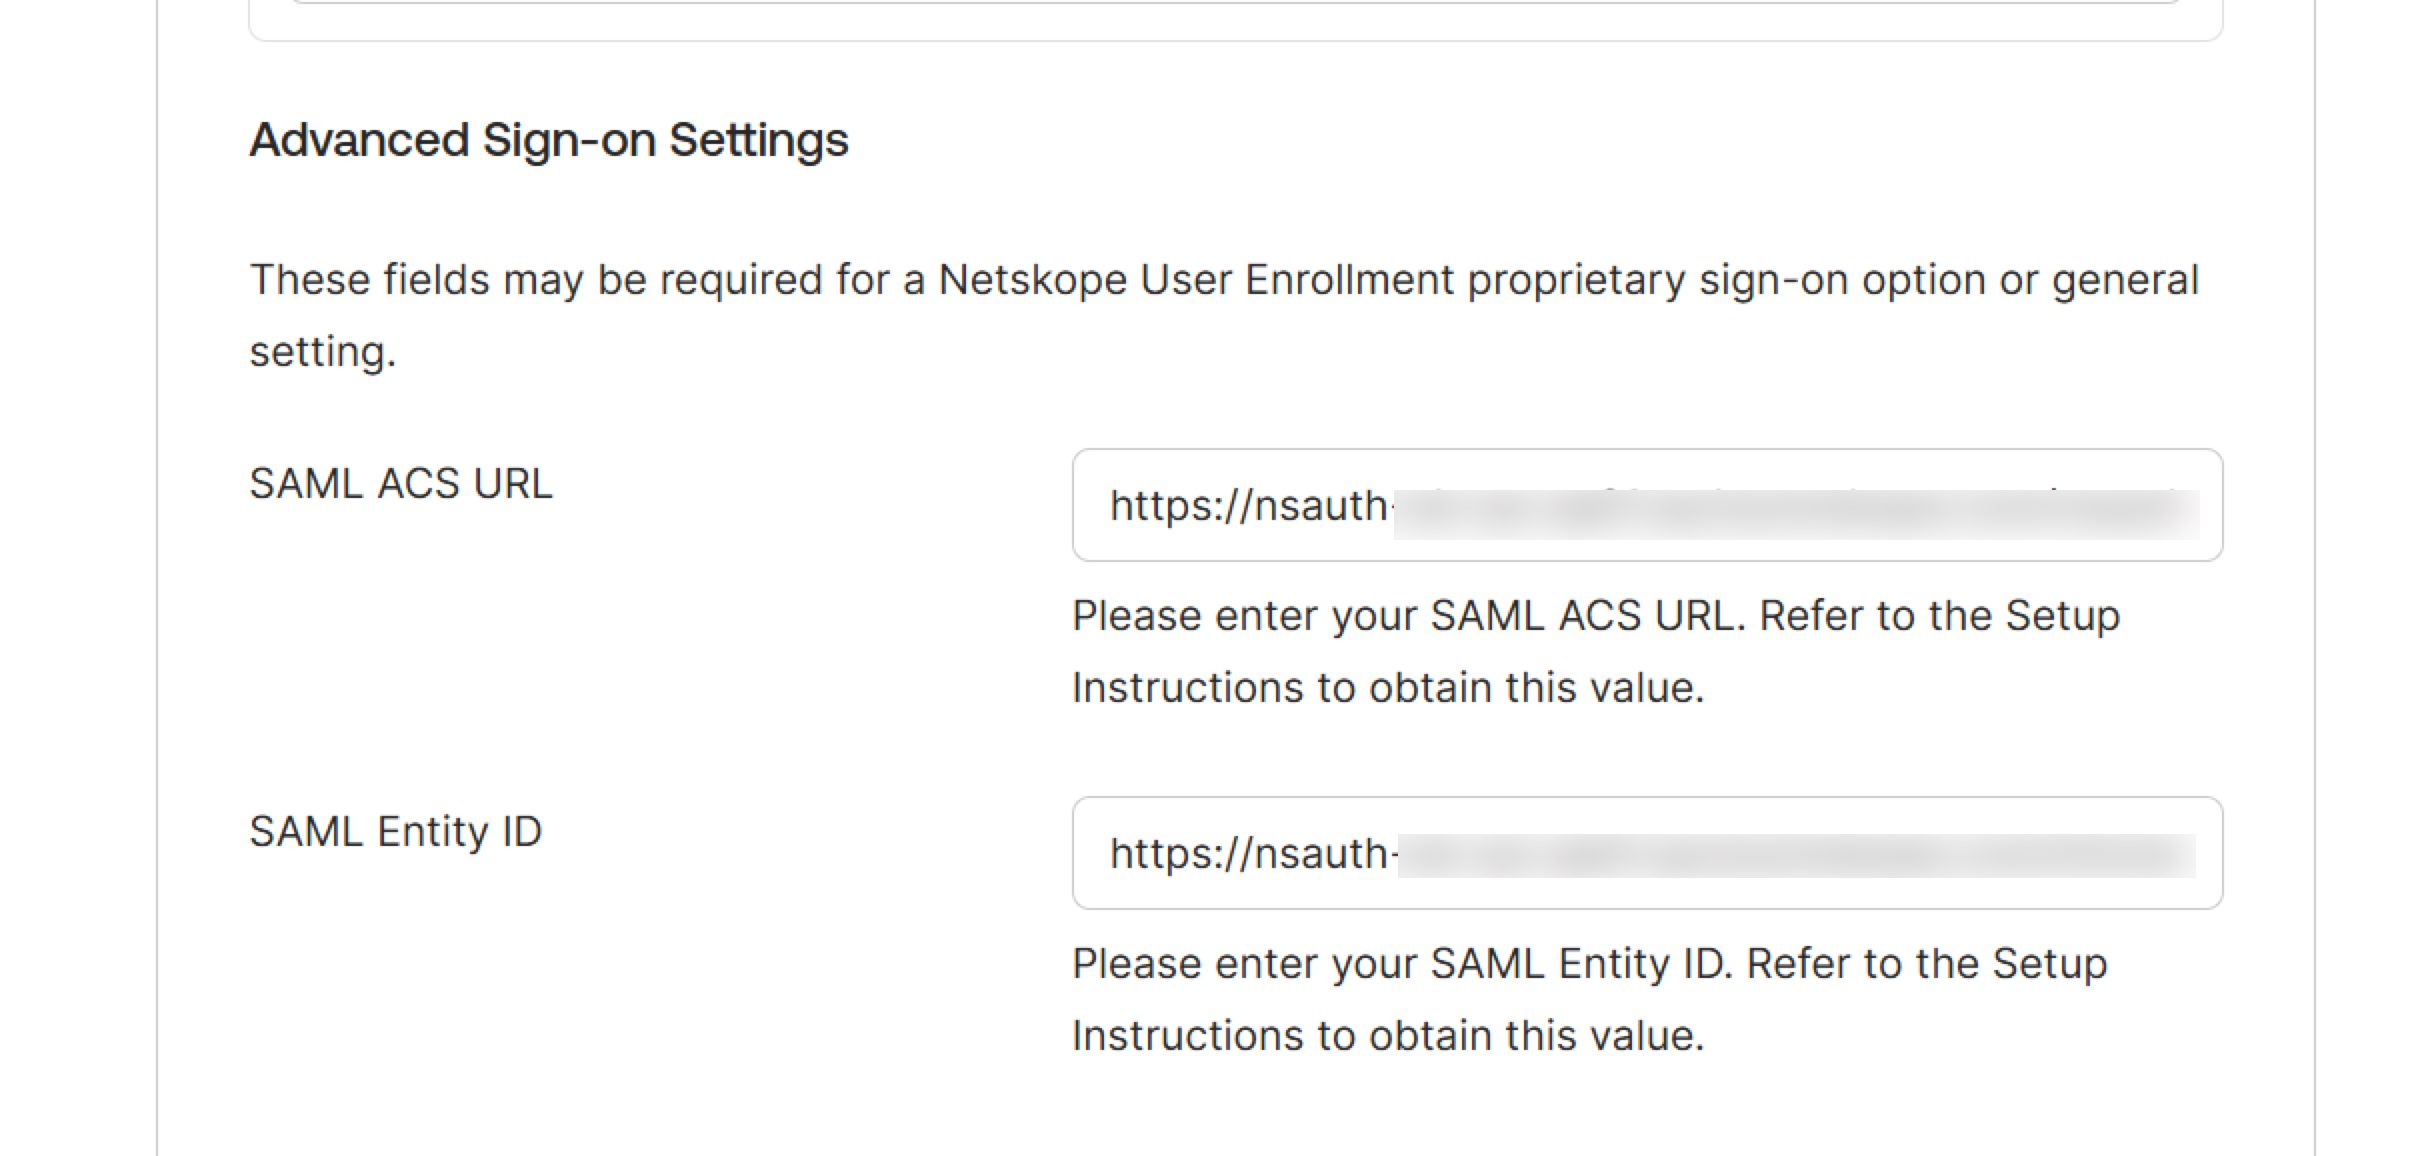
- Return to OKTA and add the previous data in the Advanced Sign-on Settings.
- Data plane components at Netskope references users by email address. Update the configuration so OKTA sends email addresses as part of the “SAML_SUBJECT” field in the authorization redirect from OKTA to Netskope.
Navigate to Sign On > Edit link. Scroll down to “Advanced Settings” and ensure that “Application Username Format” is set to “Email”.

9. After you save the settings, click Update Now. You will see a warning saying that update may take hours, however it is usually immediate.
If you skip this step, OKTA will continue to send the previously configured value.

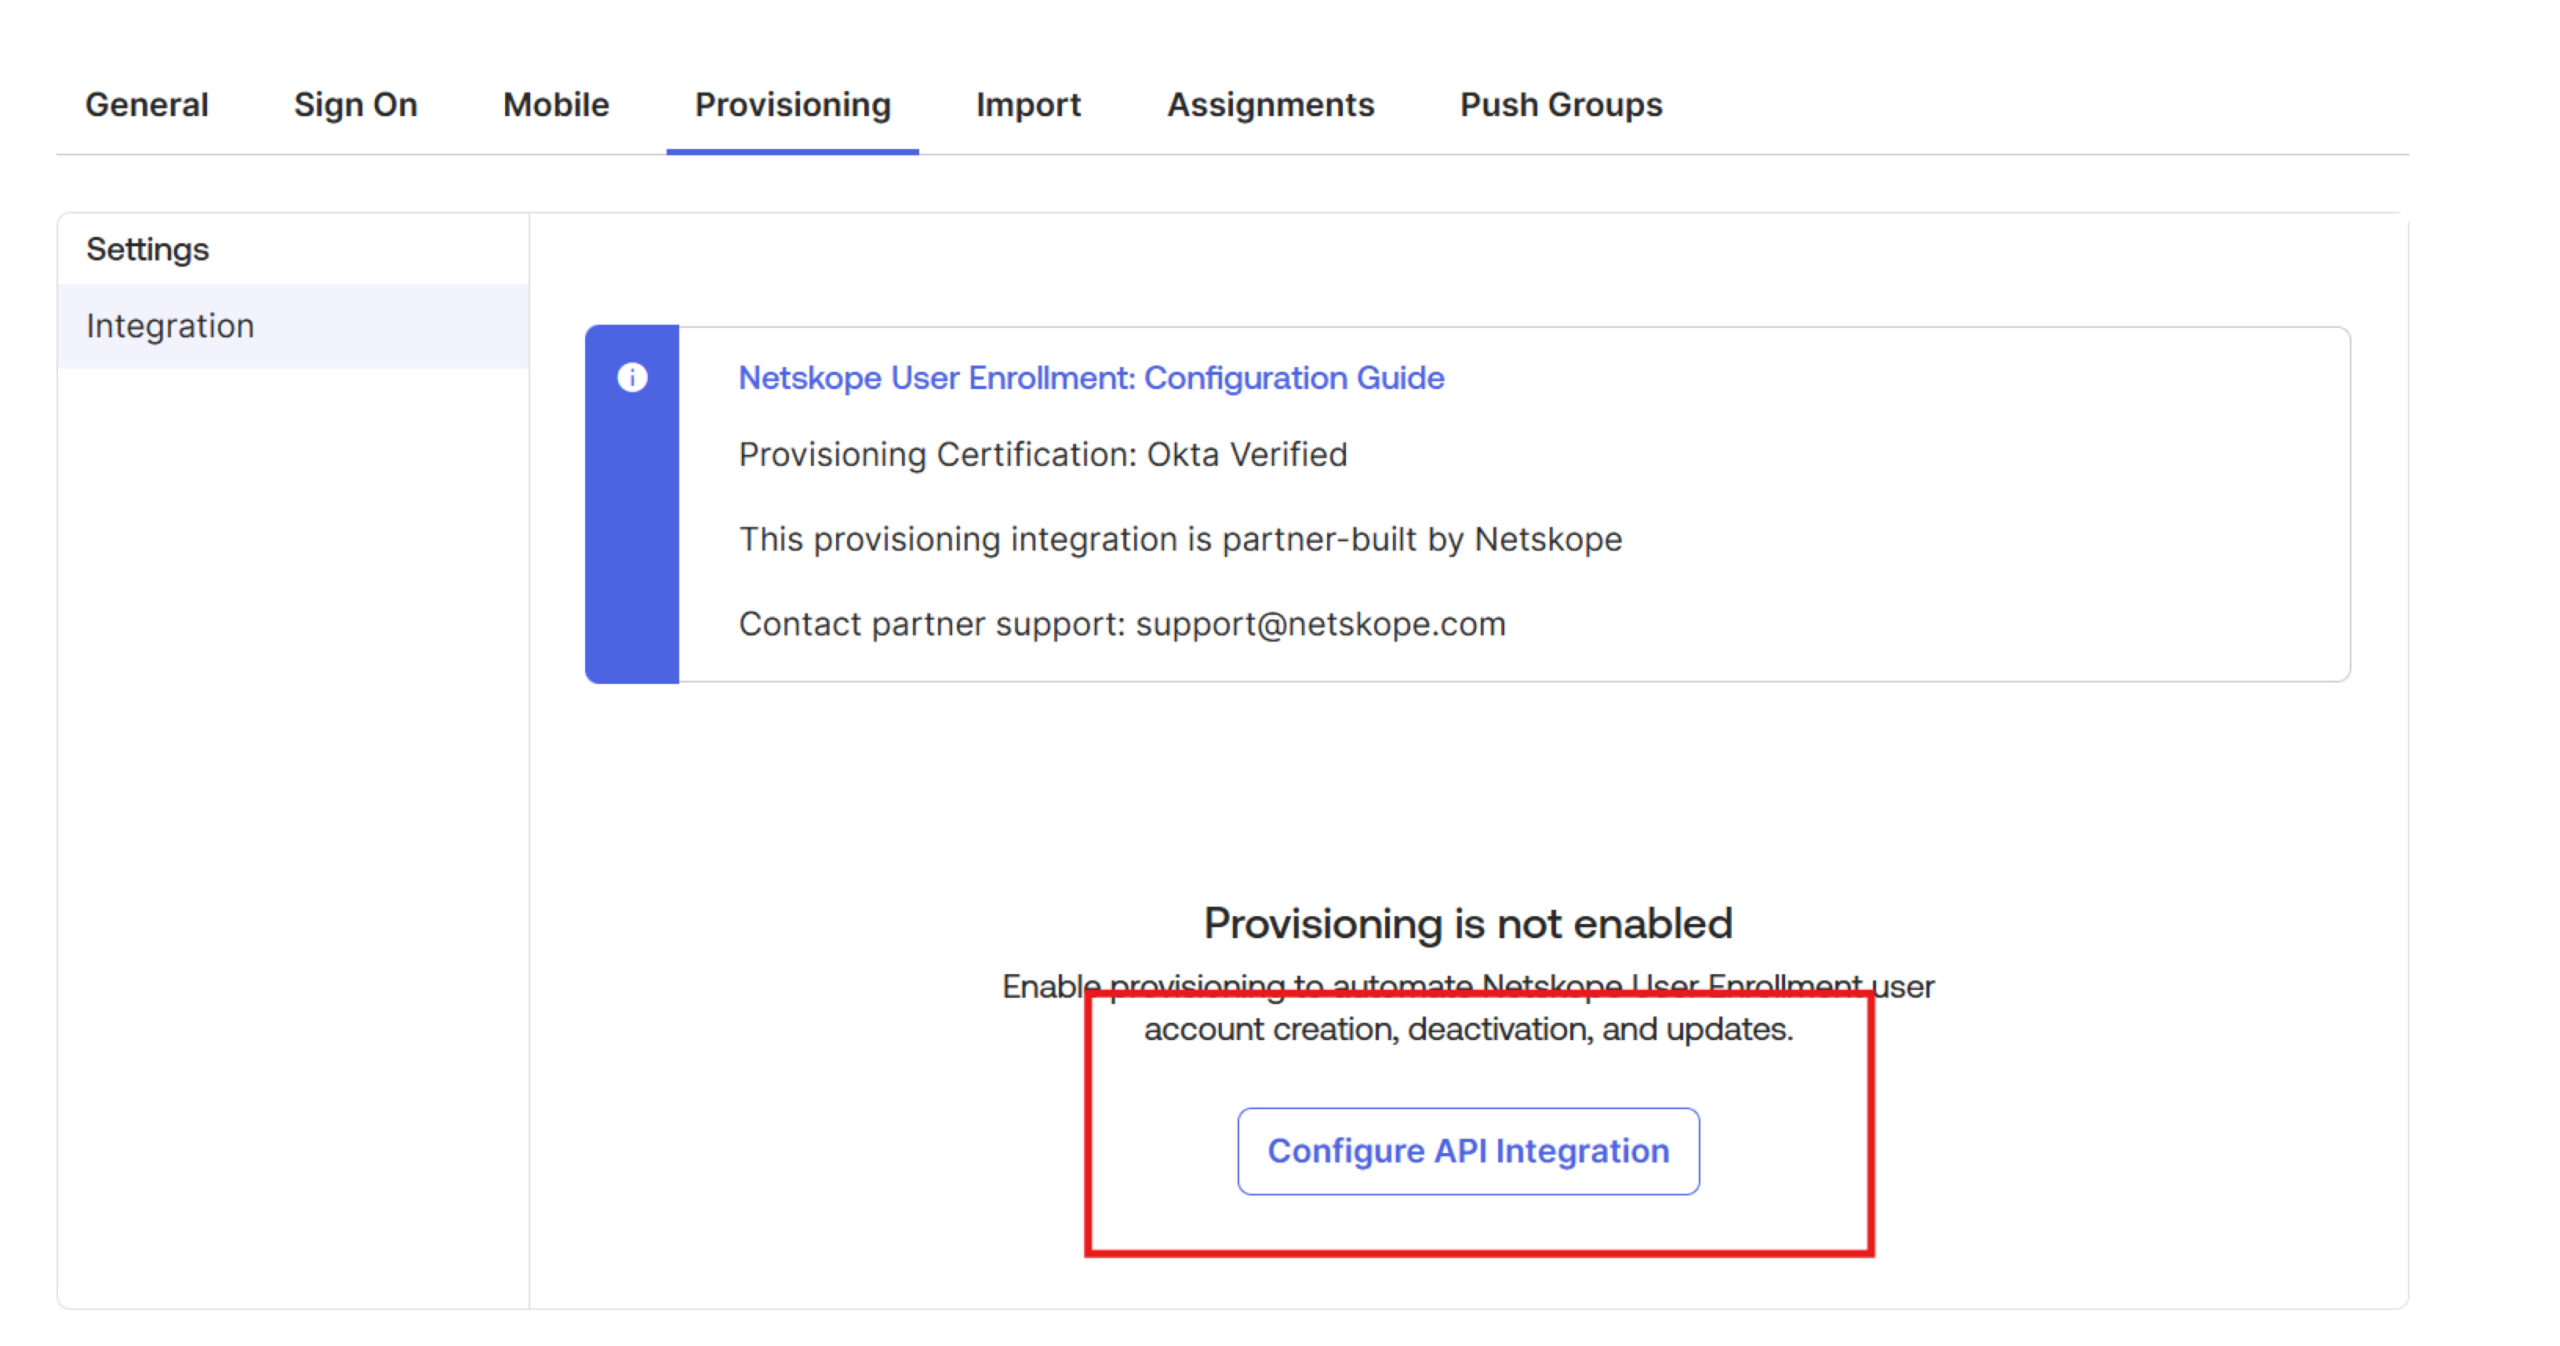
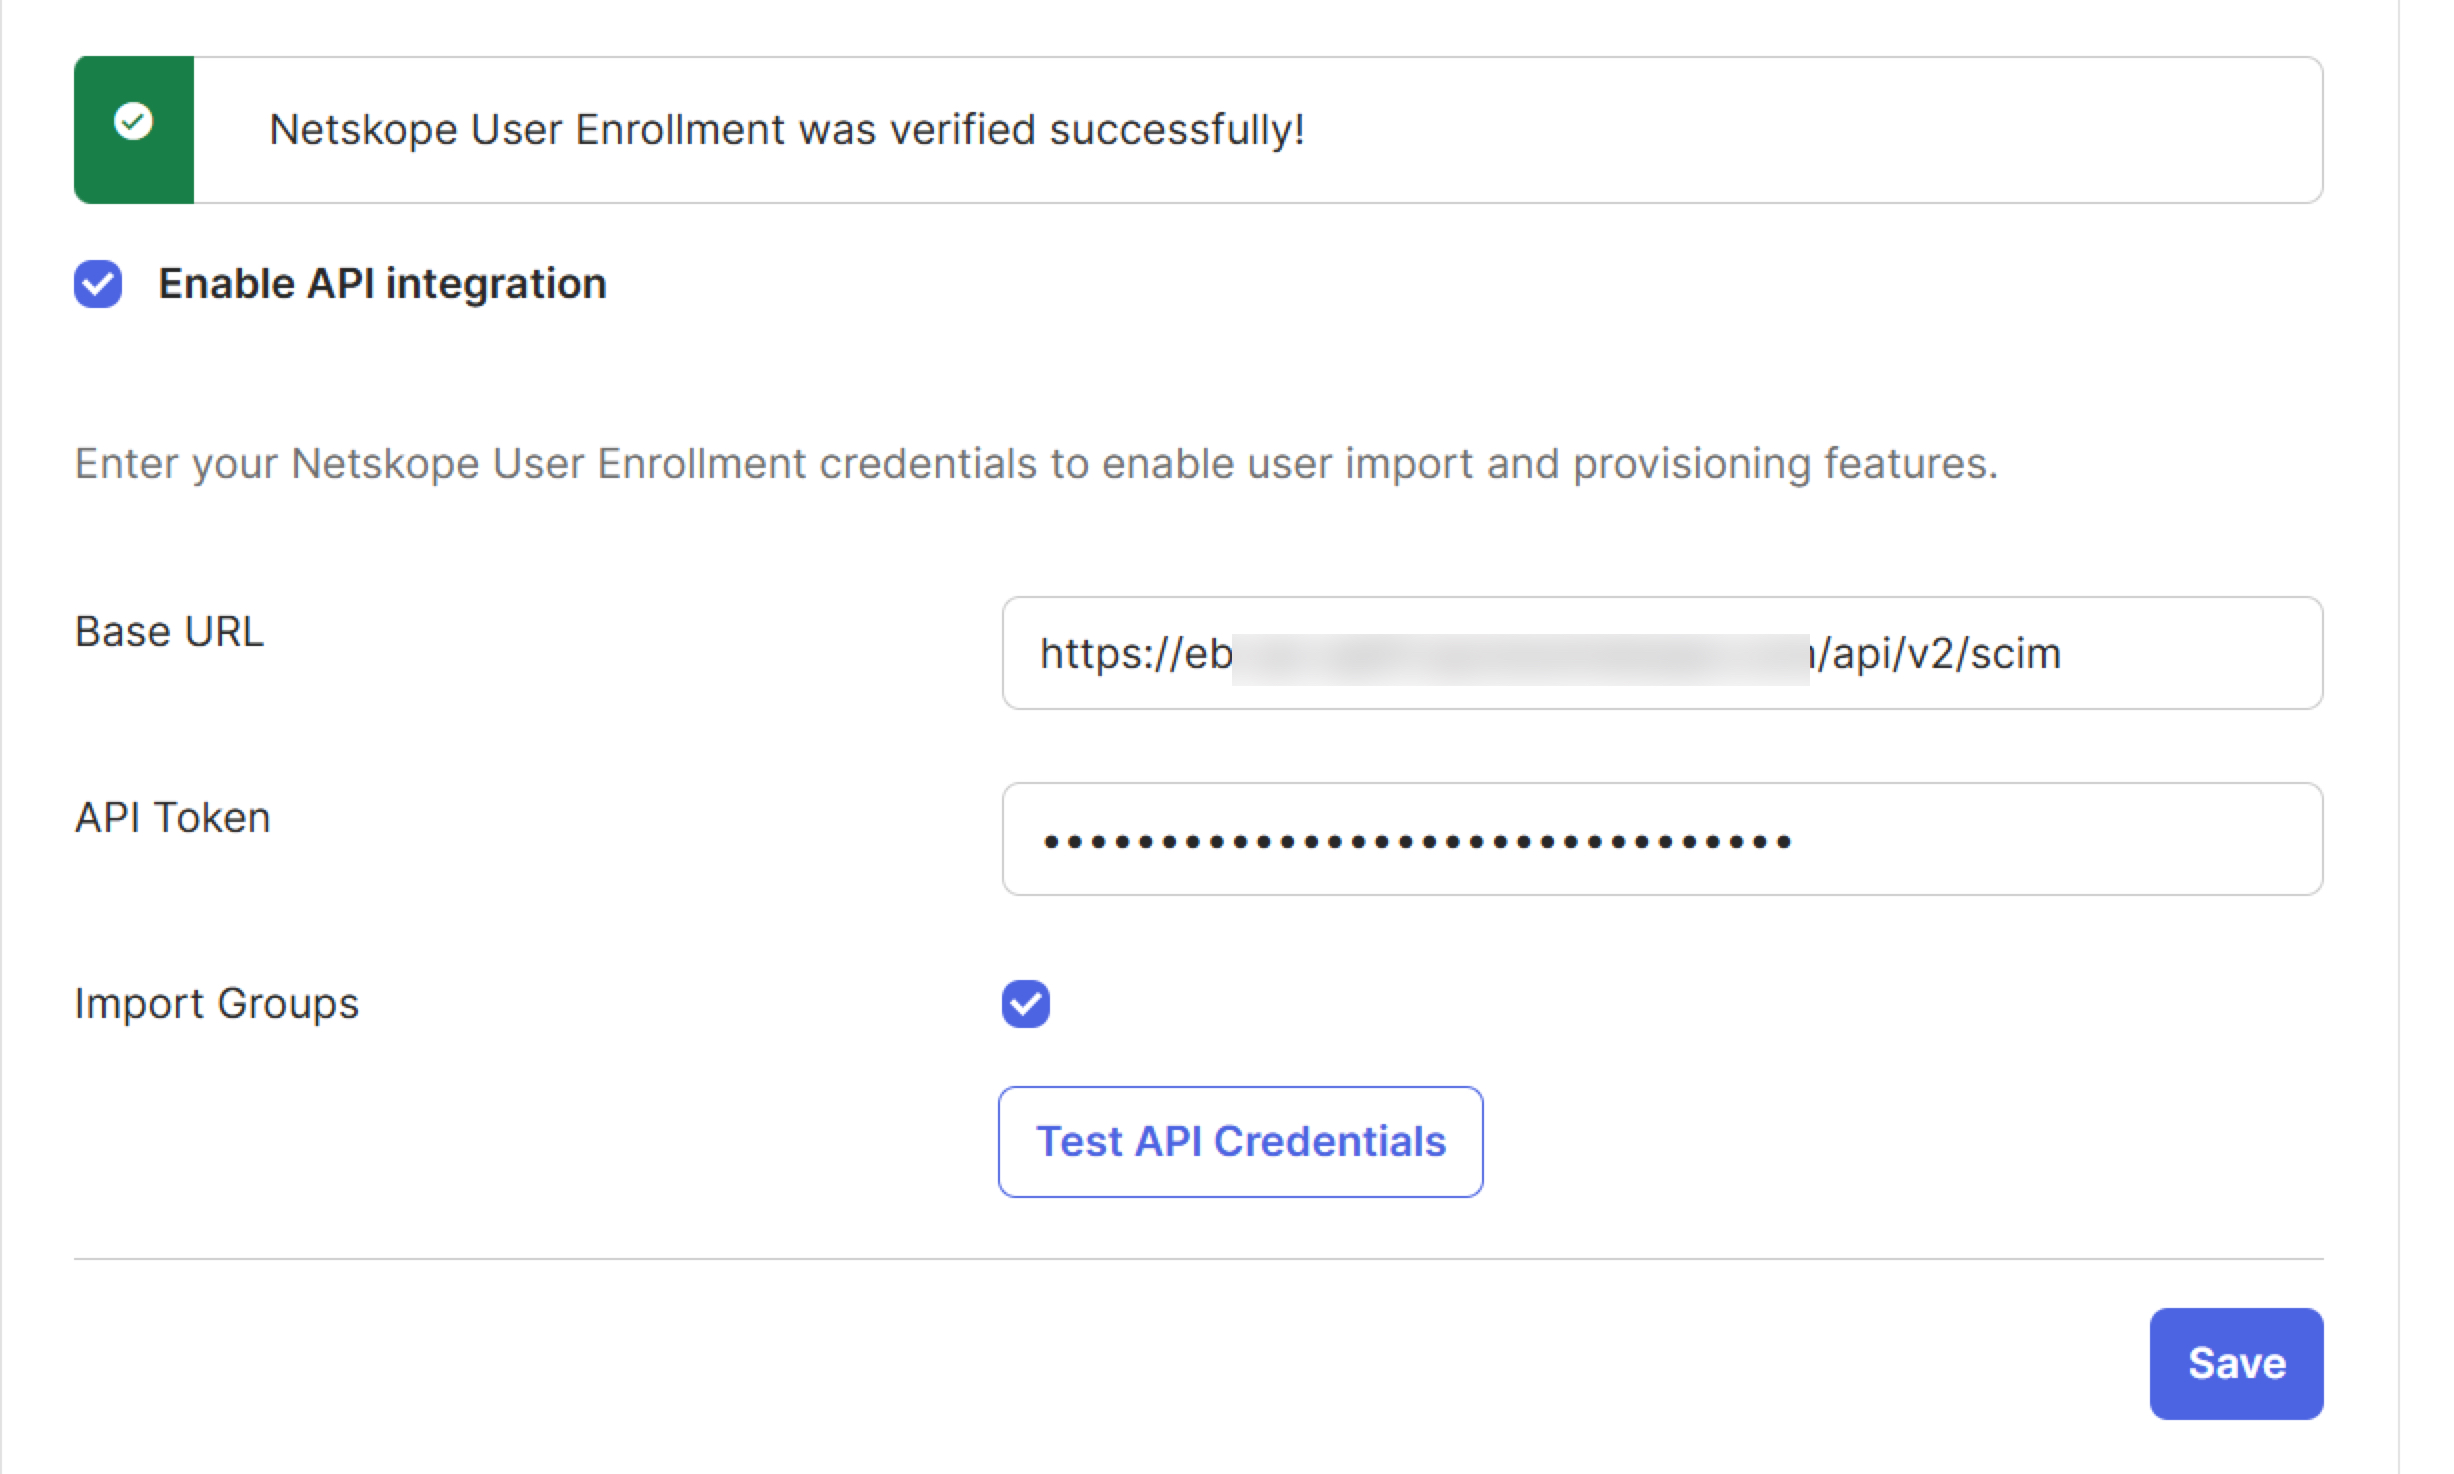
10. Select the Provisioning tab and configure the API integration with the SCIM API v2 token. The base URL is: <Tenant URL>/api/v2/scim
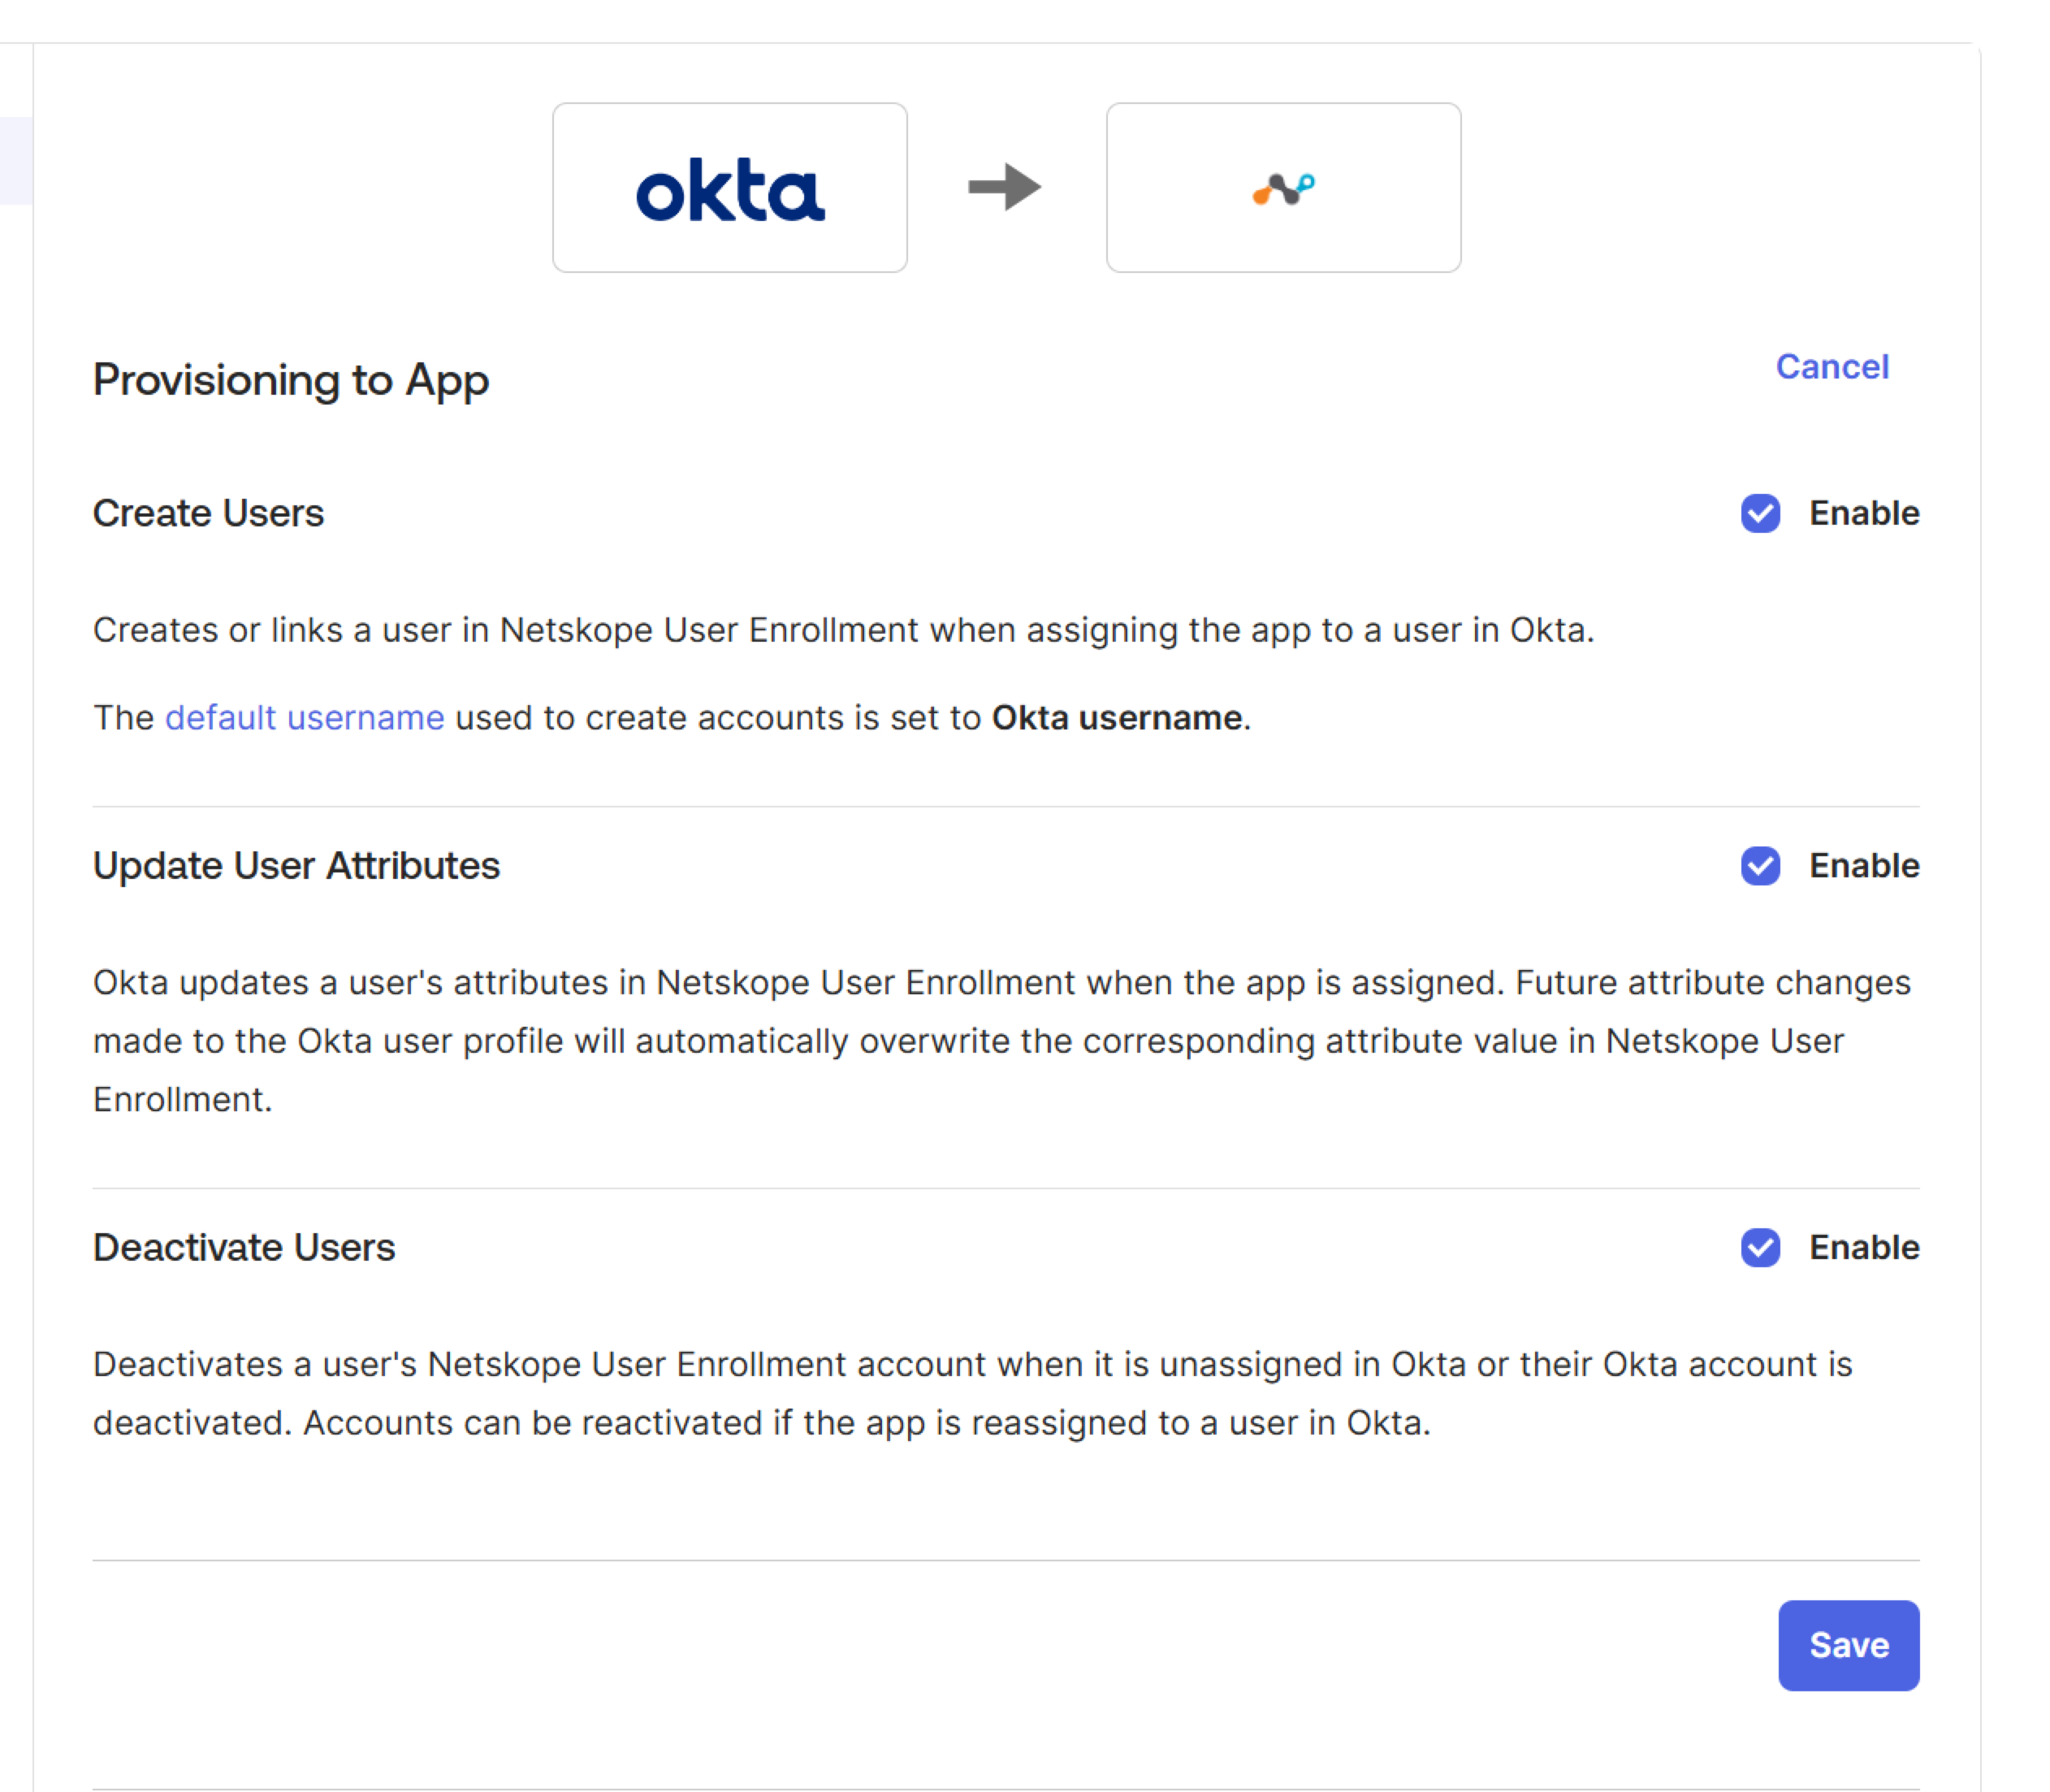
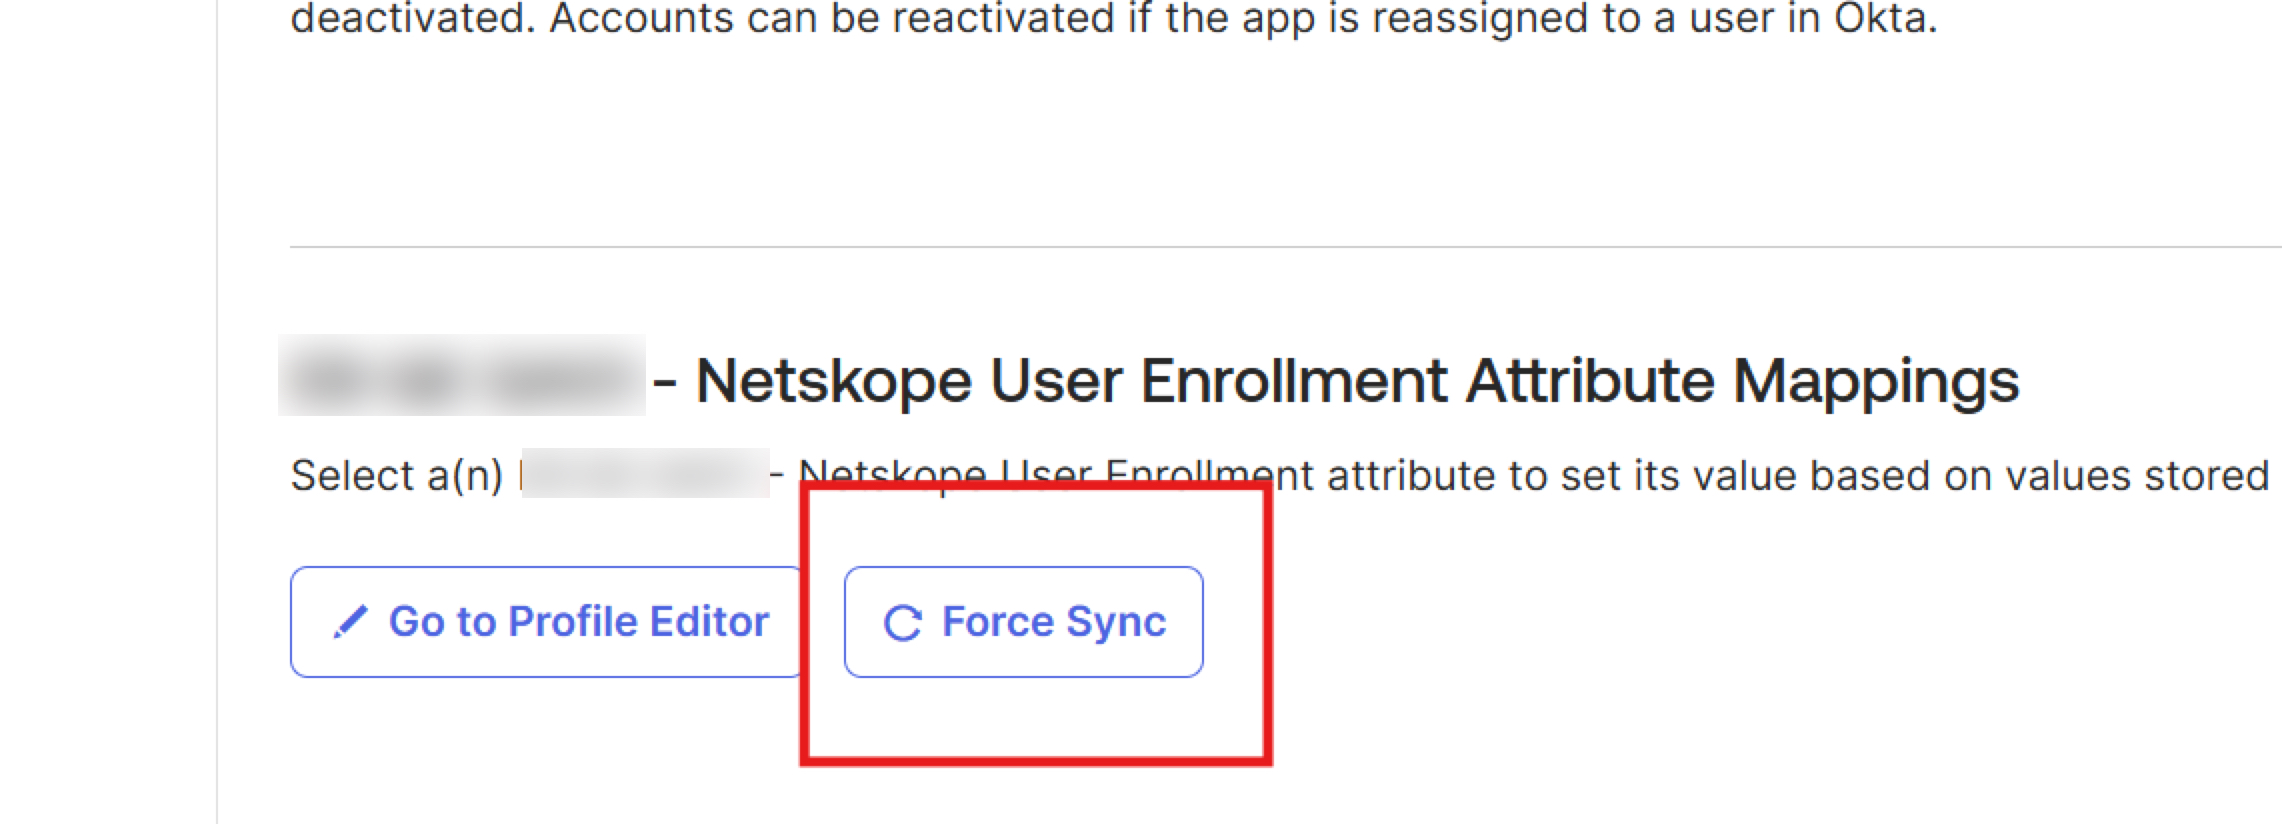
11. Edit and enable all the options and click Force Sync.
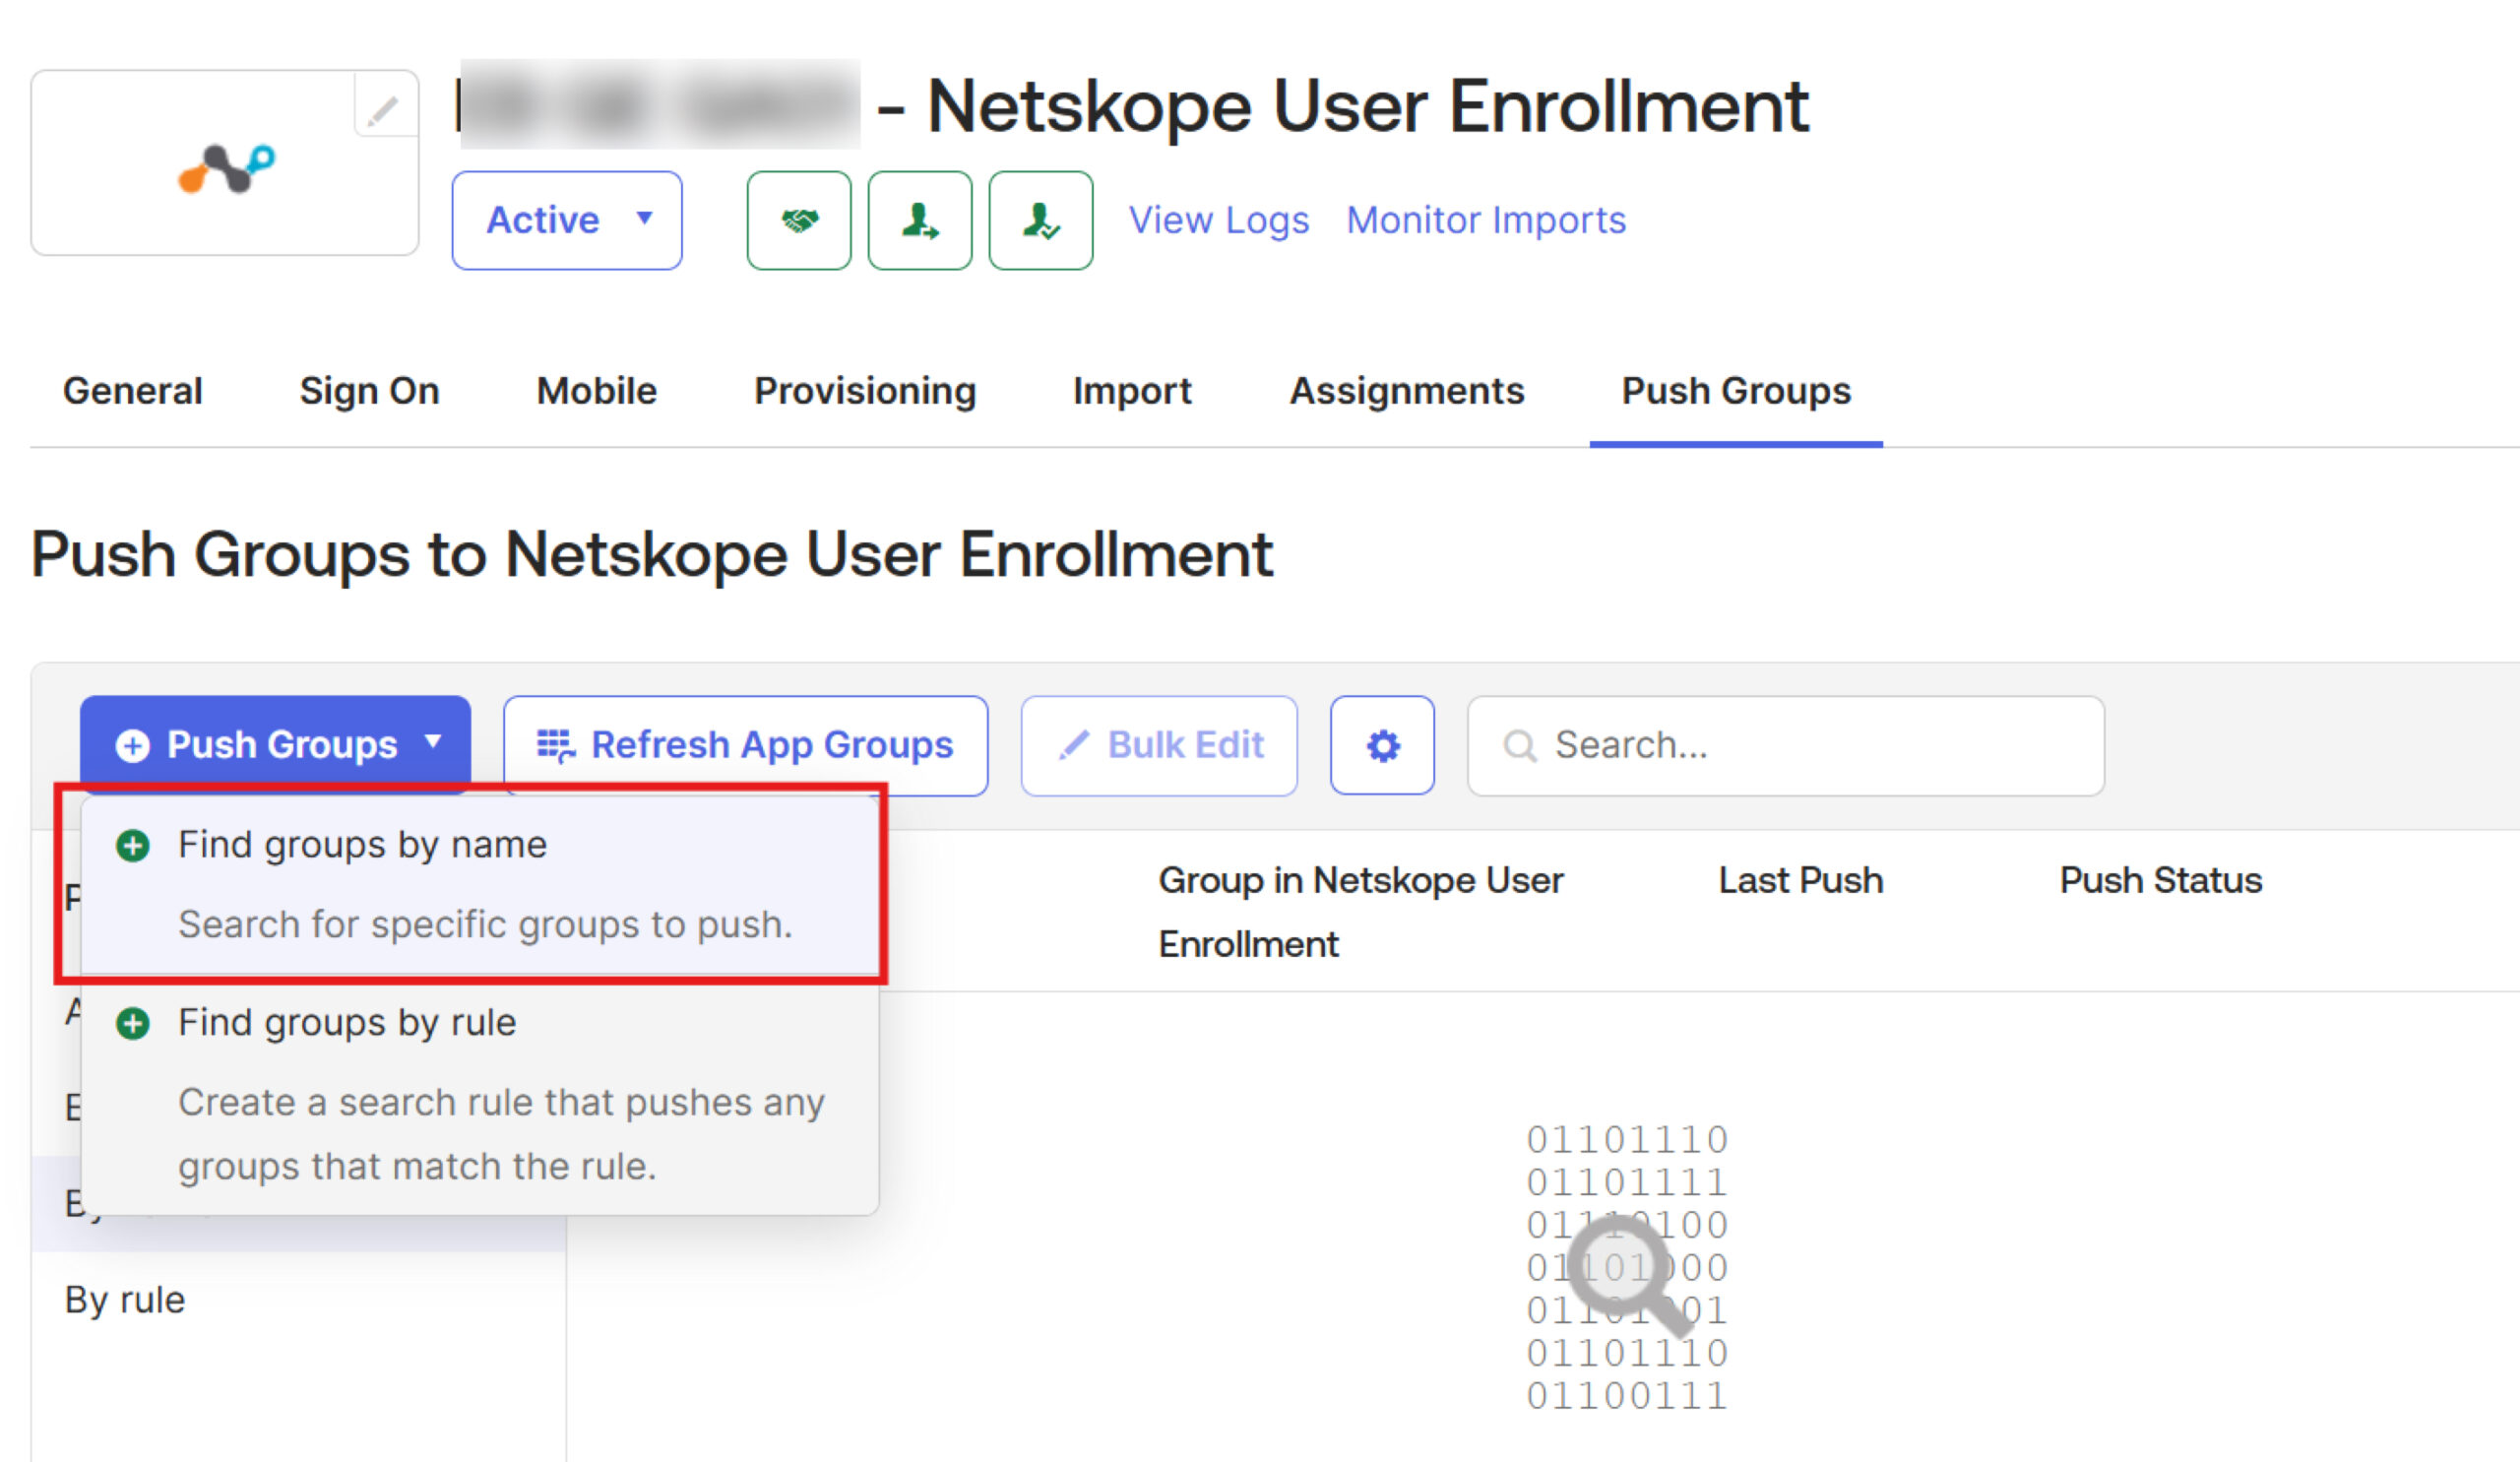
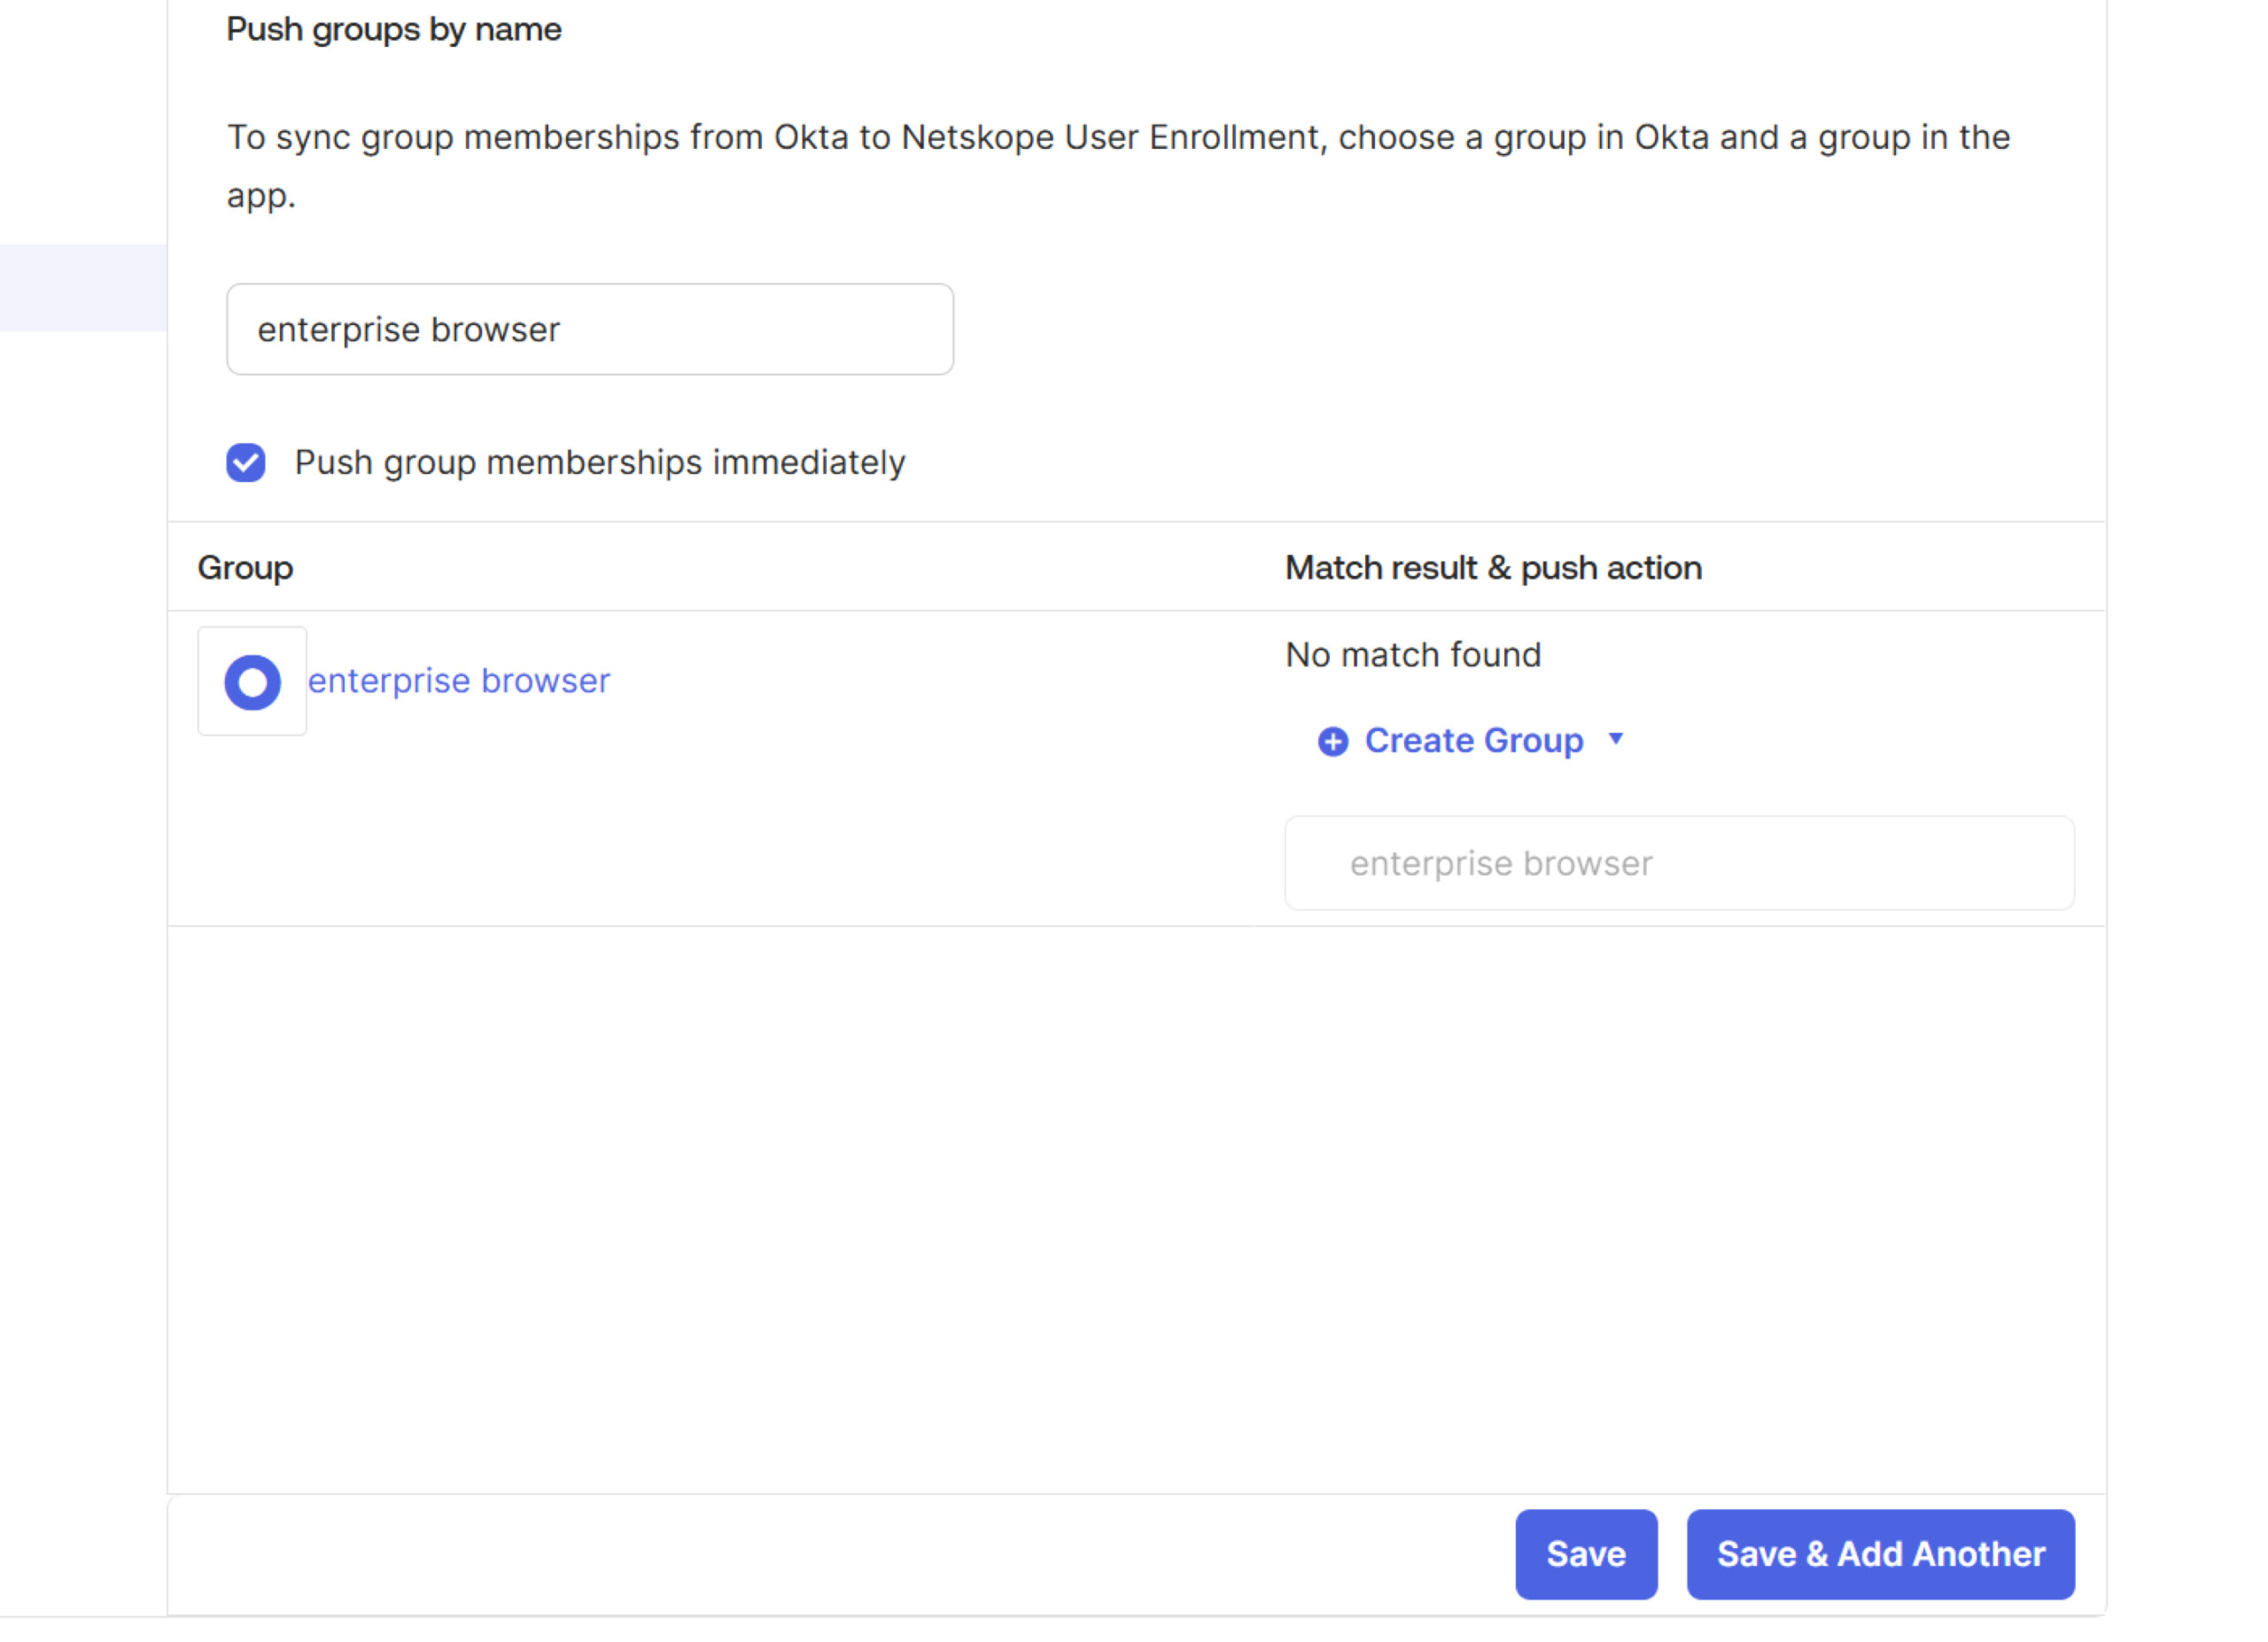
12. Sync the group with SCIM in web UI. Select the Push Groups tab and add Find groups by name.
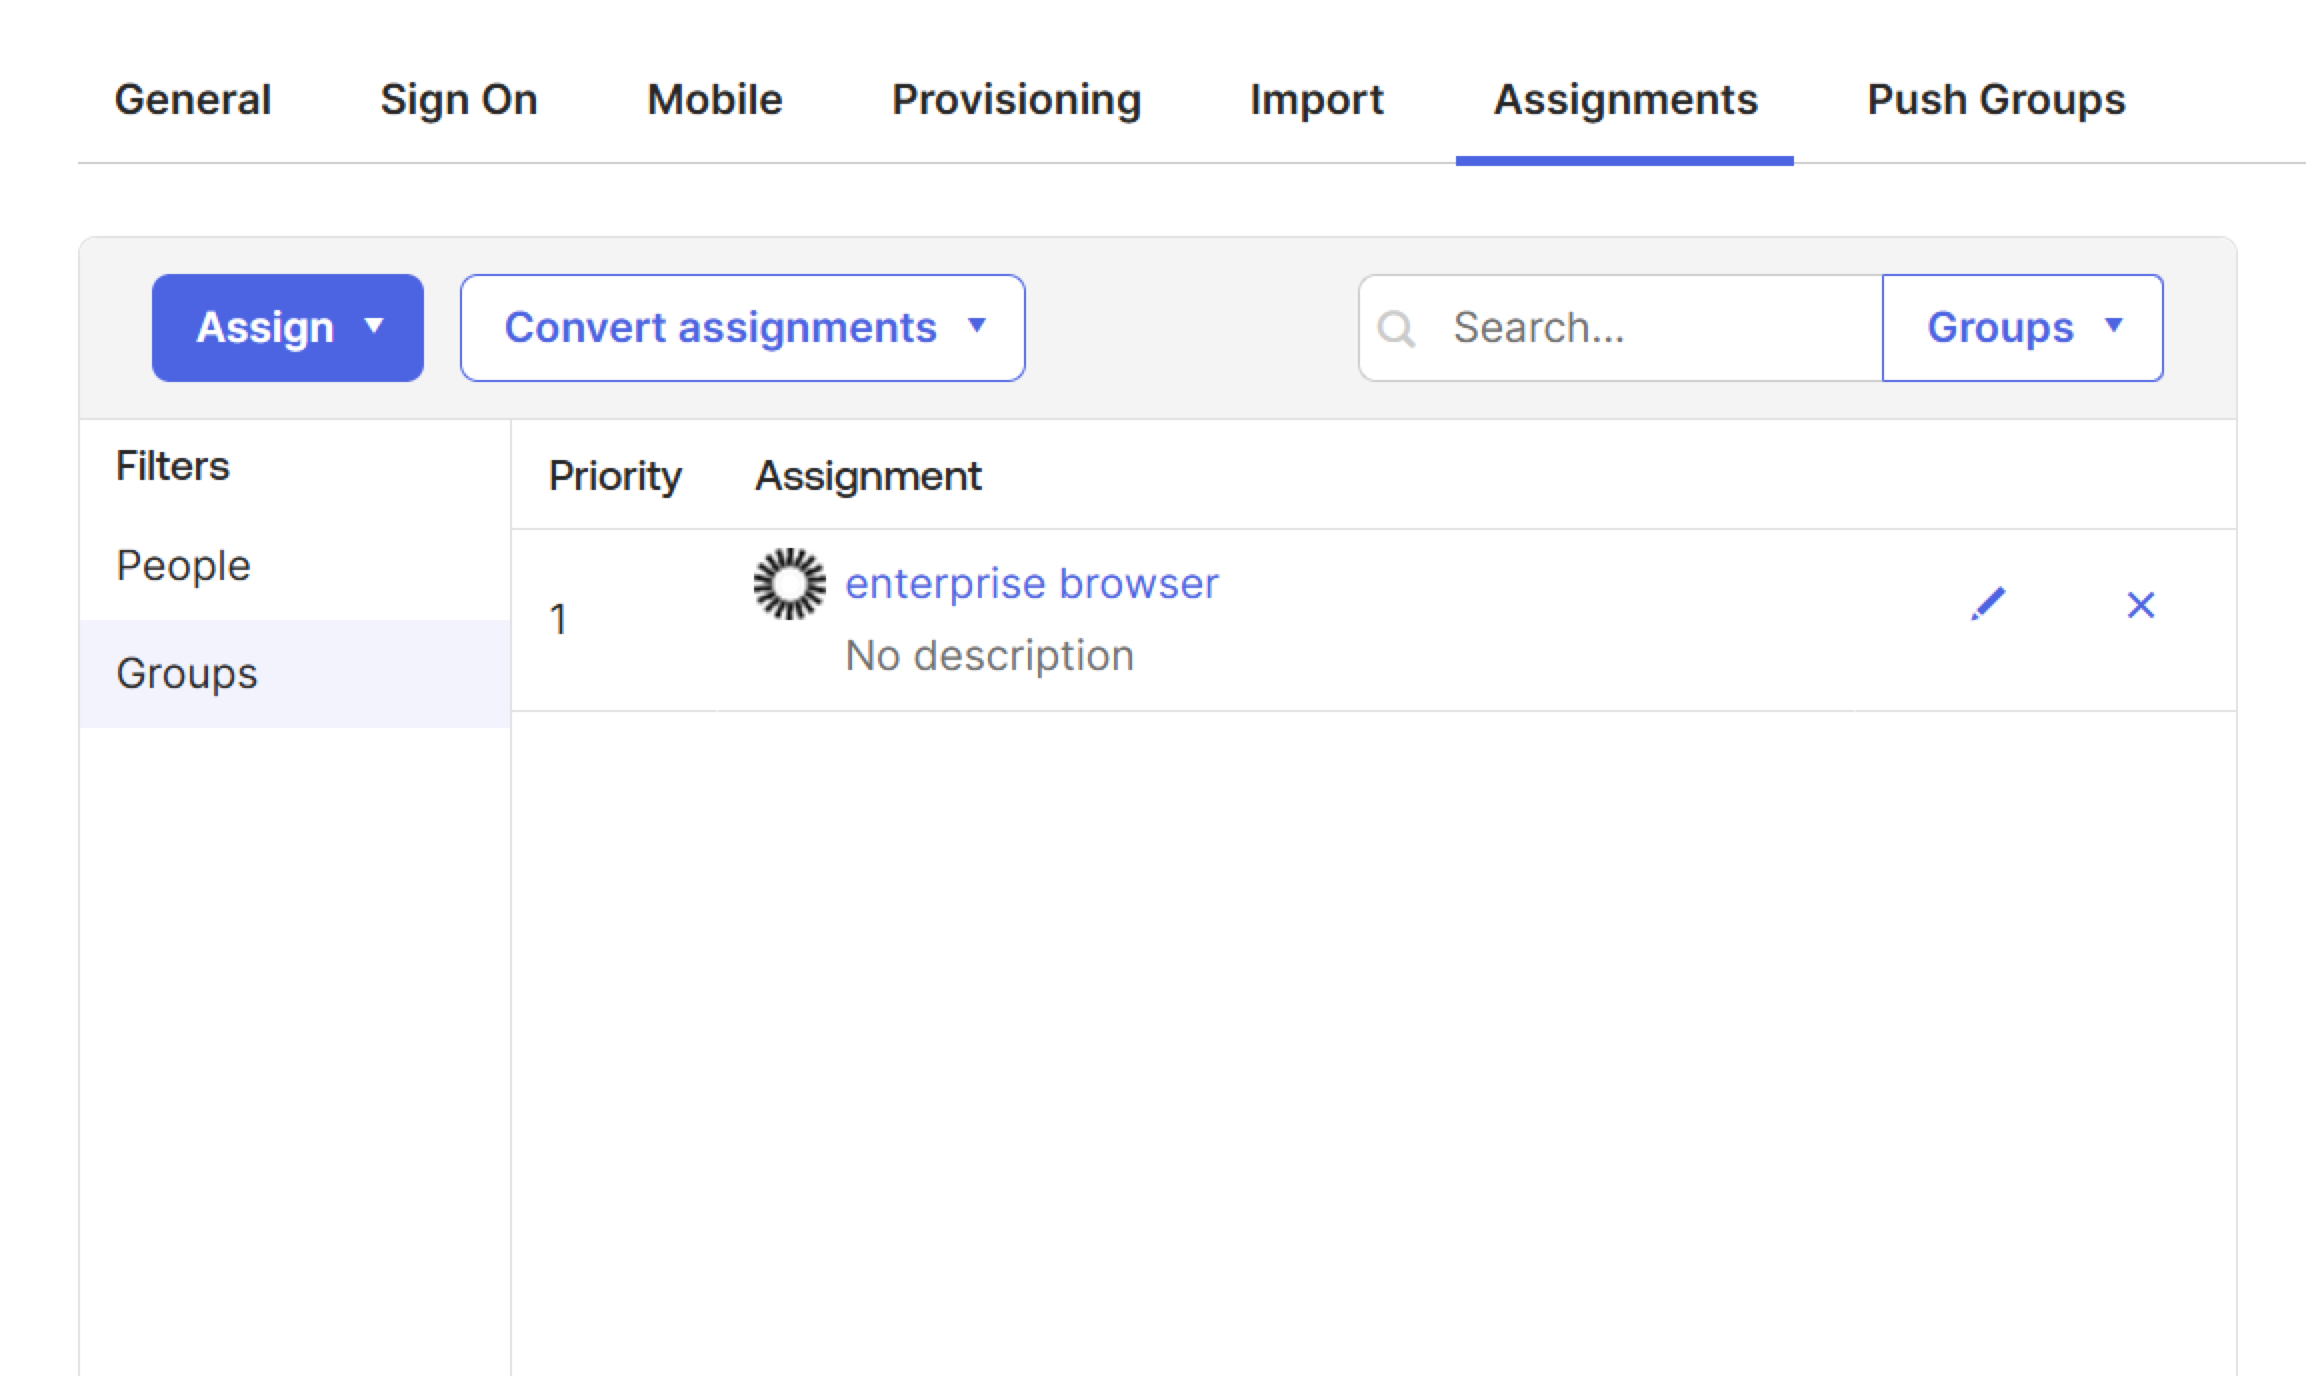
13. To assign the Enterprise Browser group, select the Assignments tab in OKTA, and find enterprise browser group.
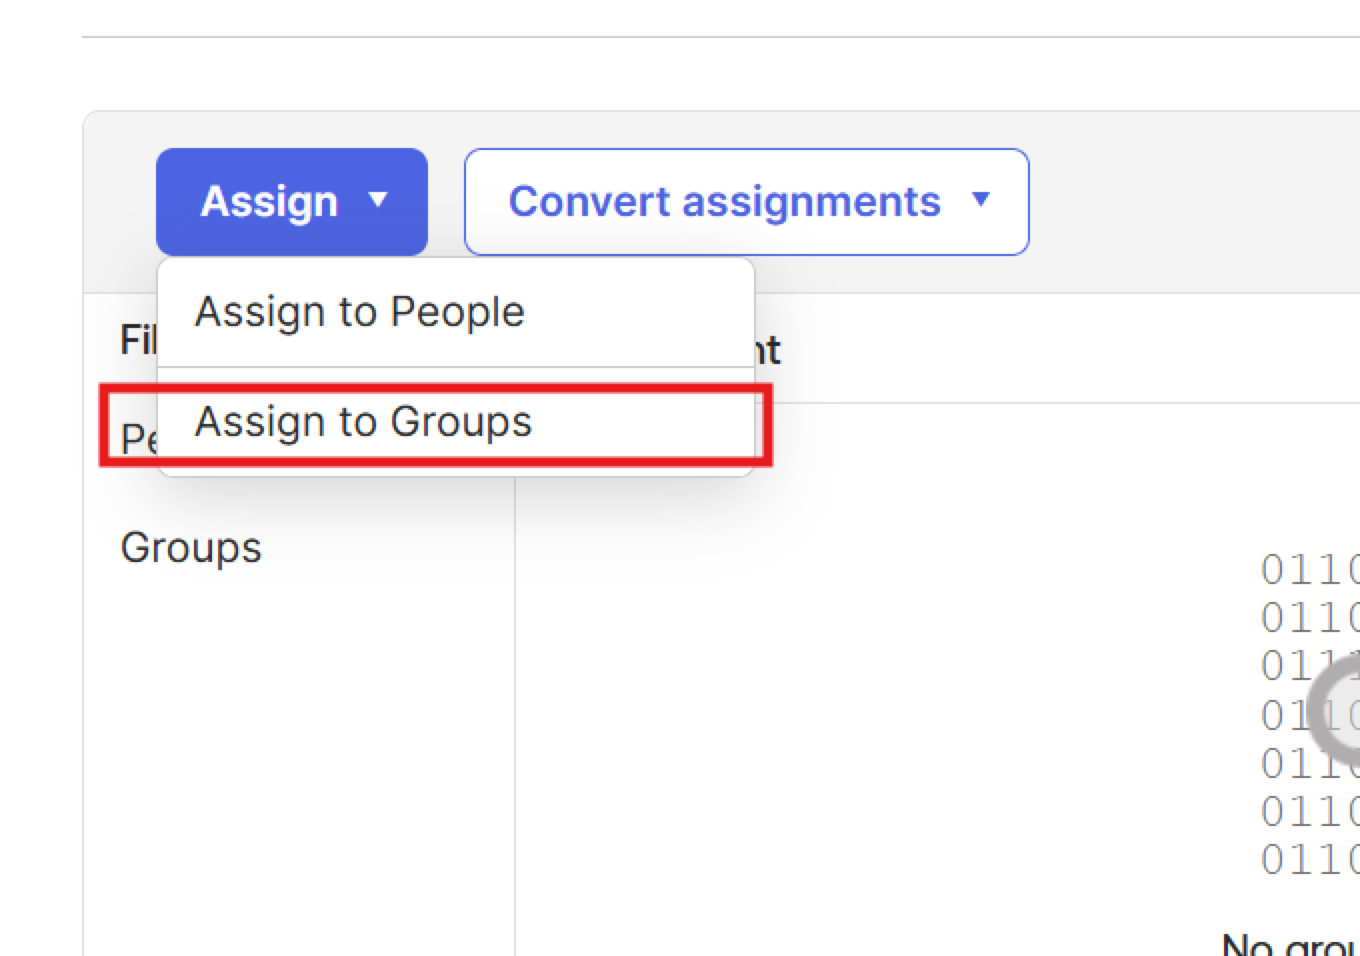
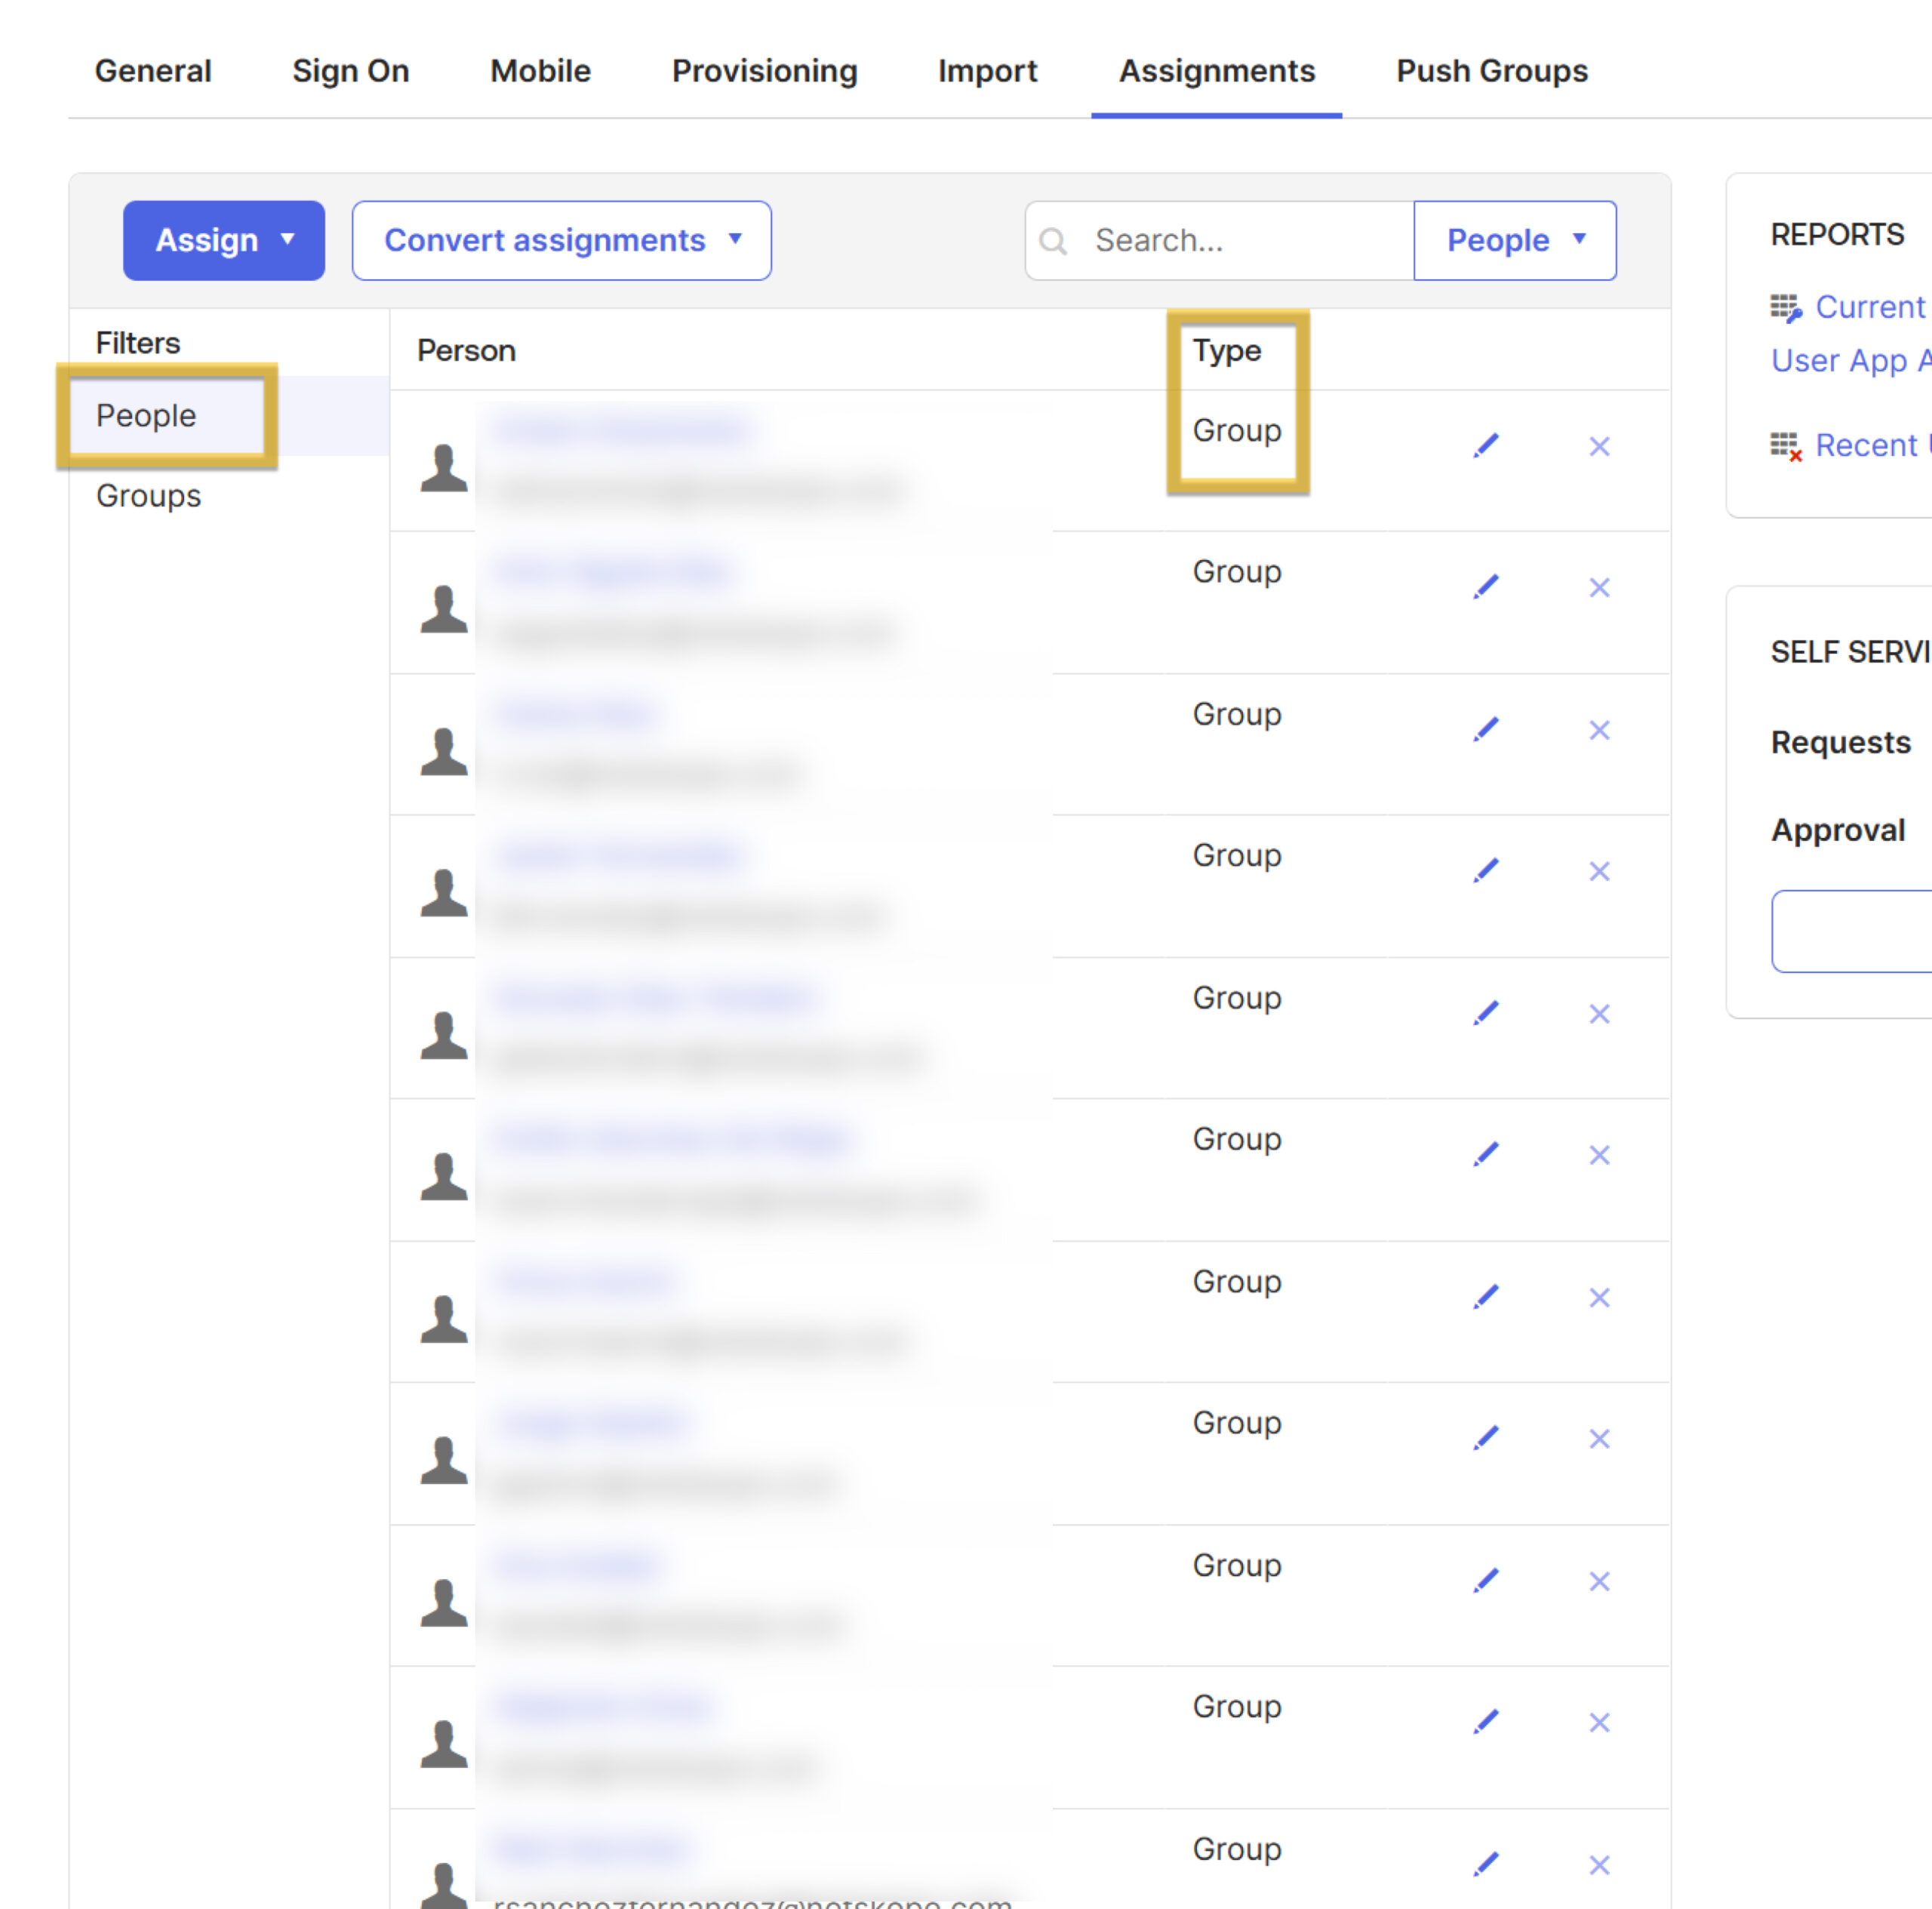
14. Click People. The users listed with the Type > Group will be assigned.
Wait until the sync is complete.