

Netskope updates Publishers automatically, including host operating system upgrades. If a Publisher runs an old software release or an old operating system, replacing the Publisher VM with a new VM is often faster and more predictable than an in-place upgrade, which requires several reboots.
When you replace a Publisher, the new VM keeps the IP address of the current Publisher and takes over the existing Publisher entry in the Netskope UI. All app definitions, private apps, and policies that reference the Publisher continue to work, and Netskope pushes the Publisher configuration from the cloud after registration. No changes are needed on your network or on your apps. Depending on your environment, the cutover takes between 30 seconds and 5 minutes if well coordinated.
This article has two parts:
- Replace a Publisher: The basic procedure that migrates the IP address and DNS settings, which is enough for most Publishers.
- Migrate Additional Settings: Check this section if you changed other settings on the current Publisher, such as a proxy, syslog, or NoNAT mode.
Prerequisites
To complete this procedure, you need:
- The latest Publisher image for your platform. To learn more, see Deploy a Publisher.
- SSH access to the current Publisher and the new Publisher VM, with an account that has sudo permissions.
- A maintenance window for the cutover.
- Recommended: Console access to the new VM (for example, the VMware vSphere, Hyper-V, or KVM console). With console access, you can prepare the new VM with its network adapter disconnected, which gives the shortest cutover.
Note
In most public cloud environments (AWS, Azure, GCP), you can’t assign the primary private IP address of an existing instance to a new instance. To keep the IP address, move a secondary network interface to the new instance, or release the IP address from the current instance first. If the new Publisher uses a different IP address, update any firewall rules or security groups that allow traffic from the Publisher to your private apps.
Replace a Publisher
Step 1: Record the Network Settings of the Current Publisher
- Access the current Publisher over SSH, and run the Publisher wizard:
sudo ./npa_publisher_wizard
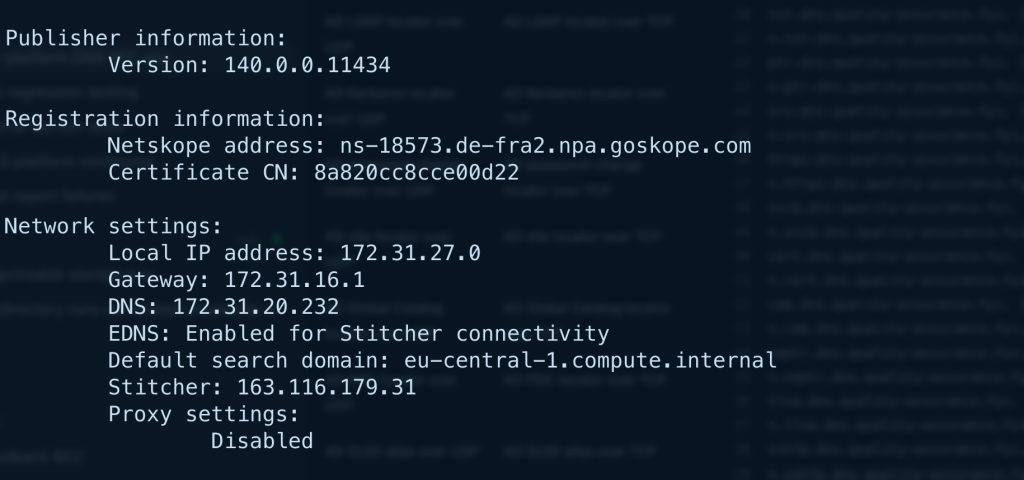
The main screen shows the network settings of the Publisher:
- Exit the wizard, and record the interface, IP address with prefix length, gateway, and MTU:
ip -br addr
ip route show default
ip link show
- Record the DNS servers that the Publisher uses. The Publisher reads the host DNS servers when it starts and uses them to resolve private app hostnames:
docker exec $(docker ps -q --filter ancestor=new_edge_access) grep -A4 forwarders /etc/bind/named.conf.options

- Record whether the IP address is static or assigned by DHCP. If ip route default shows
proto dhcp, the address is assigned by DHCP. - On Ubuntu, record any custom DNS configuration:
ls -l /etc/netplan/
sudo cat /etc/netplan/*.yaml

Step 2: Deploy the New Publisher VM
- Deploy a new VM from the latest Publisher image. To learn more, see Deploy a Publisher. Don’t register the Publisher yet.
On AWS, don’t add a registration token to the instance user data. The Publisher registers automatically if a token is present.
- Prepare the VM for the cutover:
- With console access: Disconnect the network adapter of the new VM in your hypervisor (for example, in VMware vSphere, clear Connected for the network adapter), and open the VM console.
- Without console access: Connect the VM to the network with a temporary IP address, and access it over SSH.
Step 3: Configure the IP Address and DNS on the New Publisher
Apply the settings that you recorded in Step 1.
Static IP Address
- Run the Publisher wizard:
sudo ./npa_publisher_wizard
- Select Network settings > Use Static IP, and enter the interface name, IP address in CIDR format, gateway, DNS servers, and DNS search domains. The wizard applies the configuration and restarts the container engine.
Note
Without console access, the new VM loses its temporary IP address when you apply the static IP address. Apply the static IP address during the cutover, after you shut down the current Publisher.
DHCP
- Update the DHCP reservation so that the new VM receives the IP address of the current Publisher. In a public cloud, assign the IP address or network interface to the new instance.
- If the current Publisher uses different DNS servers than the ones that DHCP provides, create a Netplan file that overrides the DNS servers from DHCP. Use the interface name of the new VM (shown by
ip -brlink) and the DNS servers that you recorded in Step 1:sudo tee /etc/netplan/99-custom-dns.yaml > /dev/null <<'EOF' network: version: 2 ethernets: ens5: dhcp4-overrides: use-dns: false dhcp6-overrides: use-dns: false nameservers: addresses: - 172.31.20.232 EOF sudo chmod 600 /etc/netplan/99-custom-dns.yaml sudo netplan apply - The Publisher reads the DNS servers when the Publisher container starts. Restart the container:
docker restart $(docker ps -q --filter ancestor=new_edge_access)
The new VM now has the same network settings as the current Publisher and is ready to be registered. If you changed other settings on the current Publisher, apply them now. To learn more, see Migrate Additional Settings.
Step 4: Cut Over to the New Publisher
- Shut down the current Publisher VM. Don’t delete it until you complete the verification.
- Bring the new VM online with the IP address of the current Publisher:
- With console access: Reconnect the network adapter of the new VM in your hypervisor.
- Without console access: Apply the static IP address (Step 3), or move the IP address to the new VM, and reconnect over SSH.
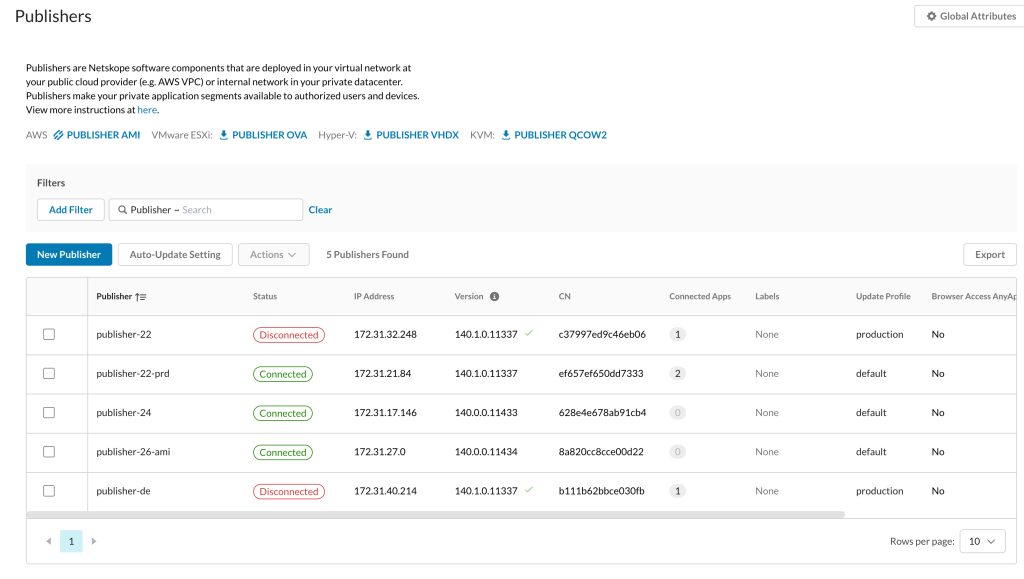
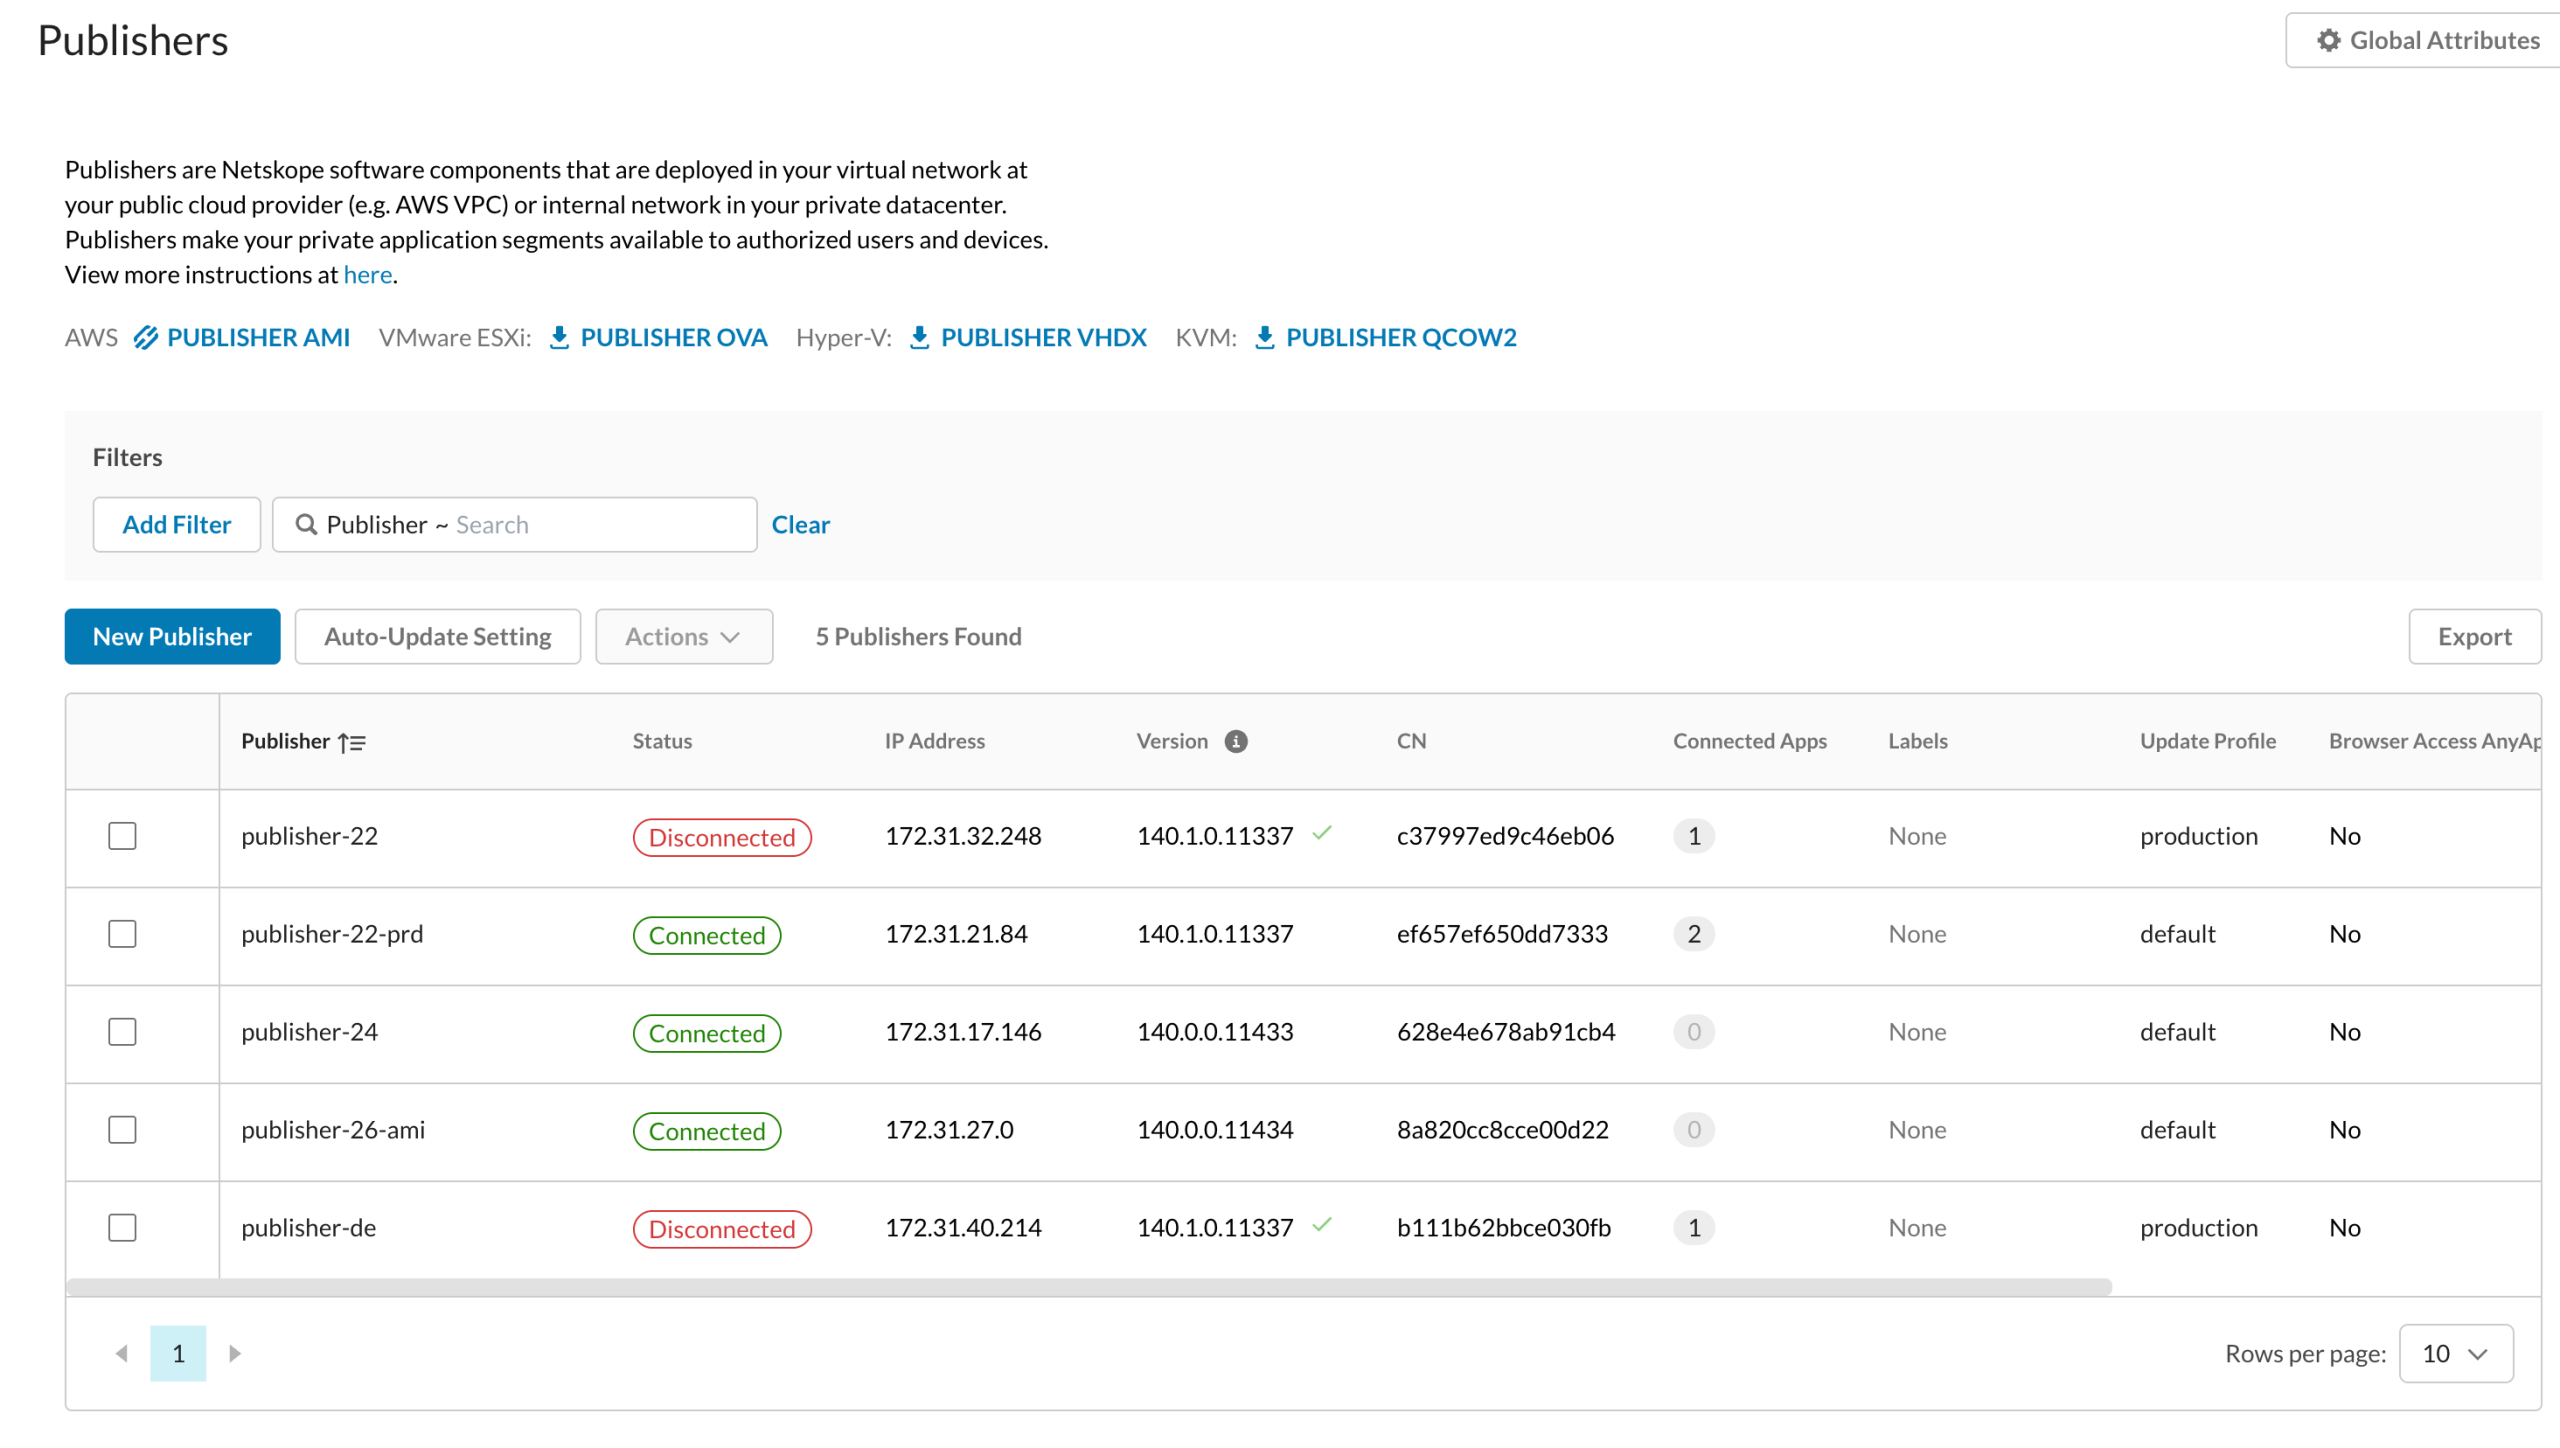
- In the Netskope UI, go to Settings > Security Cloud Platform > Publishers, and confirm that the Publisher shows Disconnected.
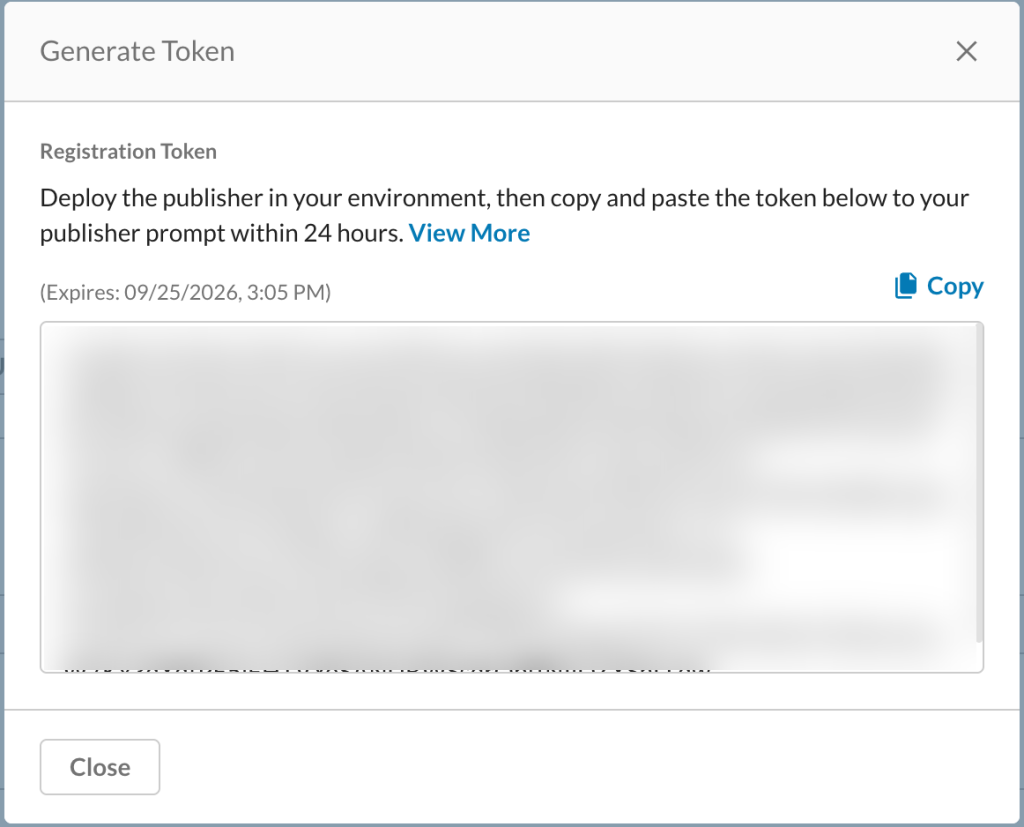
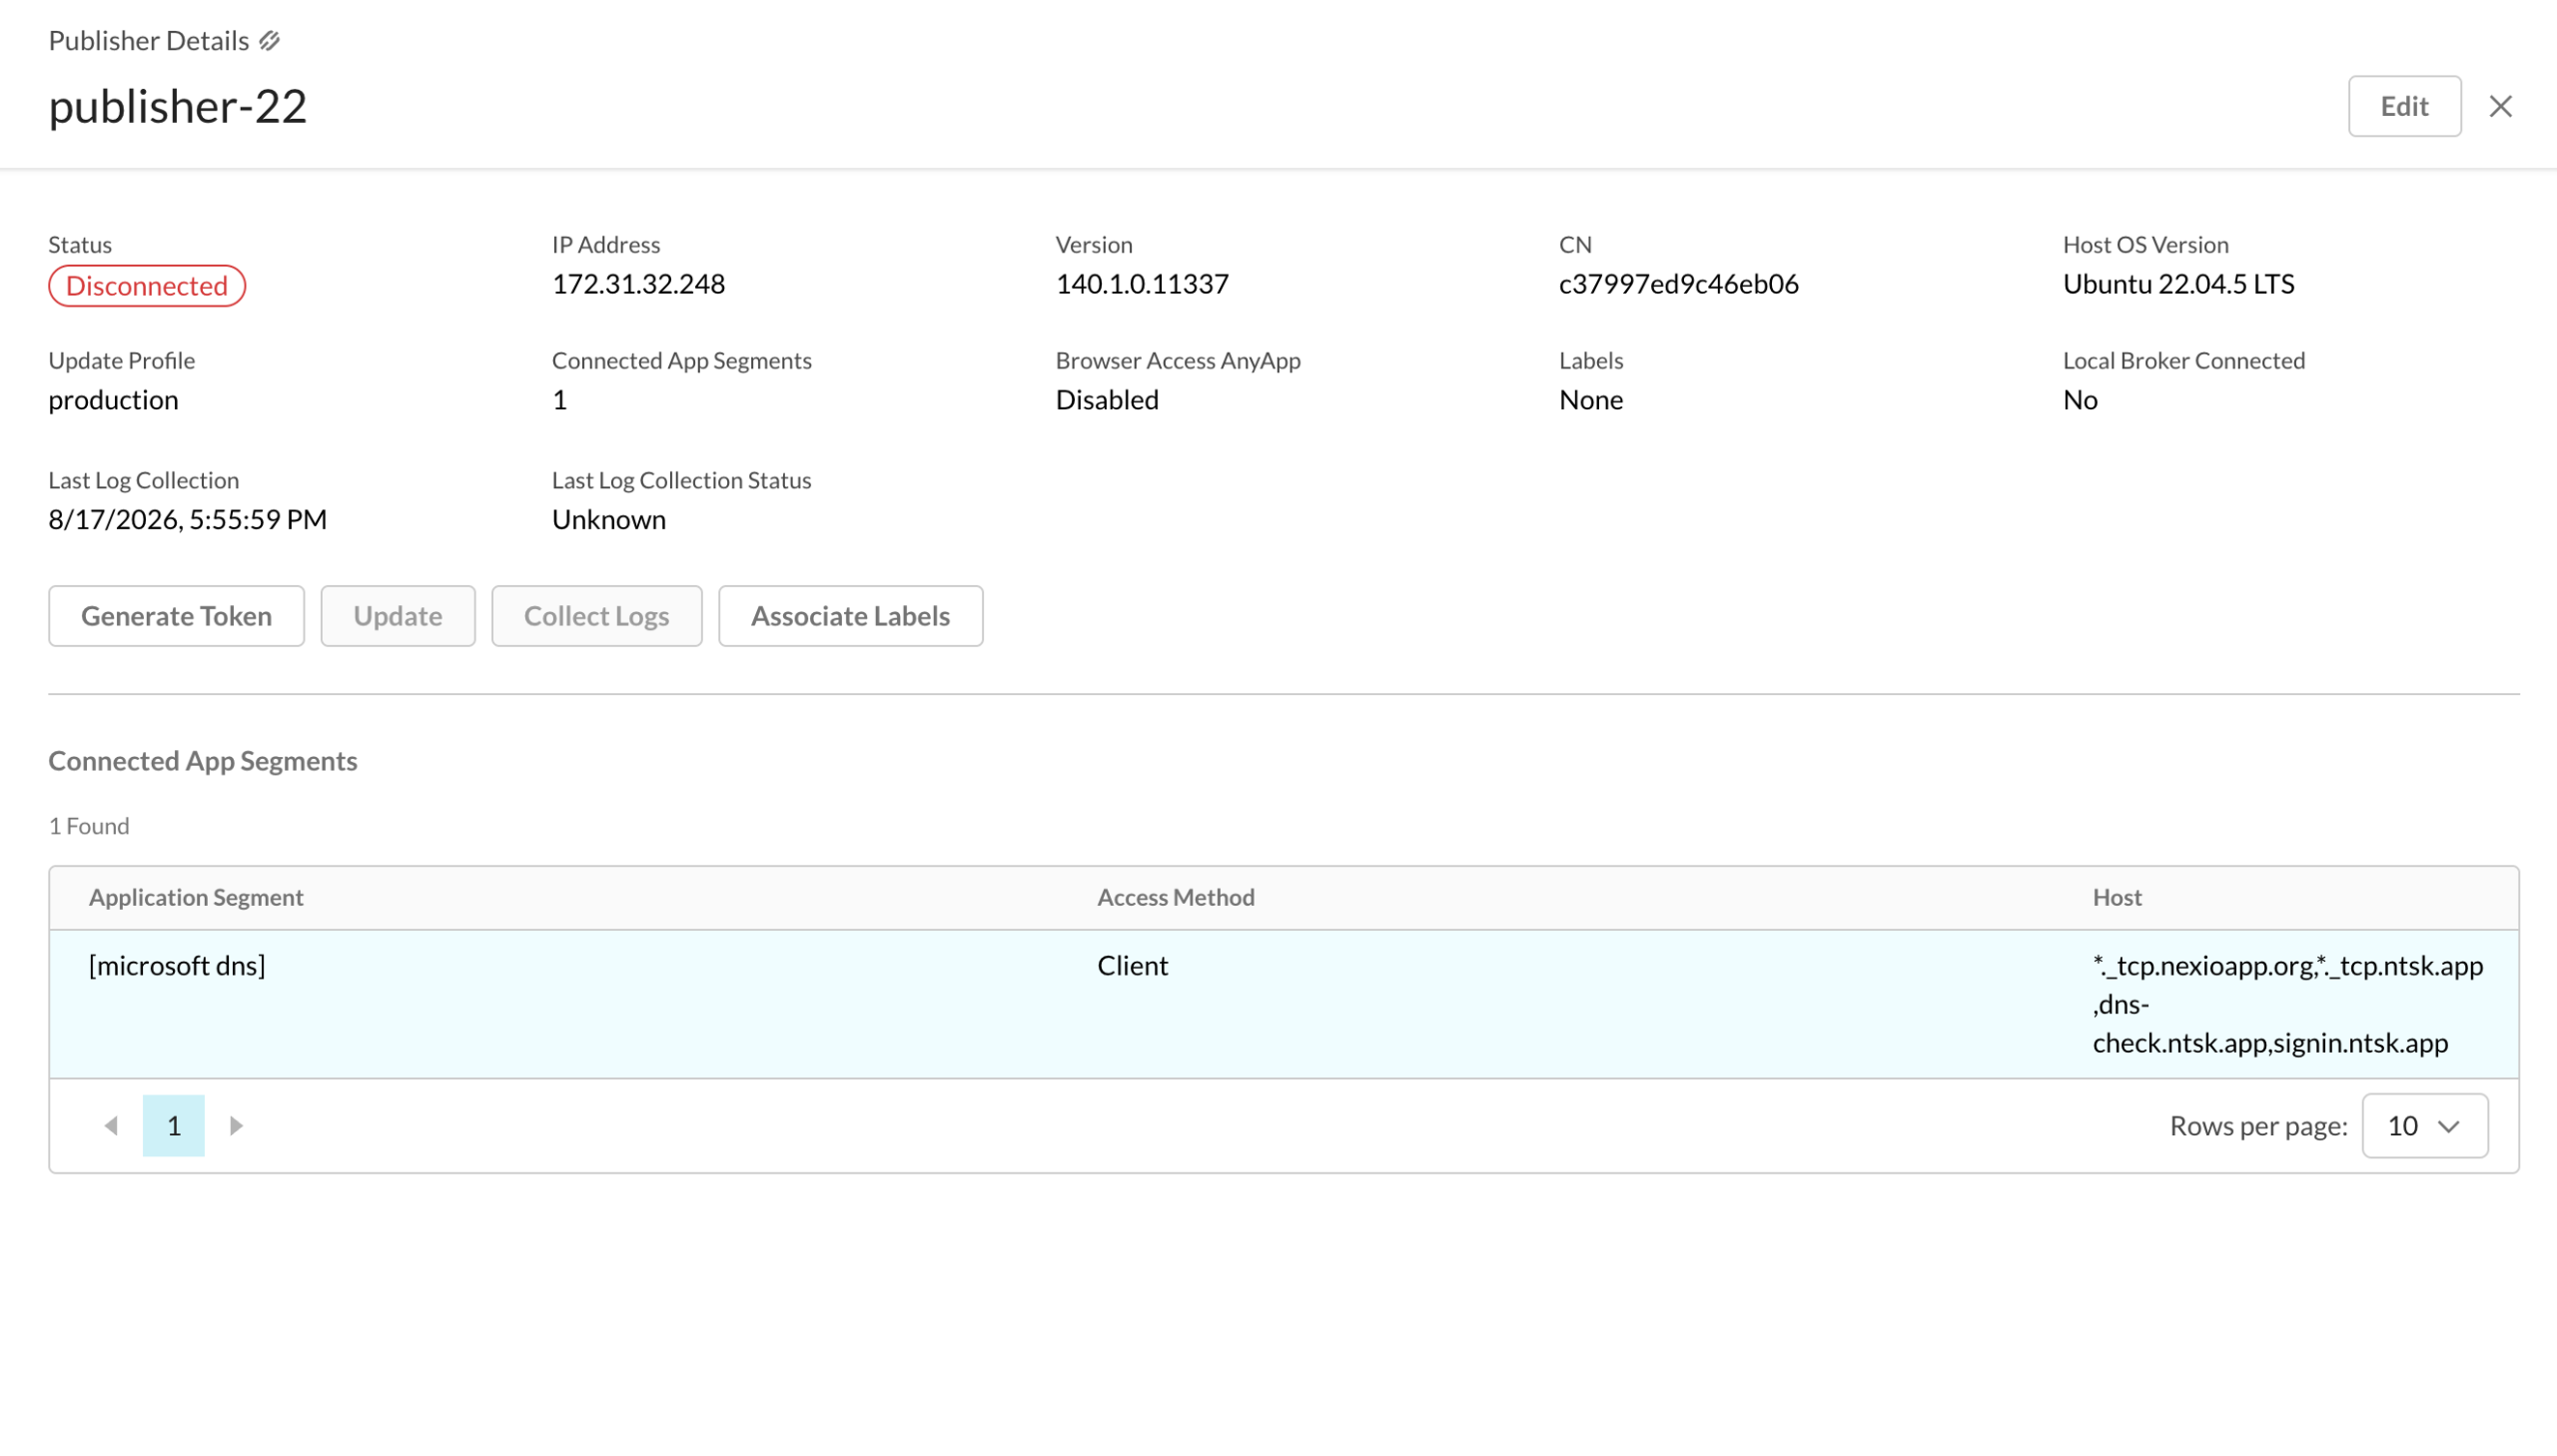
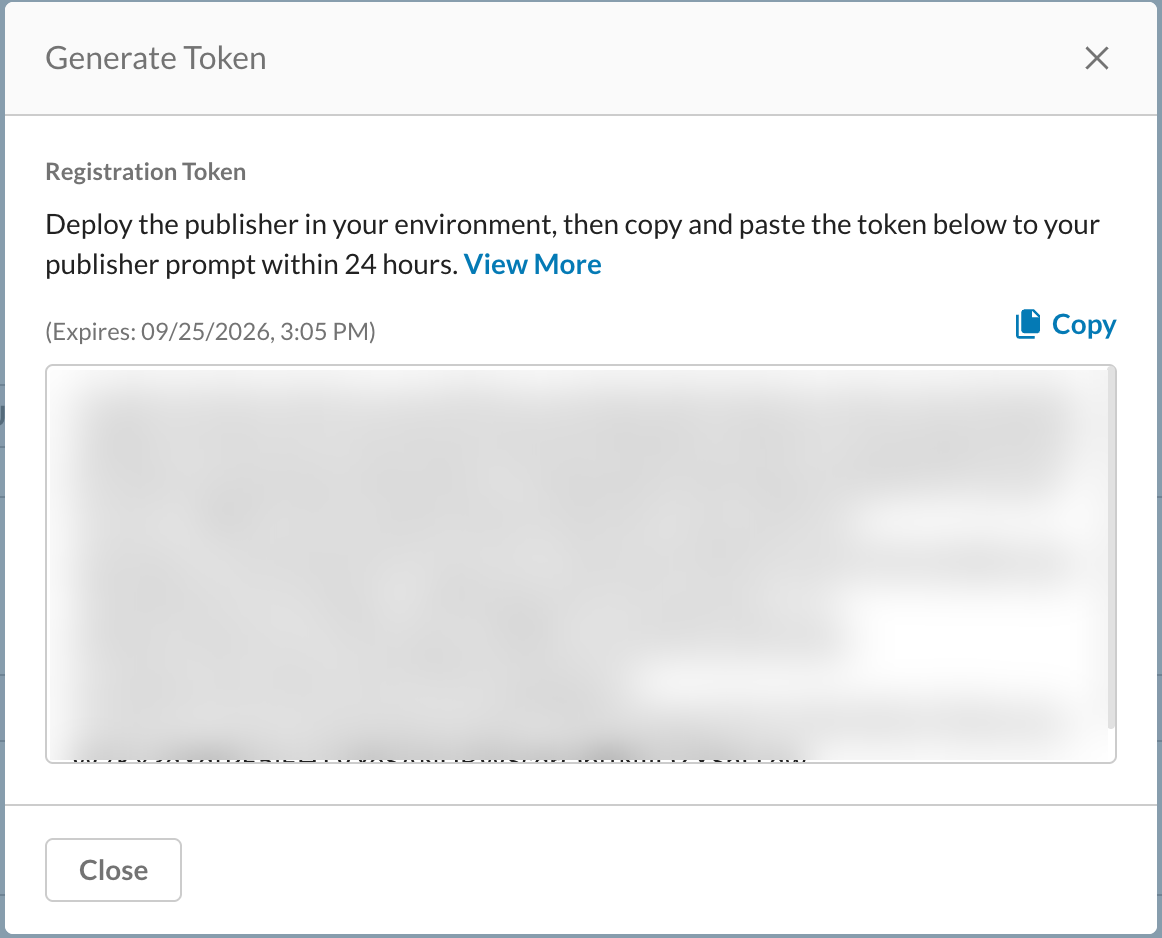
- Click the Publisher to open Publisher Details, and then click Generate Token.
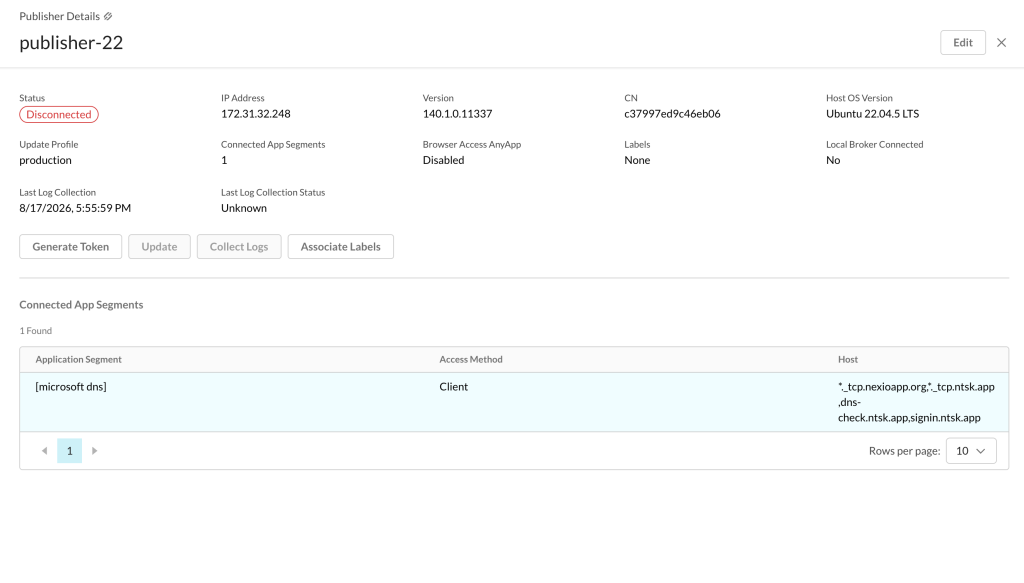
- Click Copy to copy the registration token. The token expires after 24 hours.
- On the new Publisher, run the Publisher wizard, select 1 (Register), and paste the token:
sudo ./npa_publisher_wizard
When the registration succeeds, the wizard shows:
Publisher registered successfully.

Verifying connectivity to the Netskope Dataplane...
Connectivity to the Netskope Dataplane was successfully verified.
Step 5: Verify the New Publisher
- In the Netskope UI, go to Settings > Security Cloud Platform > Publishers. Verify that the Publisher shows Connected, the IP address is unchanged, the Version is the latest release, and the Connected Apps count is the same as before.
- On the new Publisher, verify that the Publisher uses the correct DNS servers:
docker exec $(docker ps -q --filter ancestor=new_edge_access) grep -A4 forwarders /etc/bind/named.conf.options
- From a device with the Netskope Client, access several private apps that use this Publisher.
- When you’re satisfied with the new Publisher, delete the old VM.
Migrate Additional Settings
Most Publishers only need the IP address and DNS settings. If you changed other settings on the current Publisher, check them on the current Publisher and apply them to the new Publisher before you register it (Step 3), unless the table says otherwise.
Run the checks on the current Publisher from the wizard directory (usually /home/ubuntu). To list the local configuration files, run:
ls -la ~/resources
| Setting | Check on the current Publisher | Apply on the new Publisher |
|---|---|---|
| Explicit proxy | grep -E 'PROXY' /etc/environment | Wizard: Network settings > Configure proxy settings |
| Syslog | Wizard main screen, Syslog settings | Wizard: Syslog settings > Configure syslog |
| EDNS | Wizard main screen, Network settings > EDNS | Wizard: Network settings > Enable EDNS or Disable EDNS |
| NoNAT mode and TCP keepalive | ls ~/resources/.nonat | Create the flag file, then wizard: Network settings > Setup TCP keepalive for NoNAT mode |
| Log level | cat ~/resources/loglevel | Wizard: Log settings |
| Auto-reconnect | Wizard main screen, Auto-reconnect settings | Wizard: Auto-reconnect settings, after registration |
| Browser Access AnyApp | Wizard main screen, Browser Access AnyApp | Wizard: Browser Access AnyApp settings, after registration |
| Secure private artifact repository | Wizard main screen, Private Repo | sudo ./npa_publisher_wizard --enable_private_repo |
| Port mirroring | Wizard: Port mirroring settings | Wizard: Port mirroring settings > Enable port mirroring |
| Other local files | ls -la ~/resources | Copy the file |
Explicit Proxy
If the current Publisher connects to Netskope through a proxy, configure the same proxy on the new Publisher before you register it. Otherwise, the registration fails. To learn more, see Explicit Proxy for a Publisher.
Syslog
The wizard main screen of the current Publisher shows the syslog server host and UDP port. On the new Publisher, select Syslog settings > Configure syslog and enter the same values.
EDNS
EDNS is enabled by default. If the current Publisher shows EDNS: Disabled, select Network settings > Disable EDNS on the new Publisher.
NoNAT Mode
NoNAT mode is enabled when the file ~/resources/.nonat exists. This file is created automatically on GCP. If the file exists on the current Publisher and not on the new Publisher, create it and restart the Publisher container:
touch ~/resources/.nonat
docker restart $(docker ps -q --filter ancestor=new_edge_access)
If the wizard main screen of the current Publisher shows NoNAT mode TCP keepalive: Enabled, select Network settings > Setup TCP keepalive for NoNAT mode on the new Publisher, and enter the same values.
Log Level
The default log level is 3 (Info). If the current Publisher uses a different log level, select Log settings on the new Publisher and select the same level.
Auto-reconnect
If the current Publisher uses custom auto-reconnect settings, select Auto-reconnect settings on the new Publisher after registration and enter the same values. The menu is available after the Publisher receives its configuration from Netskope. To learn more, see Publisher Auto-Reconnect.
Browser Access AnyApp
If Browser Access AnyApp is enabled on the current Publisher, select Browser Access AnyApp settings > Enable Browser Access AnyApp on the new Publisher after registration.
Secure Private Artifact Repository
If the current Publisher uses a secure private artifact repository, copy ~/resources/private_repo_config.json to the new Publisher and enable the repository. To learn more, see Secure Private Artifact Repository for Publishers.
Port Mirroring
If port mirroring is enabled on the current Publisher, select Port mirroring settings > Enable port mirroring on the new Publisher. The menu is only available on VMs that support port mirroring.
Other Local Files
If any of these files exist in ~/resources on the current Publisher, copy them to the same location on the new Publisher, and then restart the Publisher container:
| File | Purpose |
|---|---|
nsconfig.local.json | Local overrides of the Publisher configuration |
edns_service_host.txt | Custom EDNS service host |
.noproxy | Hides the proxy settings in the wizard |
.disable_bypass_systemd-resolved | Keeps the systemd-resolved stub resolver |
.disablediaglogcollection | Disables diagnostic log collection |
Note
Don’t copy any other files from ~/resources. In particular, don’t copy publisherid, sslcert, orgkey, orguri, tenant, stitcher, or nsconfig.json. These files belong to the registration of the current Publisher. The new Publisher receives its own files when you register it.
If you use Docker registry mirrors, compare /etc/docker/daemon.json on both Publishers, add the registry-mirrors entry to the new Publisher, and restart Docker.