

Samsung Knox provides data protection against multiple threats such as theft, hacking, and so on. It provides a holistic approach to protecting mobile devices through data protection. To learn more, view Samsun Knox.
This article provides instructions to install Netskope Client on Android Enterprise using Samsung Knox
Prerequisite
-
Register your Android enterprise Samsung Knox Manage as an EMM provider on the Google Play console. To learn more, view Configure Android Enterprise Environment.
-
Administrators must review Netskope Client Client Enrollment Methods to understand the Client User Enrollment methods available for their environment.
-
Import users into the Netskope tenant – see Provisioning Users for Netskope Client.
-
Download Netskope Root and Tenant Certificates and ensure the certificates are available when needed.
Create a New Profile
After you register your Android enterprise, the Google Account information is displayed on the Knox manage Console. You can now begin adding a new profile as the first steps towards deploying Netskope Client.
To learn more, view Add Profile.
To add a new profile:
-
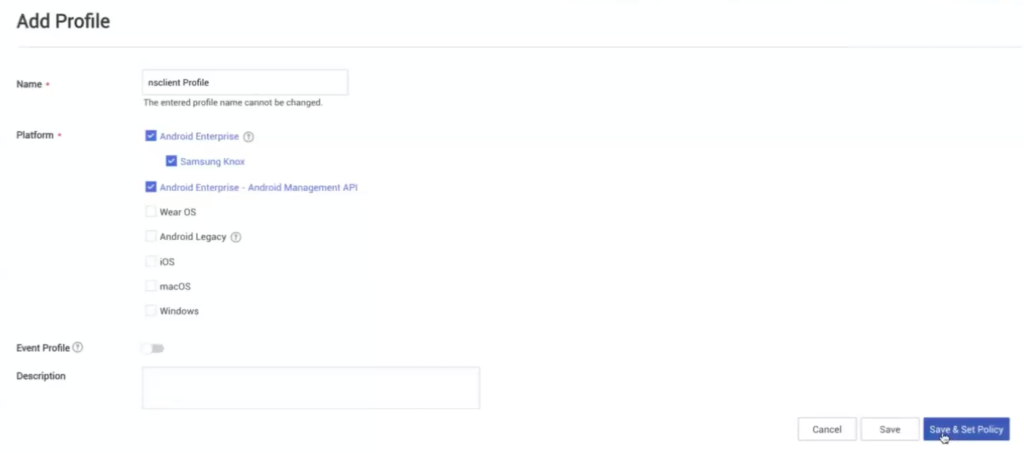
Go to Profile > Add.
-
In Add Profile, perform the following:
-
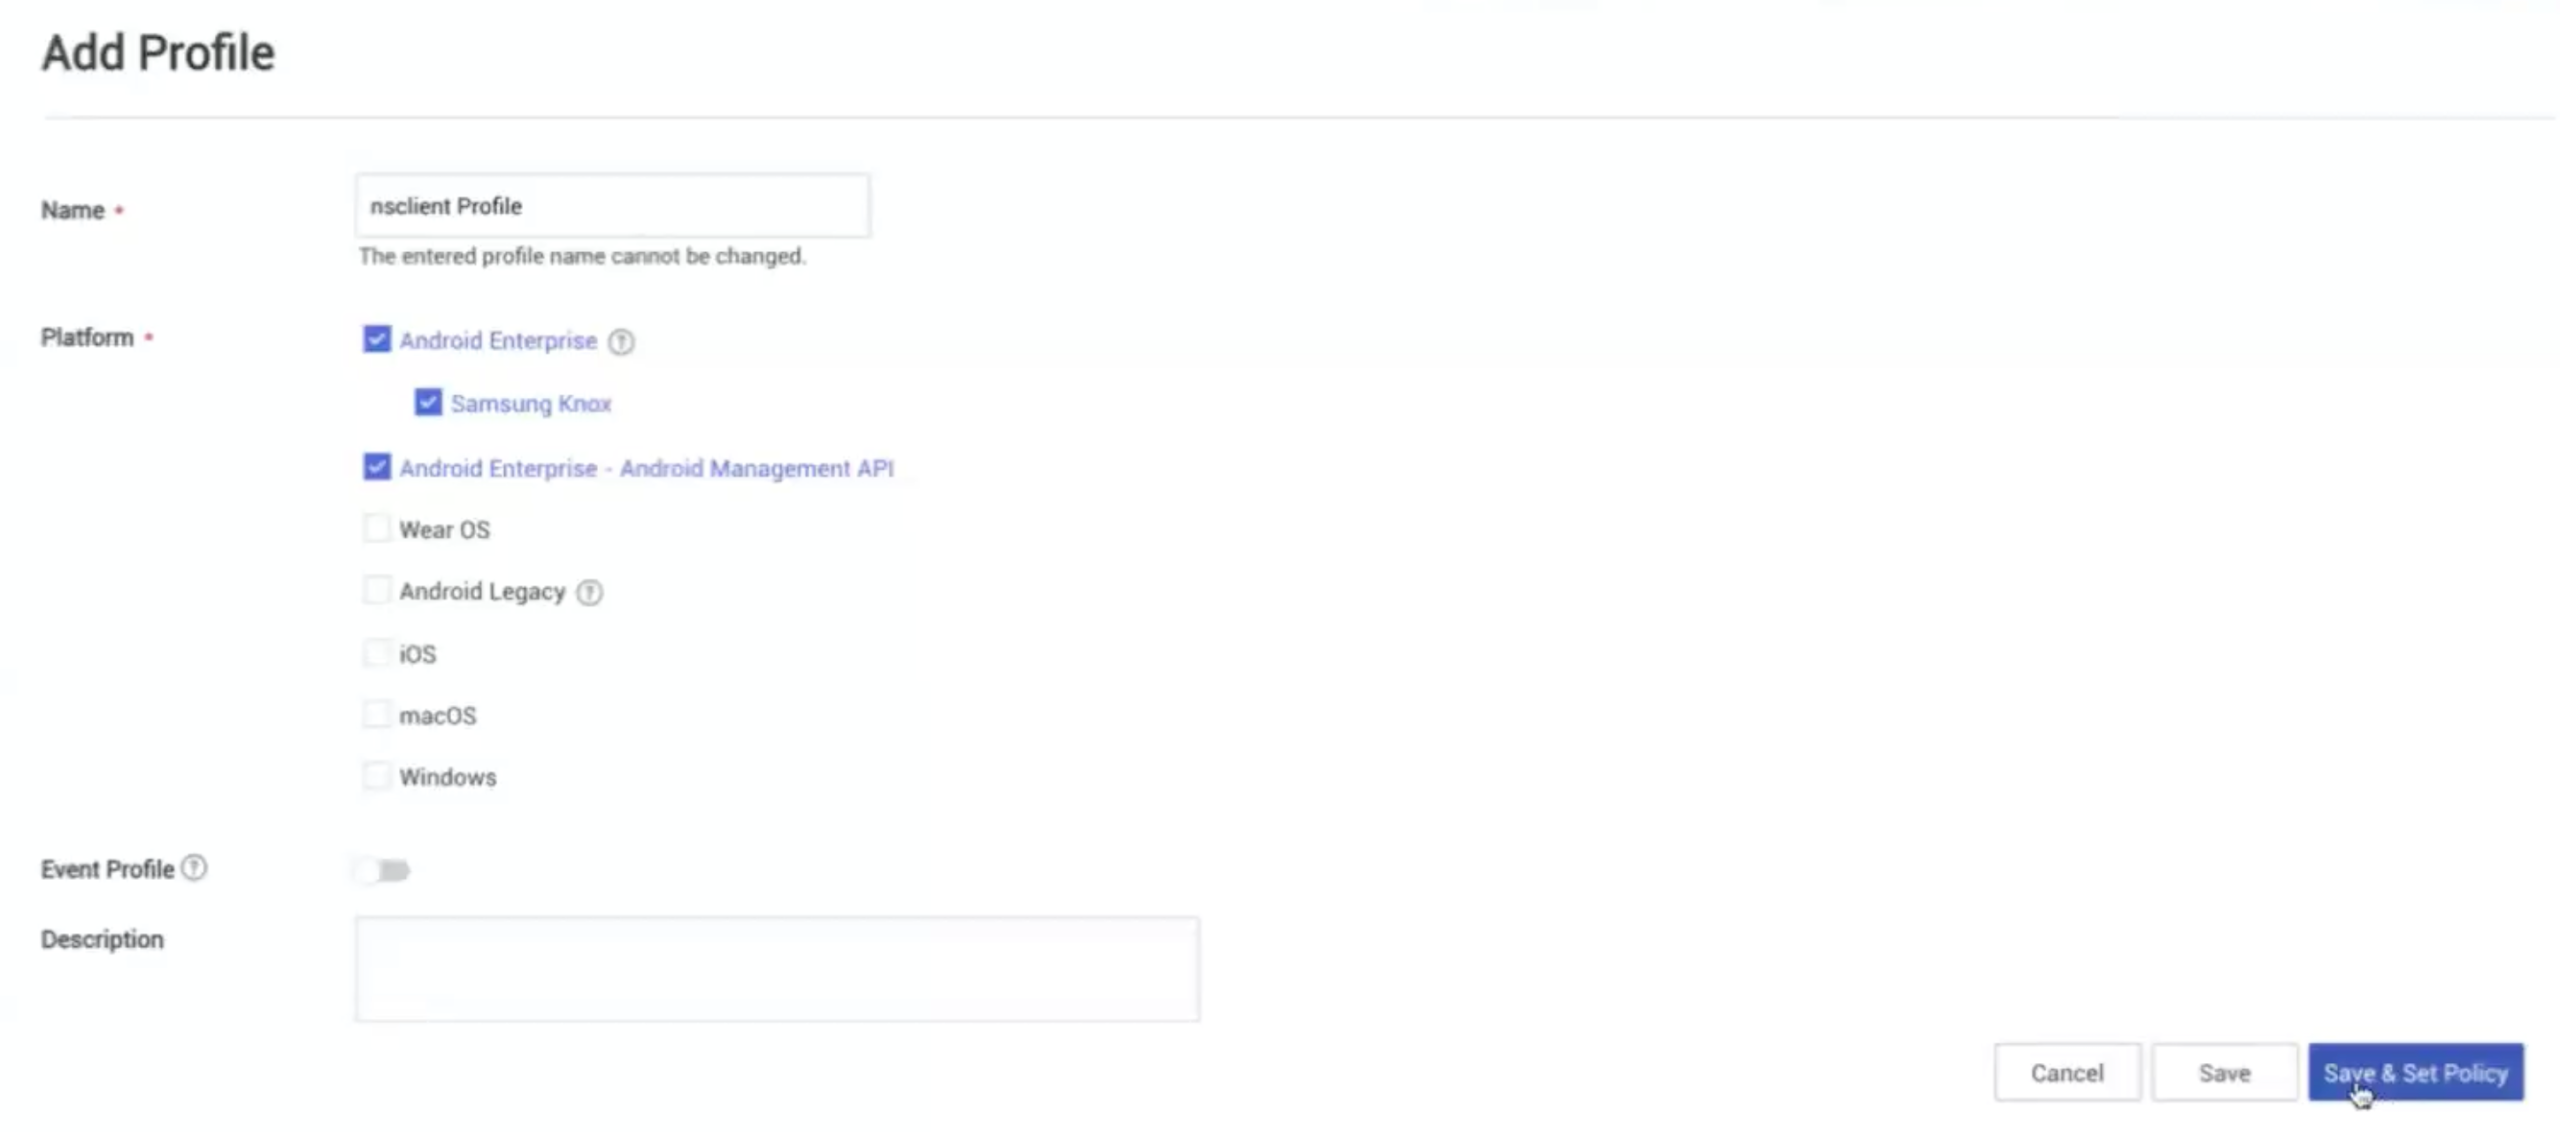
Enter a Name for the profile.
-
Select the checkboxes for the device platforms. For example, select Android Enterprise, Samsung Knox, Android Enterprise – Android Management API.
-
Click Save & Set Policy.
-
Add App Using Managed Google Play
You can add and deploy the Netskope Client application to your managed device using Managed Google Play. To learn more, view Add Apps.
To add an app to your Managed Google Play:
-
On your Samsung Knox console, go to Applications > Add.
-
In Select Application Type, select Android in Platform.
-
In Type & Source, select Public-Managed Google Play.
-
Click Next.
-
This opens the Google Play dialog box.
-
Select Public Apps from the following options:
-
Search Play Store (Public App)
-
Private apps
-
Web apps
-
-
Search for Netskope Client in Google Play Store.
-
View the details of the Netskope Client app alongside the necessary device permissions requested.
-
Click Select to save the details of the app and continue.
-
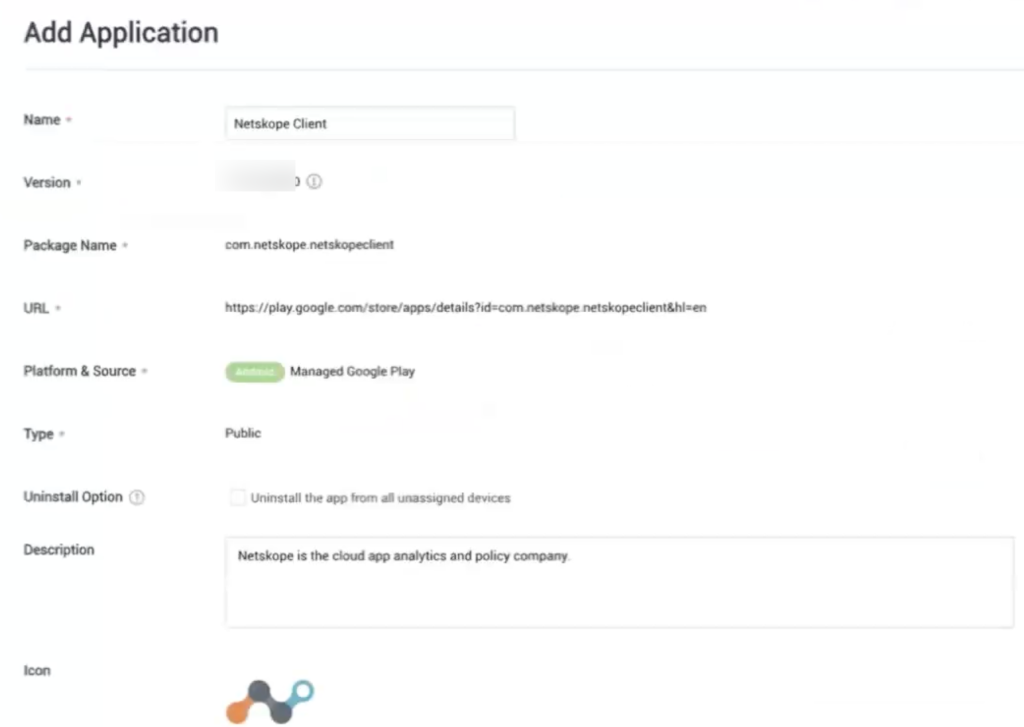
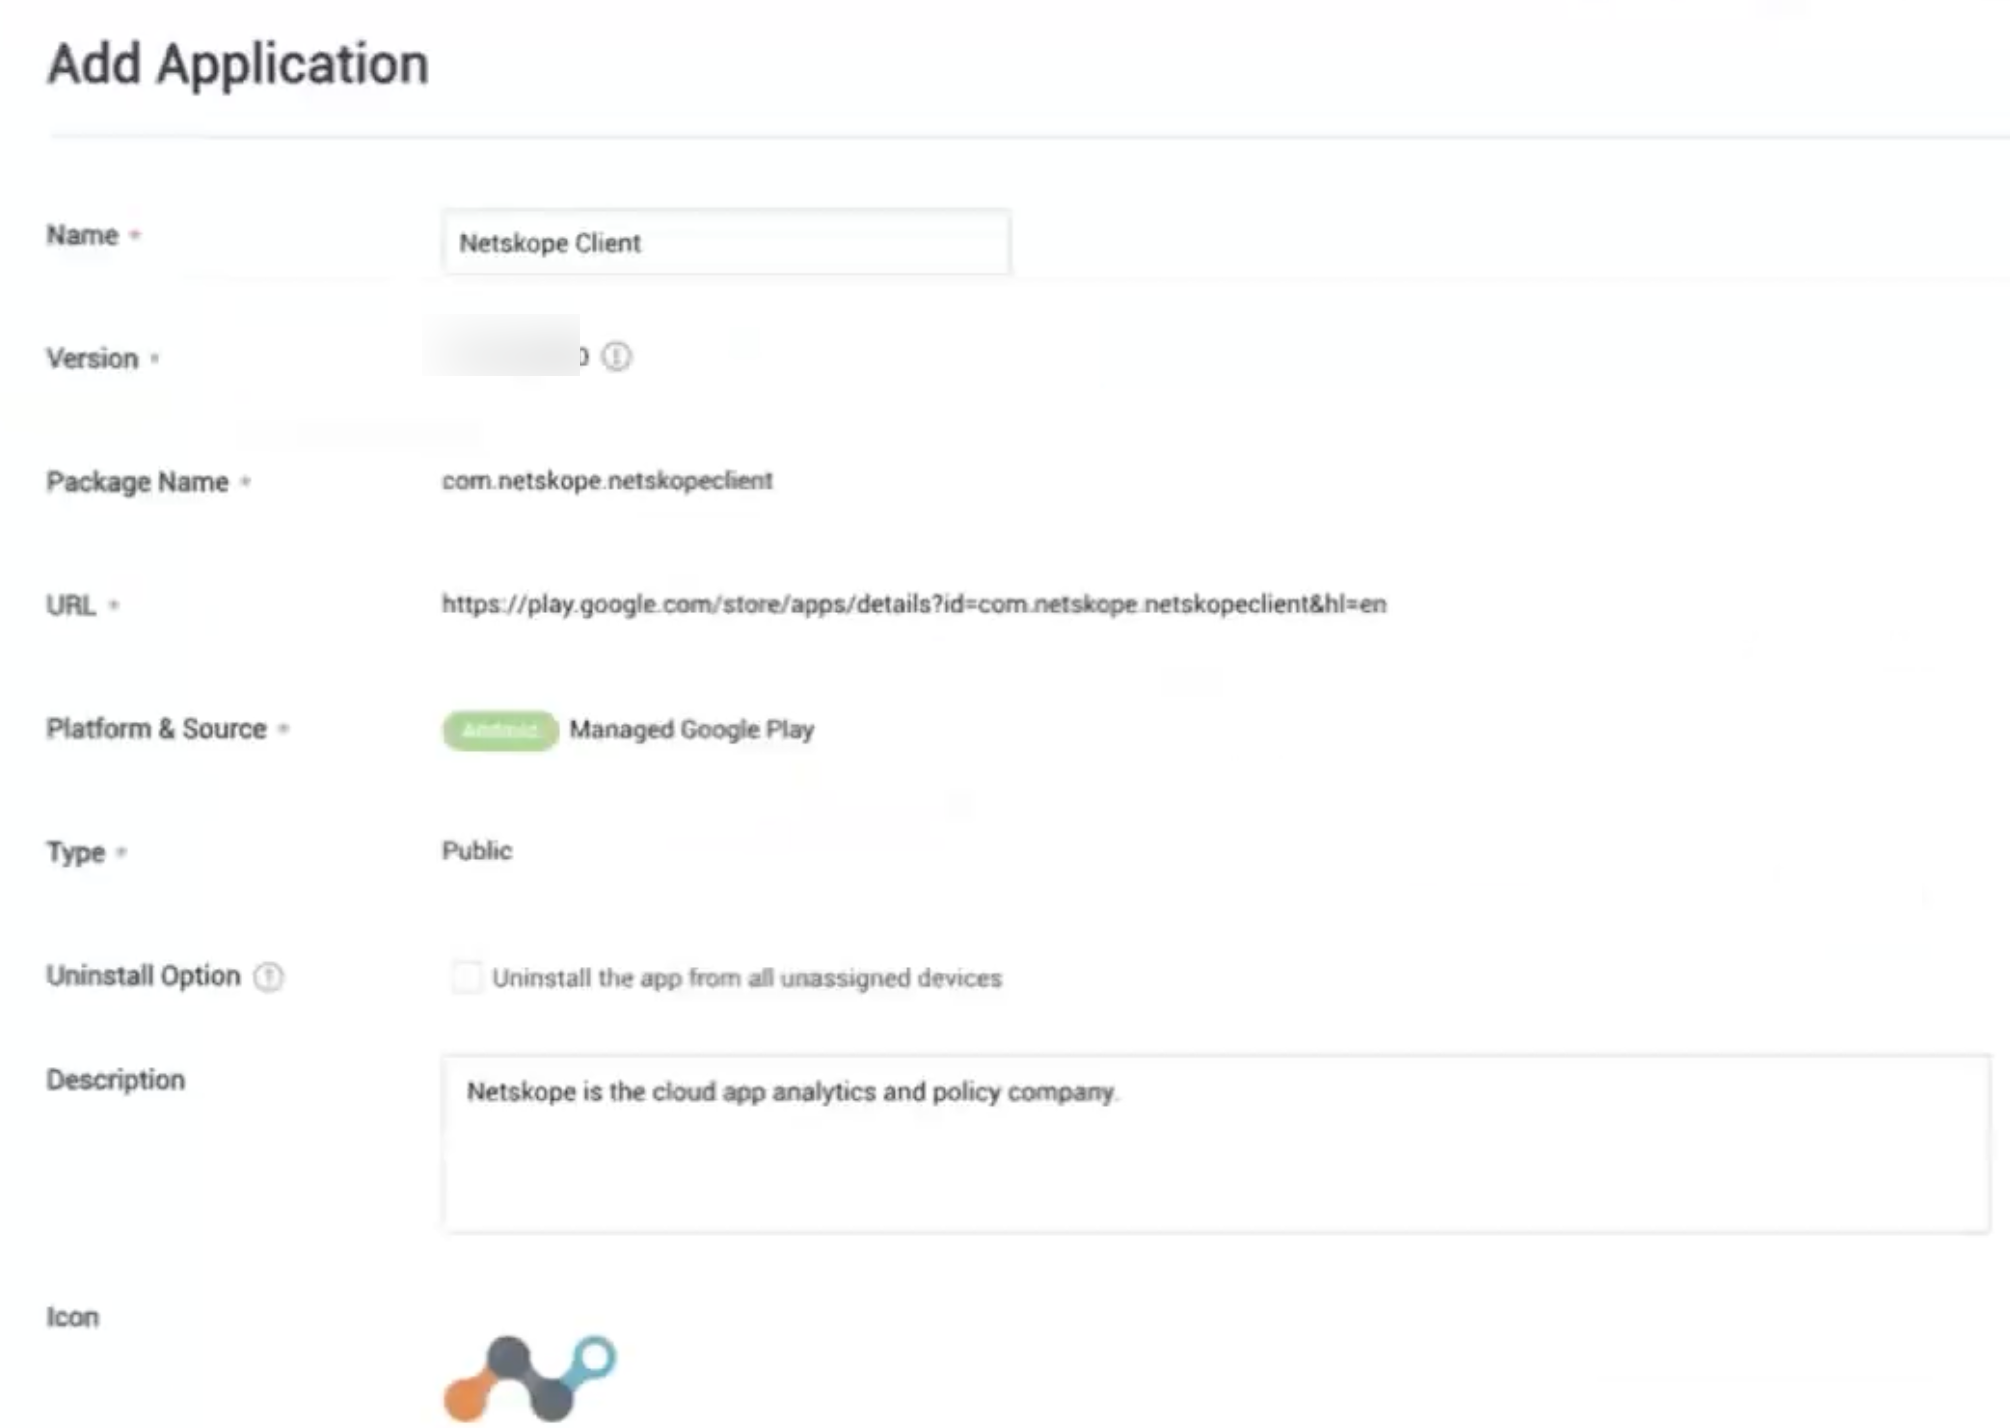
In Add Application, the page displays the Netskope Client app details.
-
Click Save & Assign.
Assign Groups or Organizations
After you save and assign Netskope Client to your Samsung Knox tenant, you can now start assigning groups and organizations for it to become available for all devices. To learn more, view: Assign Managed Google Play Apps.
To assign Managed Google Play Apps:
-
Go to Applications and select Netskope Client.
-
Click Assign.
-
In Assign Application, perform the following:
-
Select Android Enterprise in Target Device.
-
Select Manual in Installation Type.
-
Select No in Auto-run After Installation.
-
Select Default in Automatic Update Mode.
-
Click Set Configuration to set additional configuration details.
-
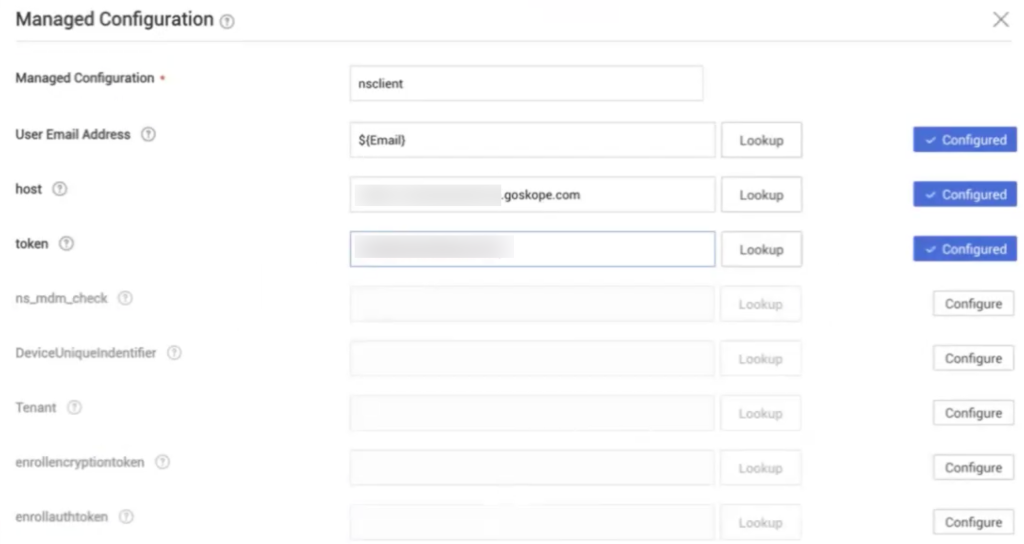
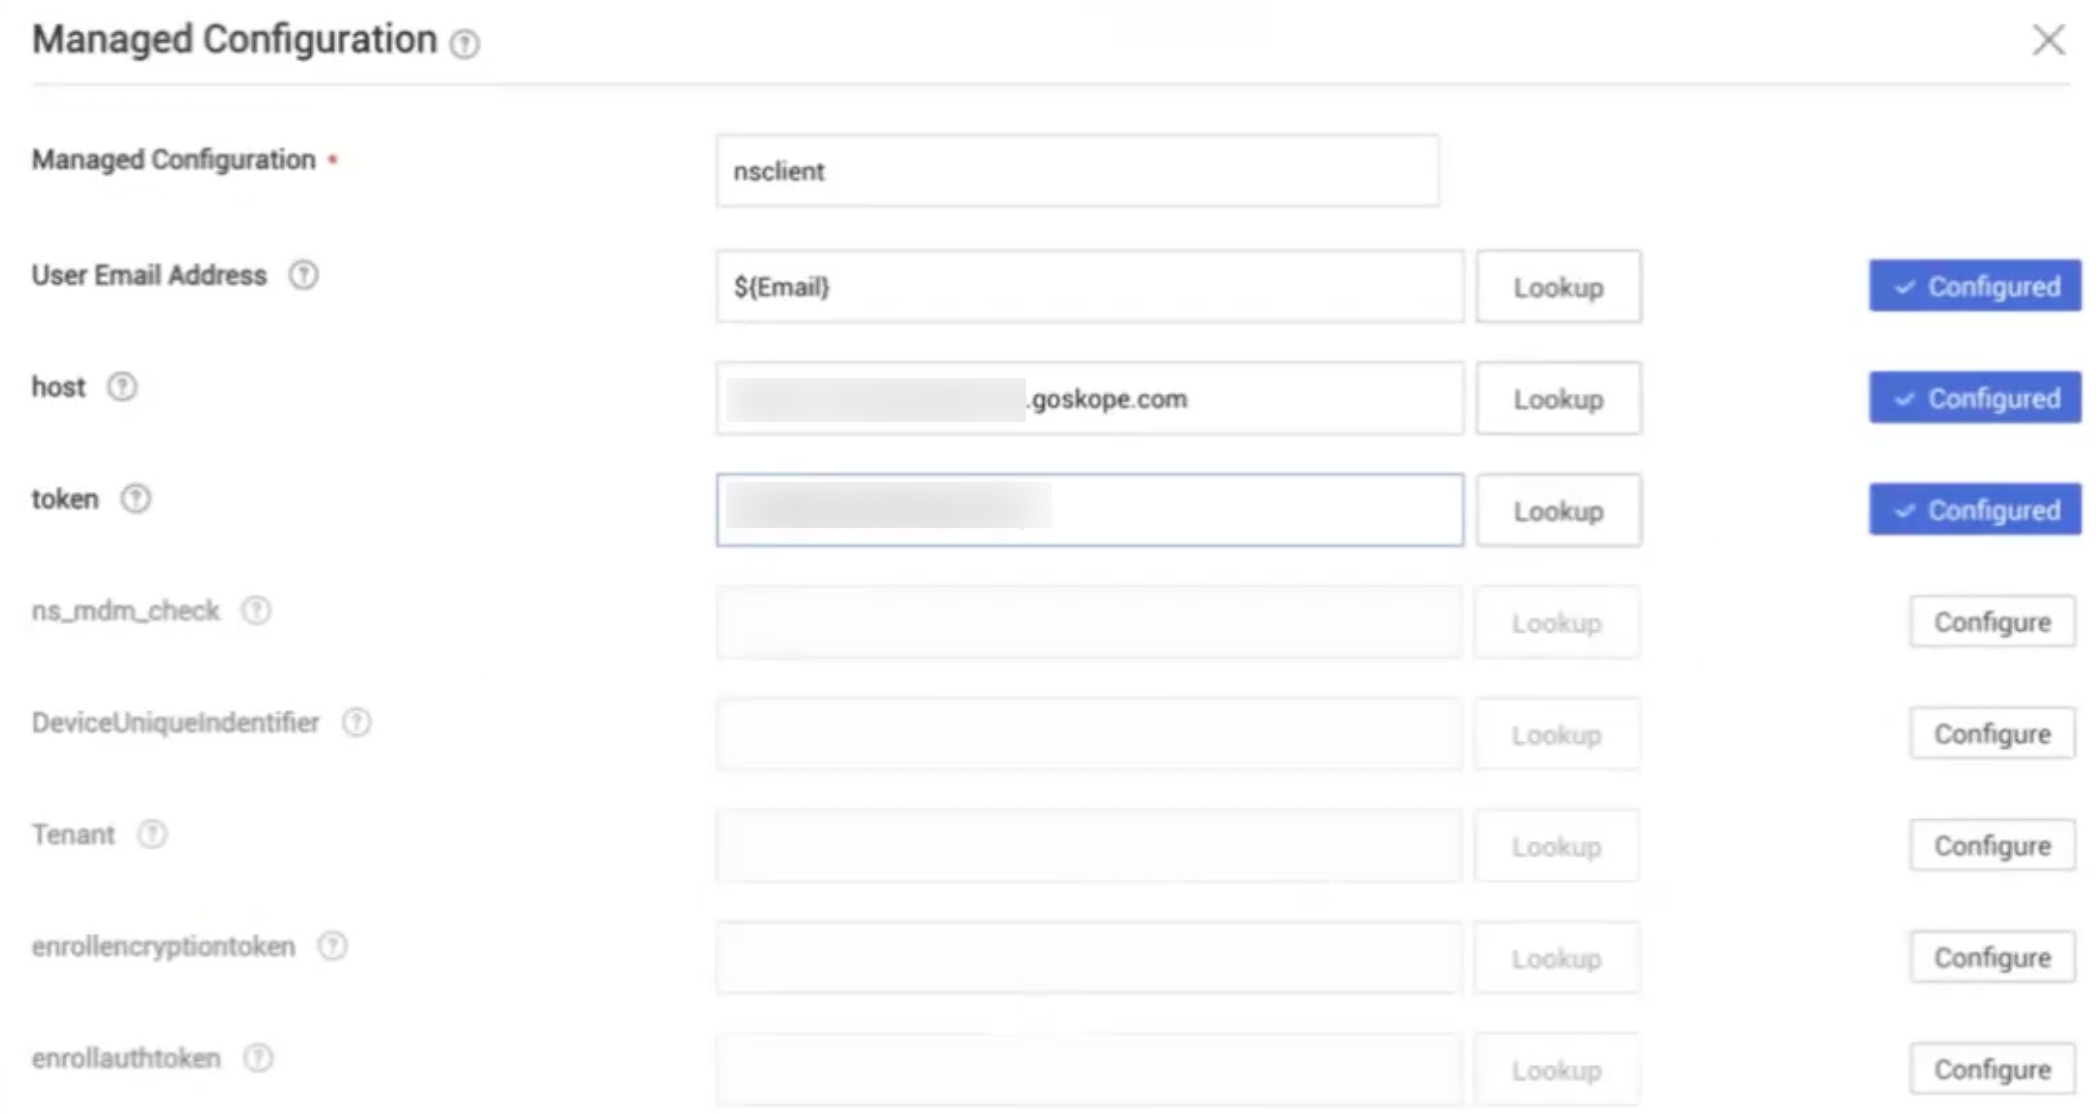
In Managed Configuration, click Configure to add each parameter (click Lookup to add the value):
-
User Email Address: ${Email}.
-
Hostname: addon-<tenant-name>.goskope.com
-
Token: <Organization ID>
-
enrollauthtoken: <your authentication token>
-
enrollencryptiontoken: <your encryption token>
Refer Netskope Client Deployment Parameters to identify values needed for configuration.
-
-
Click Save.
-
In Target, select the devices to assign the app to.
-
Click Assign.
-
In the Assign Application dialog box, verify the assigned application details.
-
Click OK to close the dialog box.
-
-
Netskope Client is displayed on the Application page.
Add Certificates
Upload the Netskope root and intermediate certificates and manage them in Samsung Knox. To know more, view Certificates.
Enrollment Workflow
-
After you complete the steps to deploy Netskope Client in Samsung Knox, log into the Samsung Knox server.
-
Netskope Client can enroll silently (assuming the enrollment data is correct and is matching the user information provisioned in the tenant).