

This document explains how to configure the Silverfort v1.0.0 plugin with the Risk Exchange module of the Netskope Cloud Exchange platform. This plugin supports performing the Update Silverfort Risk action for the users available on the Silverfort > User Enrollment page in the Silverfort platform. This plugin does not support fetching data from the Silverfort platform.
Prerequisites
To complete this integration, you need:
- A Netskope tenant (or multiple, for example, production and development/test instances).
- A Netskope Cloud Exchange tenant with the Tenant plugin and Risk Exchange plugin already configured.
- Connectivity to the Silverfort tenant.
- Silverfort version 5.3 or above.
Silverfort Plugin Support
This plugin supports performing the Update Silverfort Risk action for the users available on the Silverfort > User Enrollment page in the Silverfort platform. This plugin does not support fetching data from the Silverfort platform.
| Type of Data Pulled | Actions Supported |
|---|---|
| Not Supported |
|
Permissions
You need admin access for the Silverfort user.
API Details
List of APIs Used
| API Endpoint | Method | Use Case |
|---|---|---|
| /integrations/inbound/netskope/v1/risk/{webhook_id} | POST | Updated the Silverfort risk for the given user. |
API Endpoint: {base_url}/integrations/inbound/netskope/v1/risk/{webhook_id}
Method: POST
Request Headers
| Key | Value |
|---|---|
| Authorization | <auth_id> |
| Content-Type | application/json |
| User-Agent | netskope-ce-5.1.2-cre-silverfort-risk-v1.0.0 |
Payload
{
     "riskLevel": <silverfort_risk>,
     "email": <email>
}
User Agent
netskope-ce-5.1.2-cre-silverfort-risk-v1.0.0
Workflow
- Configure an Auth Token.
- Get your Webhook ID and Auth ID from Silverfort.
- Configuring the Silverfort plugin.
- Add a Business Rule.
- Add an Action.
- Validate the plugin.
Watch a Video
Click play to watch a video:
Configure Netskope API Auth Token
New Flow for 6.0
In the Silverfort Admin Console, go to Settings > Notifications > Add Integration and select Netskope Inbound Plugin. Here you can enter a name, along with the auth ID and webhook ID.
| Property | Description | Permitted Value |
|---|---|---|
| AuthId | An auth ID required for inbound requests to Silverfort | A valid UUID (generated by user) |
| WebhookId | A webhook ID required for inbound requests to Silverfort | A valid UUID (generated by user) |

Flow for Pre-6.0
In the Silverfort Admin Console, go to Settings > Notifications > Custom.
In the JSON structure, add the following configuration object within the parent object. Both UUIDs should be generated by the user.
"netskope_inbound_v1":
{
        "config":
        {
            " authId": " Valid UUID" ,
            " webhookId": "Valid UUID"
        }
}
| Property | Description | Permitted Value |
|---|---|---|
| authId | An auth ID required for inbound requests to Silverfort | A valid UUID (generated by user) |
| webhookId | A webhook ID required for inbound requests to Silverfort | A valid UUID (generated by user) |
Get your Webhook ID and Auth ID from Silverfort
To get the Webhook ID and Auth ID from the Silverfort tenant:
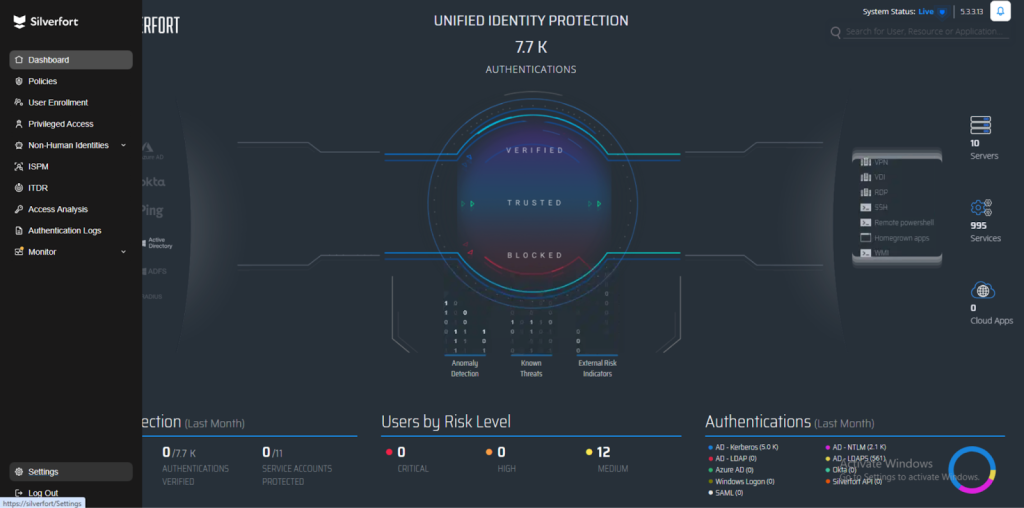
- Log in to Silverfort, and in the bottom left corner, click Settings.

- Go to Notifications and click the Custom tab.
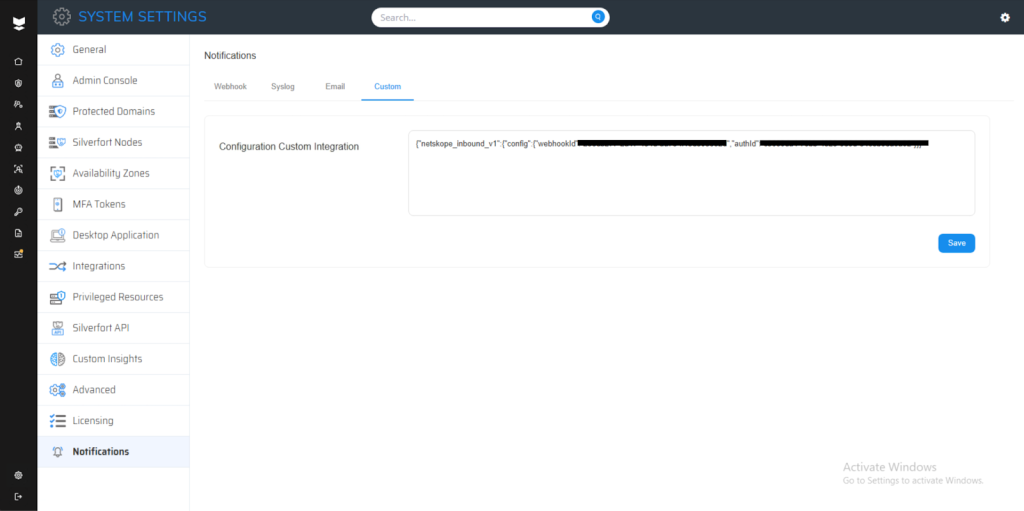

- Copy the Auth ID and Webhook ID to use when configuring the plugin.
Configure the Silverfort Plugin
To configure the Silverfort plugin:
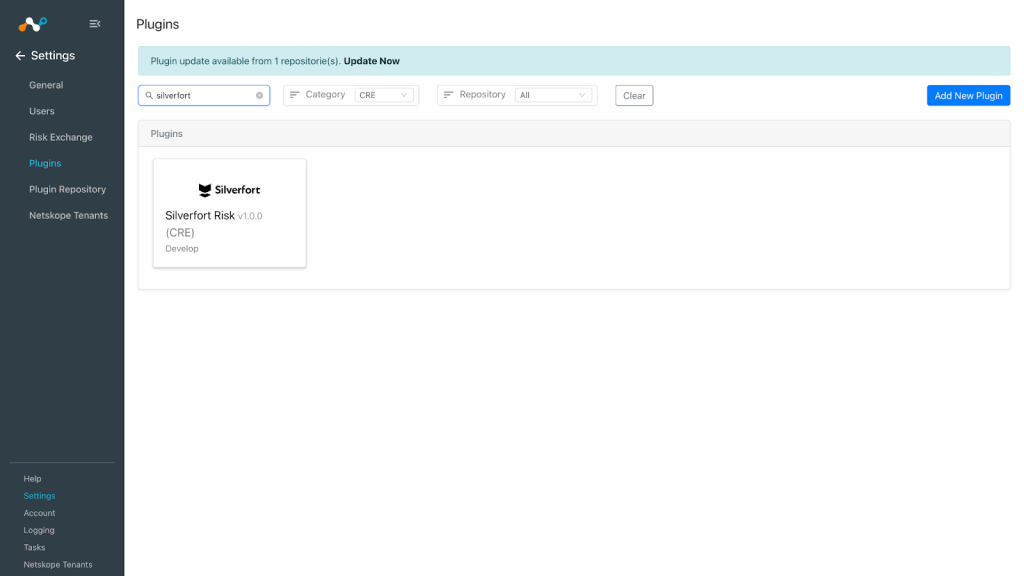
- Log in to Cloud Exchange and go to Settings > Plugins.
- Search for and select the Silverfort Risk v1.0.0 plugin box.

- Enter a Configuration Name and select a sync interval for the plugin.
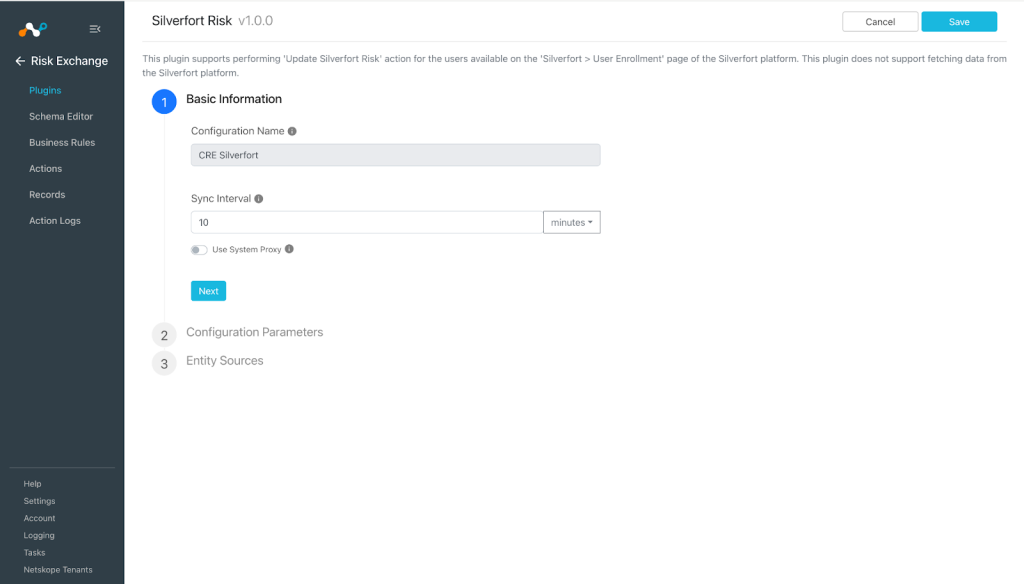

- Click Next and enter the configuration parameters:
- Silverfort Base URL: The Base URL for Silverfort platform.
- Auth ID: The Silverfort Auth ID you obtained previously.
- Webhook ID: The Silverfort Webhook ID you obtained previously.
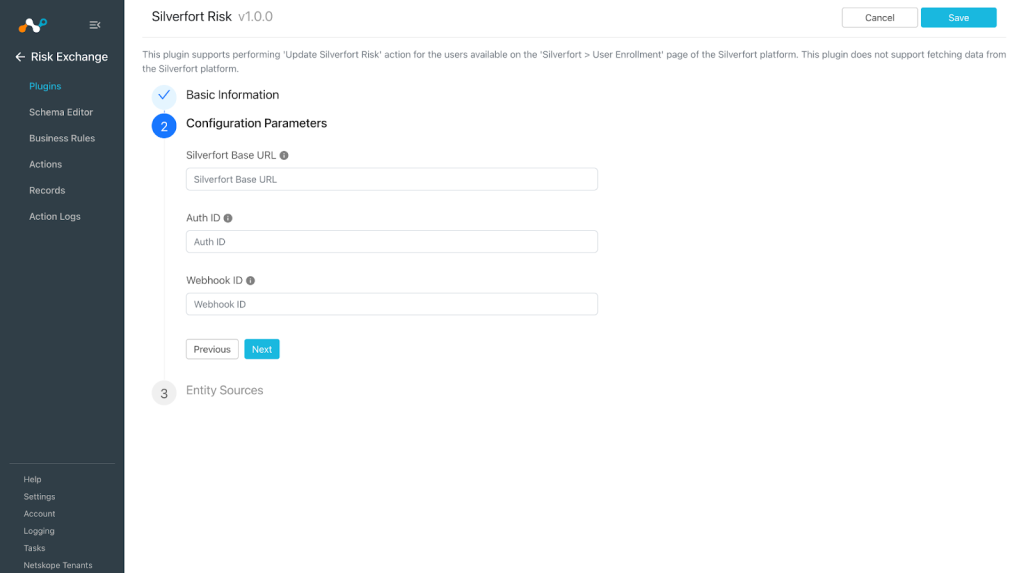

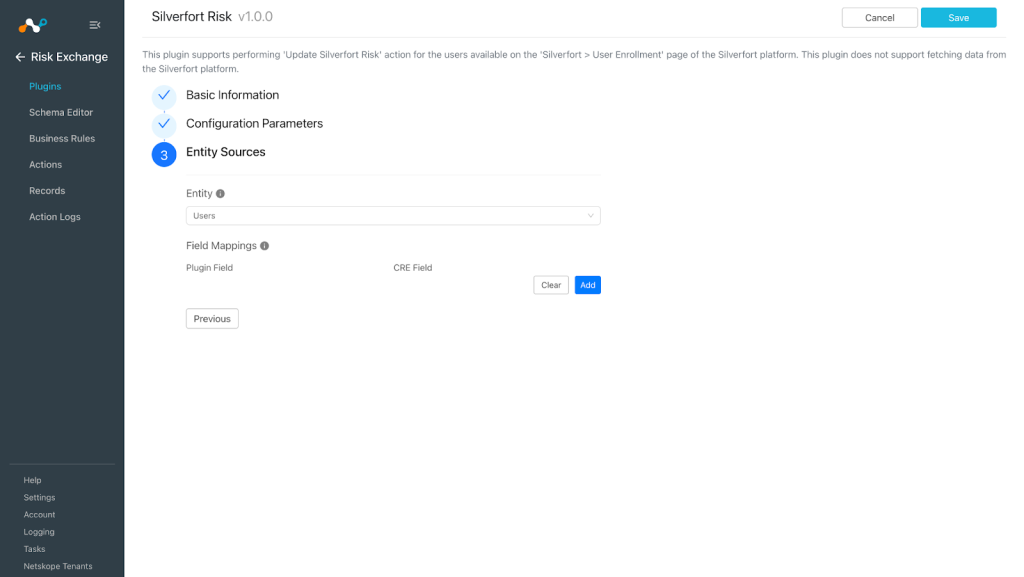
- Click Next and select listed entities from the dropdown.
Note:
Because the plugin does not support pull, there are no fields in the Entity source page to map.
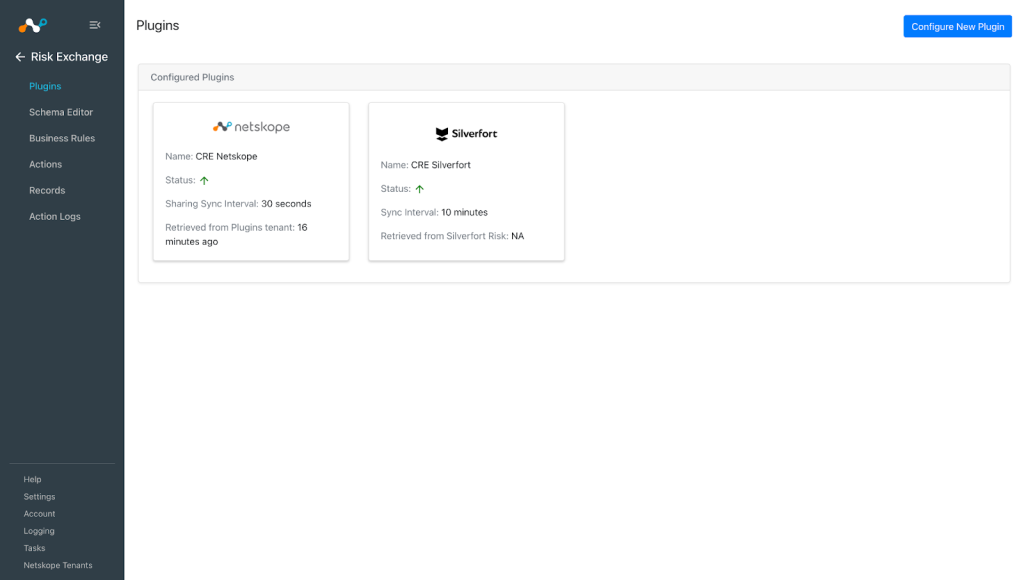
- Click Save.


Add a Risk Exchange Business Rule for the Silverfort Plugin
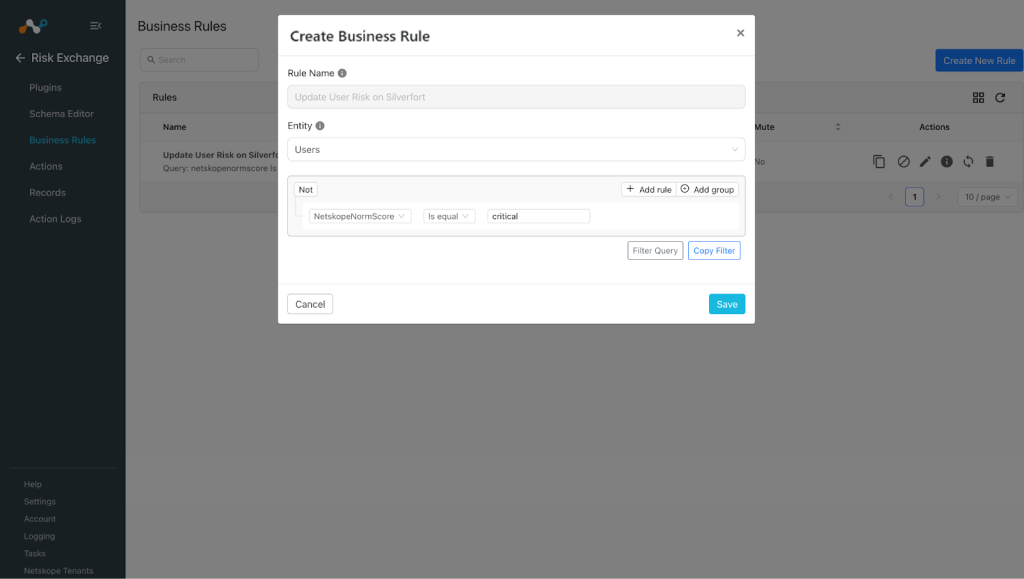
- In Risk Exchange, go to Business Rules and click Create New Rule.
- Enter the Rule Name. Select the Entity in which the user records are stored, and configure the query based on your requirements. When finished, click Save.
Add Risk Exchange Actions for the Silverfort Plugin
The Silverfort pluginsupports the following action types:
- Update Silverfort Risk: This action will be performed on the users present on Silverfort, once triggered it will update the score for the Silverfort users.
- No Action: No action will be performed for this action. You can generate UBA alerts in Ticket Orchestrator by selecting this action and enabling the Generate Alerts toggle.
To configure the Action:
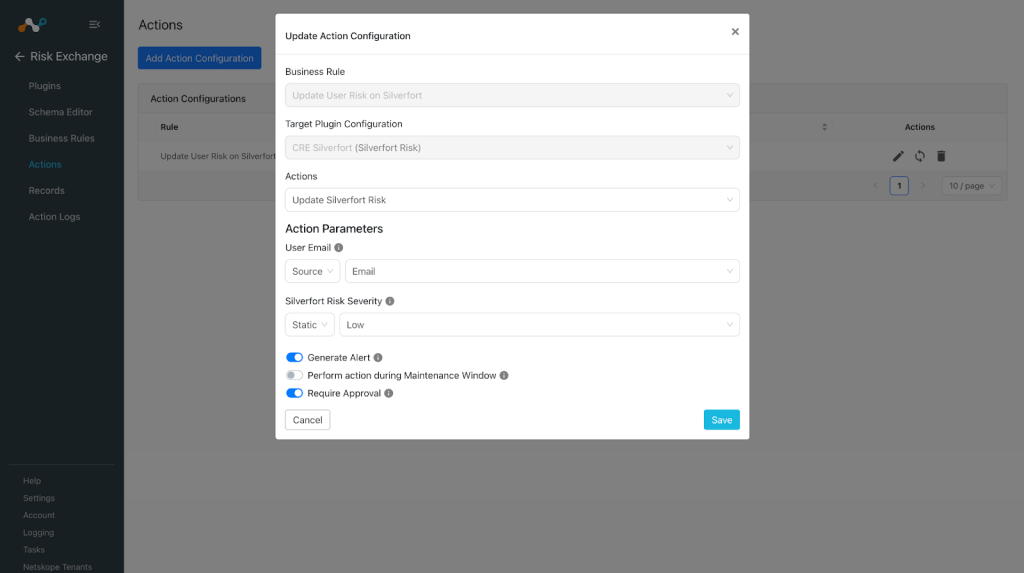
- In Risk Exchange, go to Actions and click Add Action Configuration.
- Select the required Business Rule, Configuration, and Action from their respective dropdowns.
- Select the field where the User Email is used, or switch to Static and provide the static user email address (comma-separated values for emails are not supported).
- Provide the source field where the score is stored for the user (the score is expected to be in String: Low, Medium, High, Critical), or switch to Static and select the score value from the dropdown.
- Enable Require Approval if Approval is needed before performing action on the Users/Applications.
- Click Save.

Validate the Silverfort Plugin
Validation on Cloud Exchange
To verify the action performed on the user on Silverfort, go to Logging and filter the logs based on the plugin name, like message Like “silverfort”.

Validation on Silverfort
On a Silverfort Tenant, check the users present for triggering the action, go to User Enrollment from the left panel.

To check if the score is updated for the user, search the user email address from the Silverfort search bar available on the top right corner of the dashboard. Click on the user email address.

You will be redirected to the User Details page where you can check the score of the user on the page, along with the logs for the score change.

Troubleshooting Silverfort Plugin
Receiving error while performing the action
It has been noticed that the Silverfort APIs often throw 500 or 504 Internal server errors while performing the action. This can be due to one of these reasons:
- The user on which action is being performed is not present on the Silverfort platform.
- The API is down, or the Silverfort UI is down/unreachable.
- The score is not available for the user when the action is triggered.
What to do:
- If you are facing the 500 or 504 error from the plugin, it is because the Silverfort API responds to the above scenarios with this errors. Since this is a internal server error from the Silverfort API, there is a generic handling added for the plugin to go for retry in case of 500 or 504s. So unless the Silverfort tenant or API is down, ensure to only perform the actions based on the users present on the tenant.
- If the action is triggered for the score update using the source field, and the score is not available (null value or empty value) for the user, the API throws an internal server error.