Threat Protection policies protect your AI Gateway traffic against viruses and malicious files. Threat Protection uses Netskope’s Threat Scanning Service (TSS) Fast Scan engine, which inspects every file and payload that transits AI Gateway in real-time, before it reaches your AI models, MCP servers, or users.
Before you begin
- TSS policies require AI Gateway v1.8 or later.
- Your AI Gateway appliance must be a 32 vCPU / 64 GB RAM instance — see the sizing guidelines. Smaller instances, such as 16 vCPU, are not supported.
- Threat Protection is installed and enabled through the AI Gateway CLI, either automatically after enrollment or manually from the TSS menu.
- Currently, only the Default Malware Scan profile is supported.
Enable Threat Protection
Threat Protection is enabled by default on supported appliances and installs automatically after your appliance completes enrollment and tenant configuration sync, provided your instance meets the sizing requirements. You can also manage Threat Protection manually from the AIG-CLI:
- From the AIG-CLI main menu, go to the TSS menu.
- Choose Enable TSS or Disable TSS, depending on whether you want to turn Threat Protection on or off for this appliance.
If your instance doesn’t meet the sizing requirements, or disk space is insufficient, the AIG-CLI reports that the spec isn’t supported instead of installing Threat Protection. If Threat Protection is disabled or not installed, AI Gateway continues to process traffic normally without malware scanning, so requests are never left hanging.
Create Threat Protection policy groups
You can create policy groups and add multiple policies to each group. A default policy group is available.
To create a new Threat Protection policy group:
-
Log in to the Netskope tenant UI and go to Policies > AI Gateway.
-
Click the Threat Protection tab, then click New Policy Group.
-
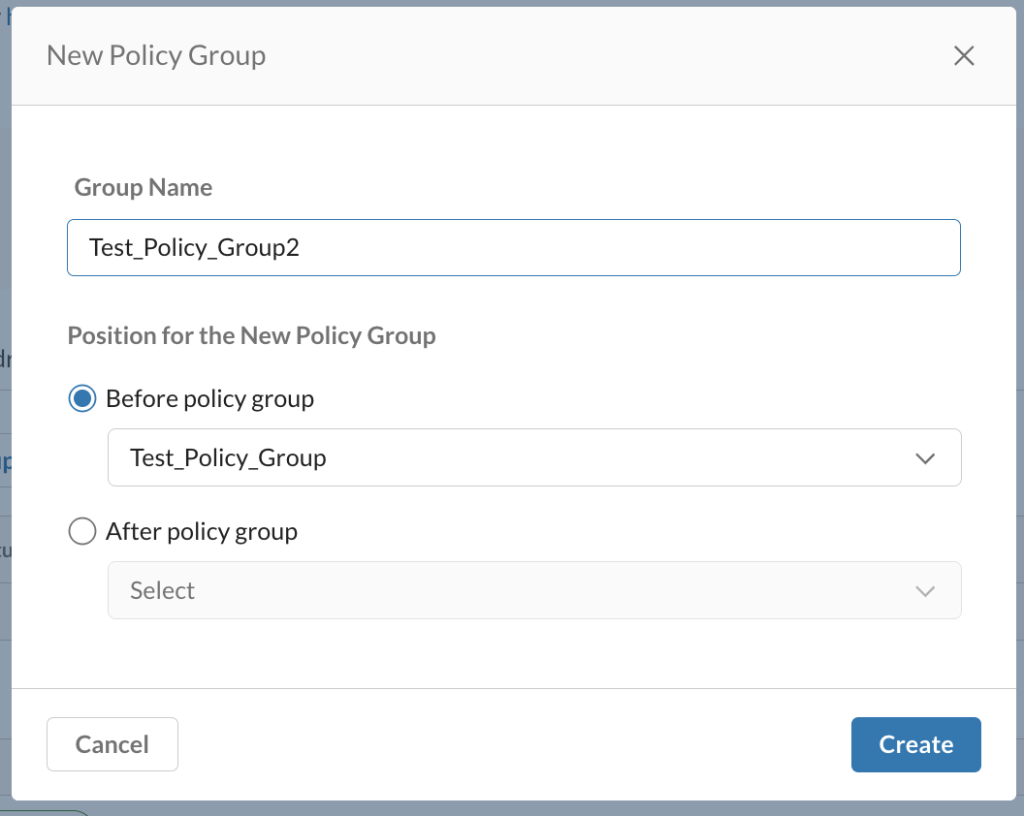
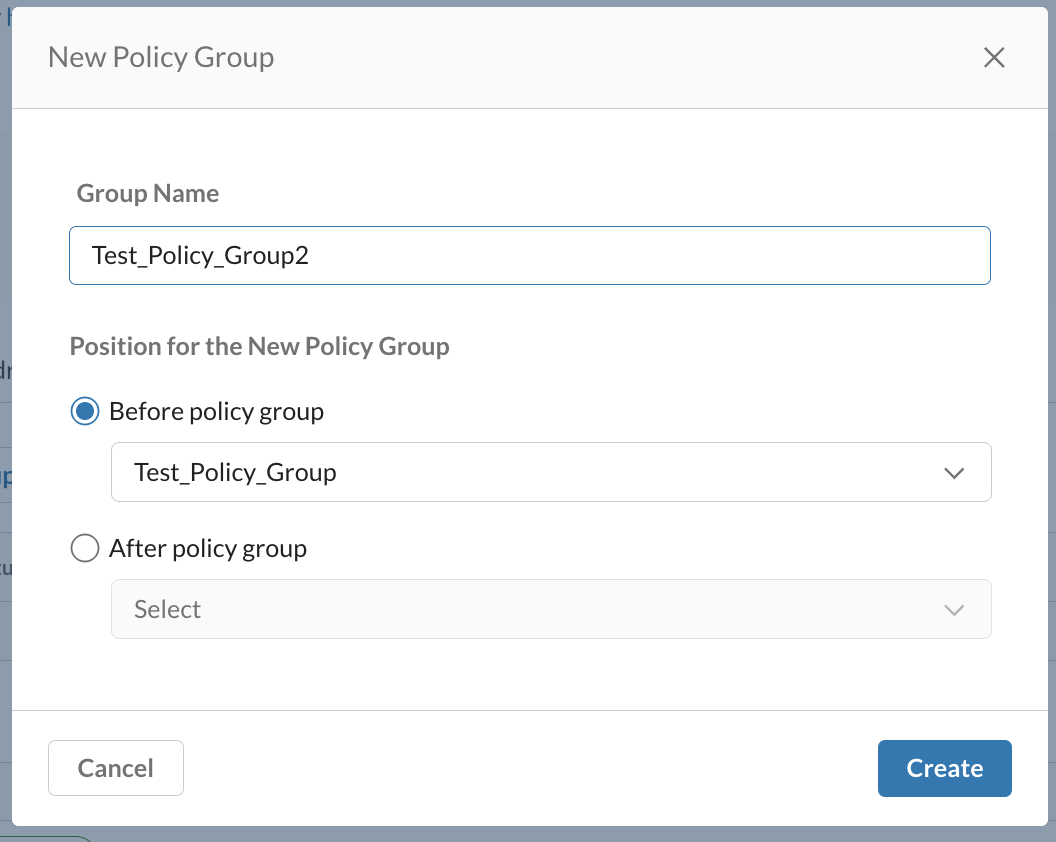
On the New Policy Group page, enter a name for the group in the Group Name field.
-
Choose where the new group belongs by selecting a group from the Before policy group or After policy group list.
-
Click Create.
Create Threat Protection policies
To create a new Threat Protection policy:
- Log in to the Netskope tenant UI and go to Policies > AI Gateway.
- Click the Threat Protection tab, then click New Policy.
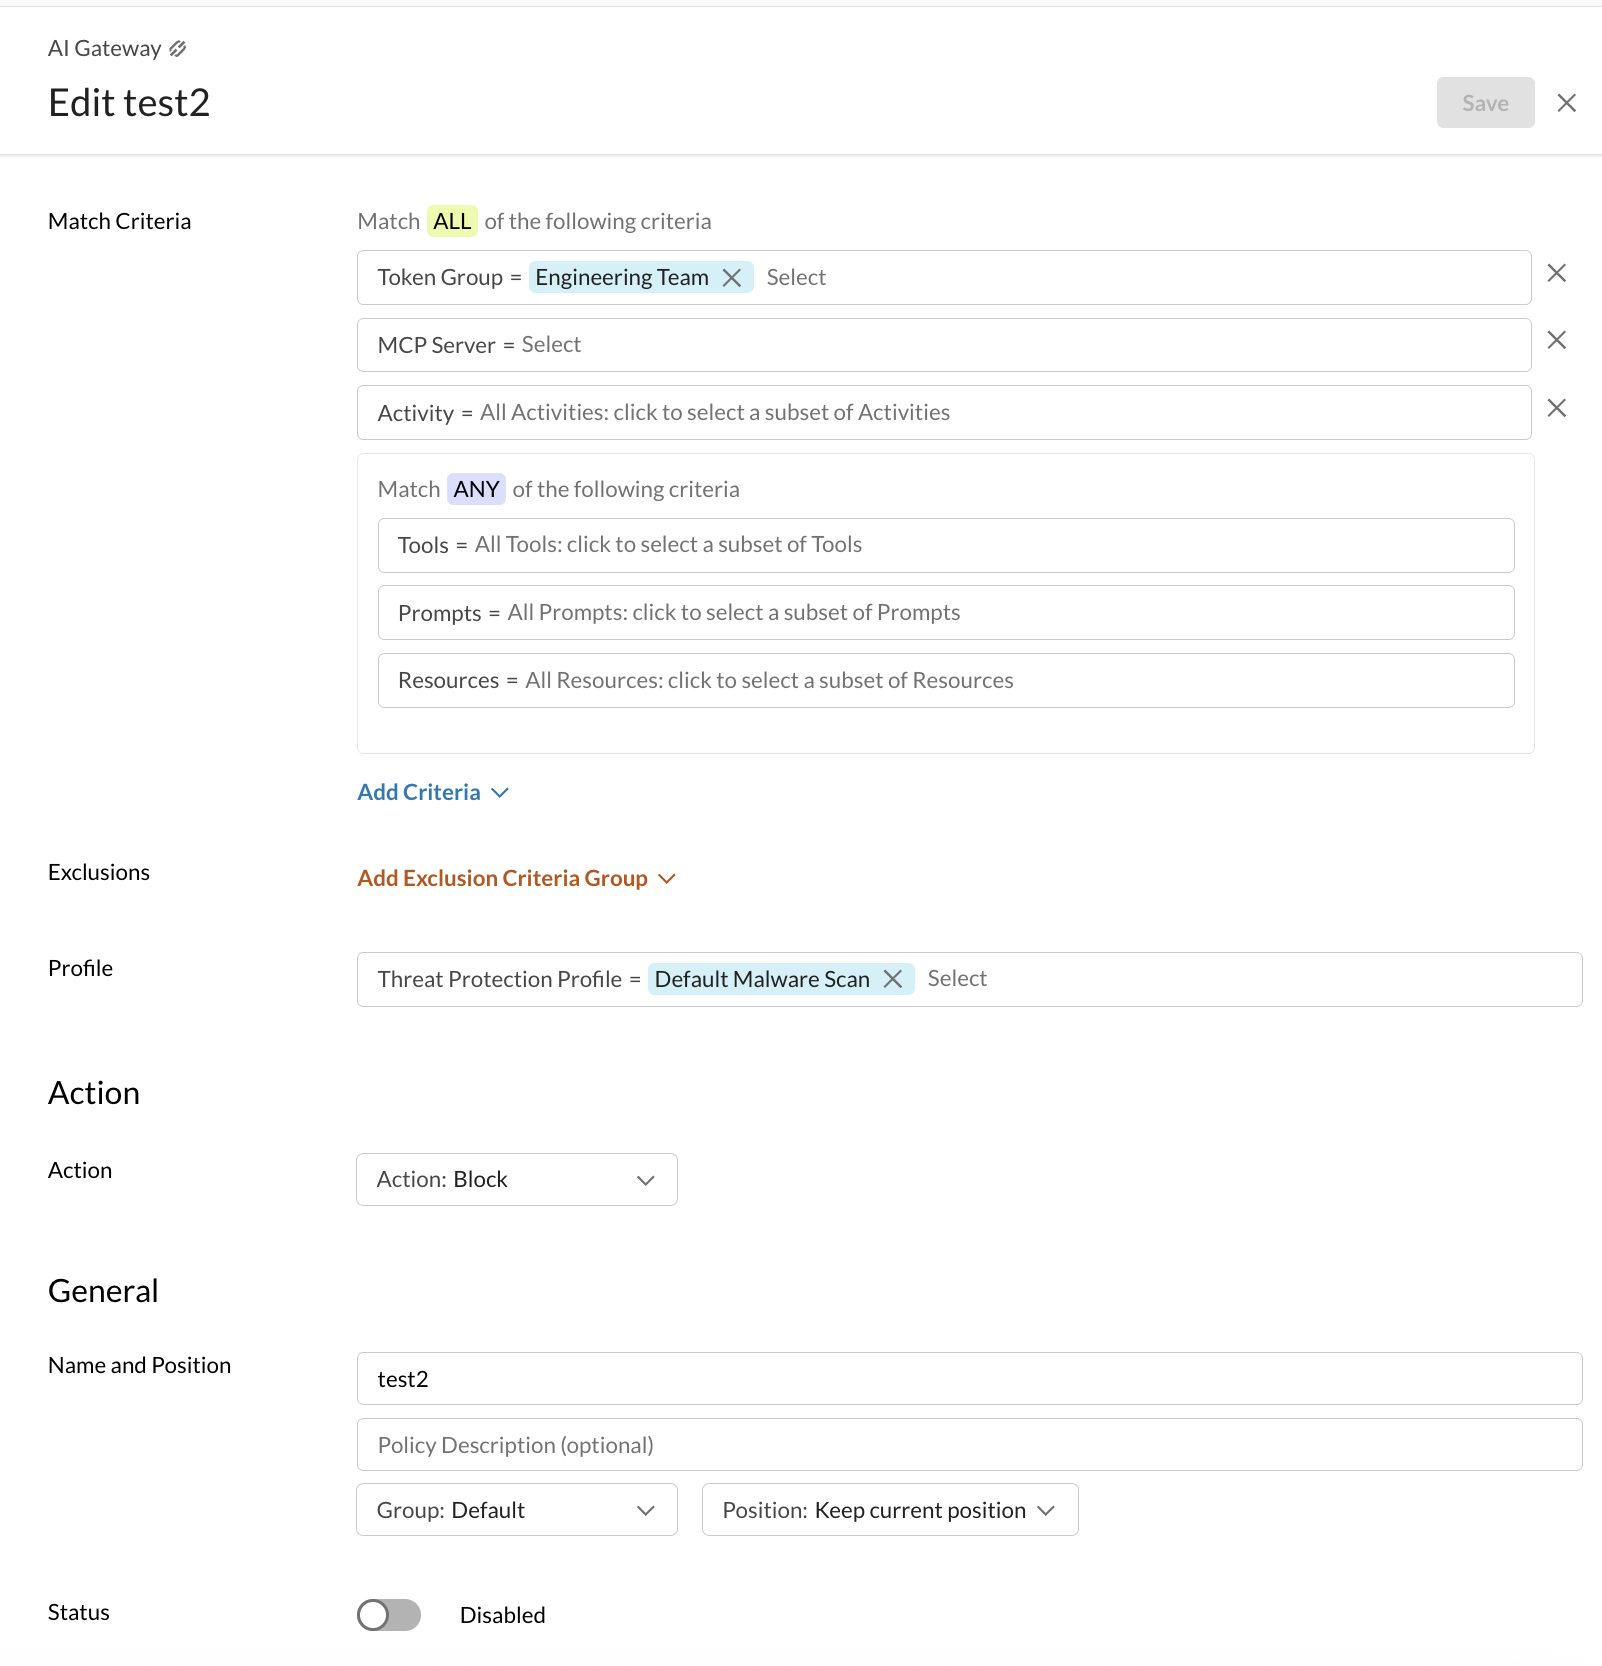
- On the New Threat Protection Policy page, match traffic using one or more of the following criteria:
- Token Group
- AI Provider and Model
- Activity — Prompt, Upload, Download, and Response
- Optionally, exclude a token group from the match criteria. From Add Exclusion Criteria Group, choose Token Group and select the group to exclude. For example, match all OpenAI traffic except traffic from the admin token group.
- Choose a profile. Currently, only the Default Malware Scan profile is supported.
- From Action, select the enforcement action to apply when traffic matches your criteria:
- Allow — allows the traffic and stops evaluating remaining Threat Protection policies for that event.
- Monitor — logs the activity for visibility and passes the request on to the next policy.
- Block — immediately terminates the connection and drops the traffic.
- Replace — intercepts the response and replaces the content with a custom, administrator-defined message.
- Enter a name and description for the policy, and choose the policy group and position within that group.
- Click Save, then apply your changes.
View Threat Protection events
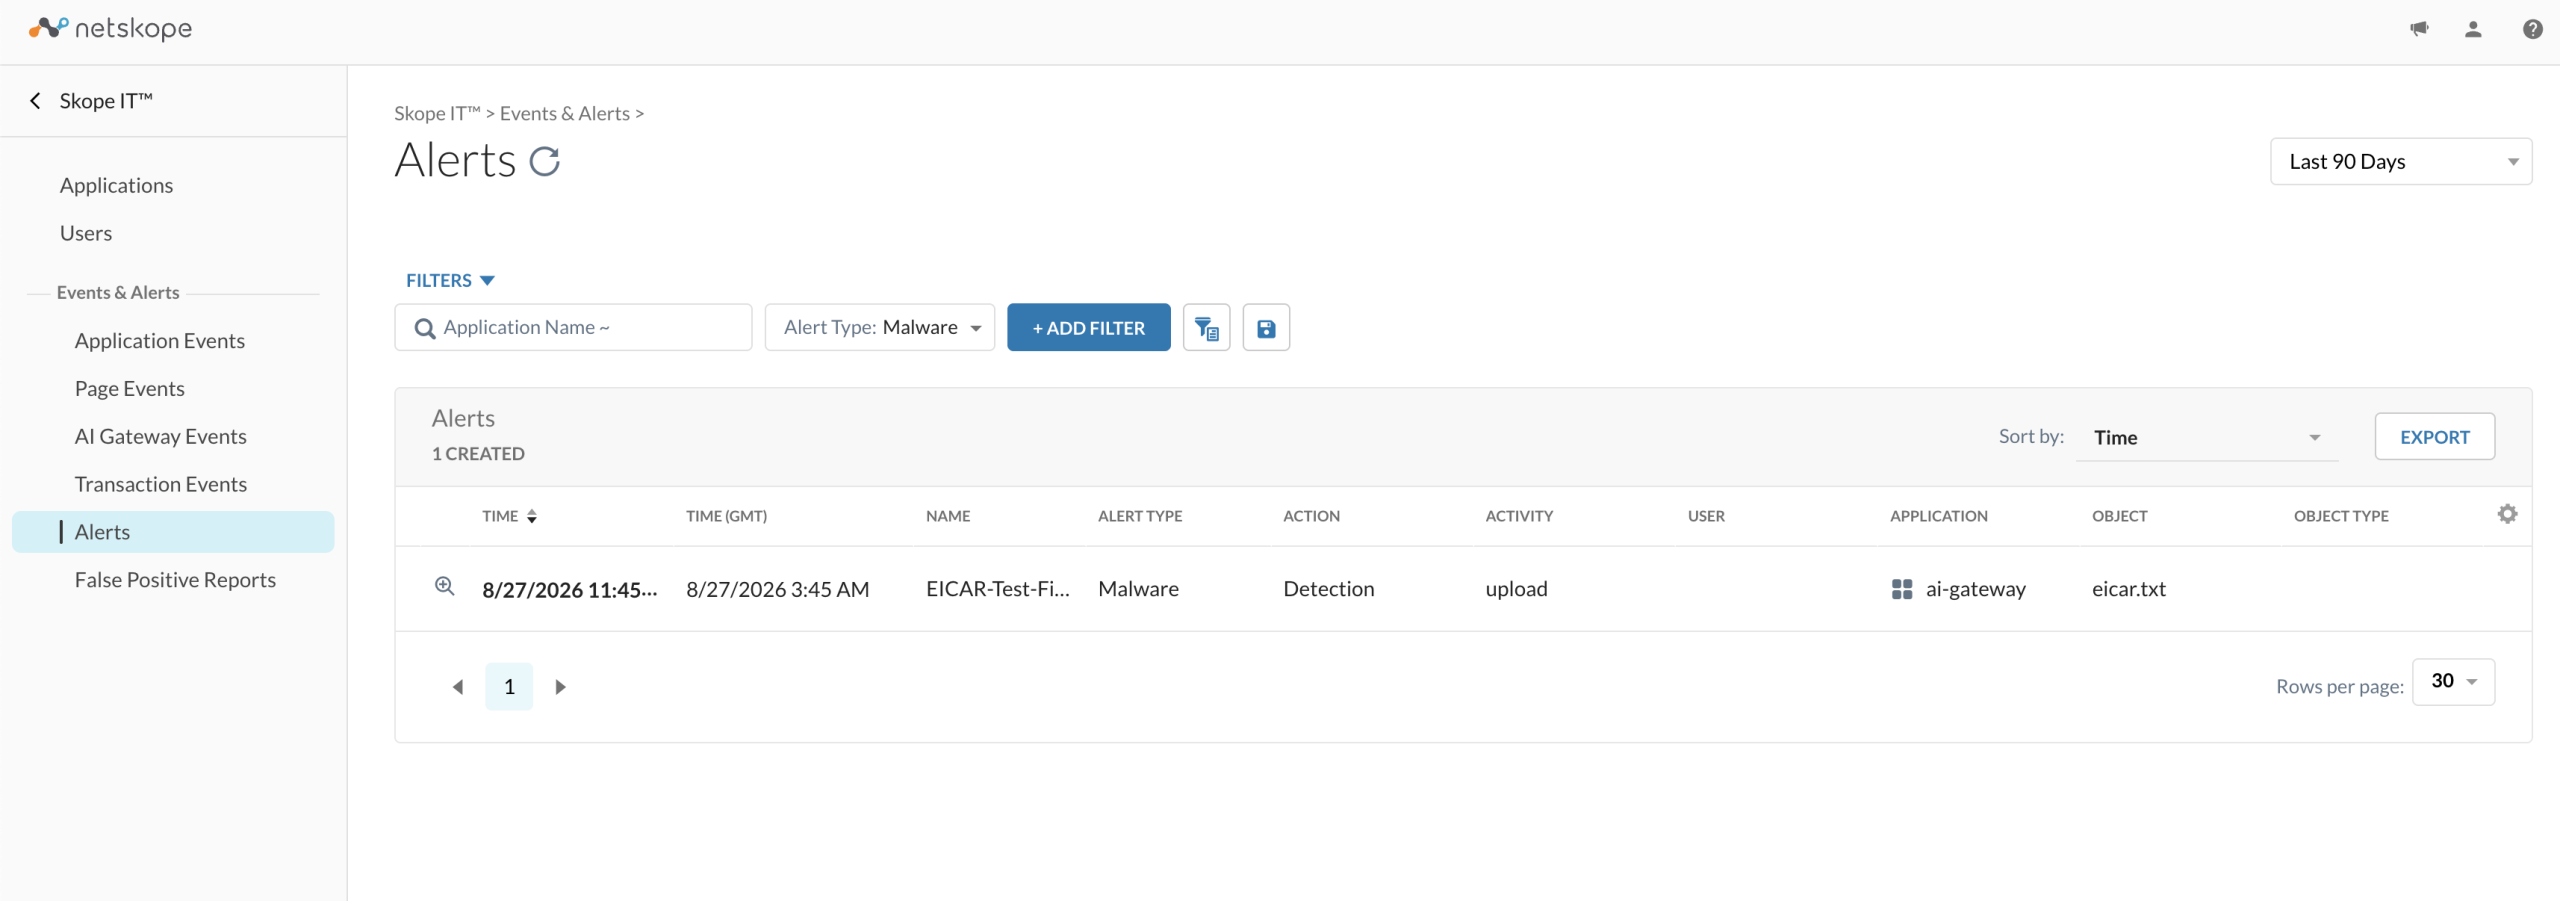
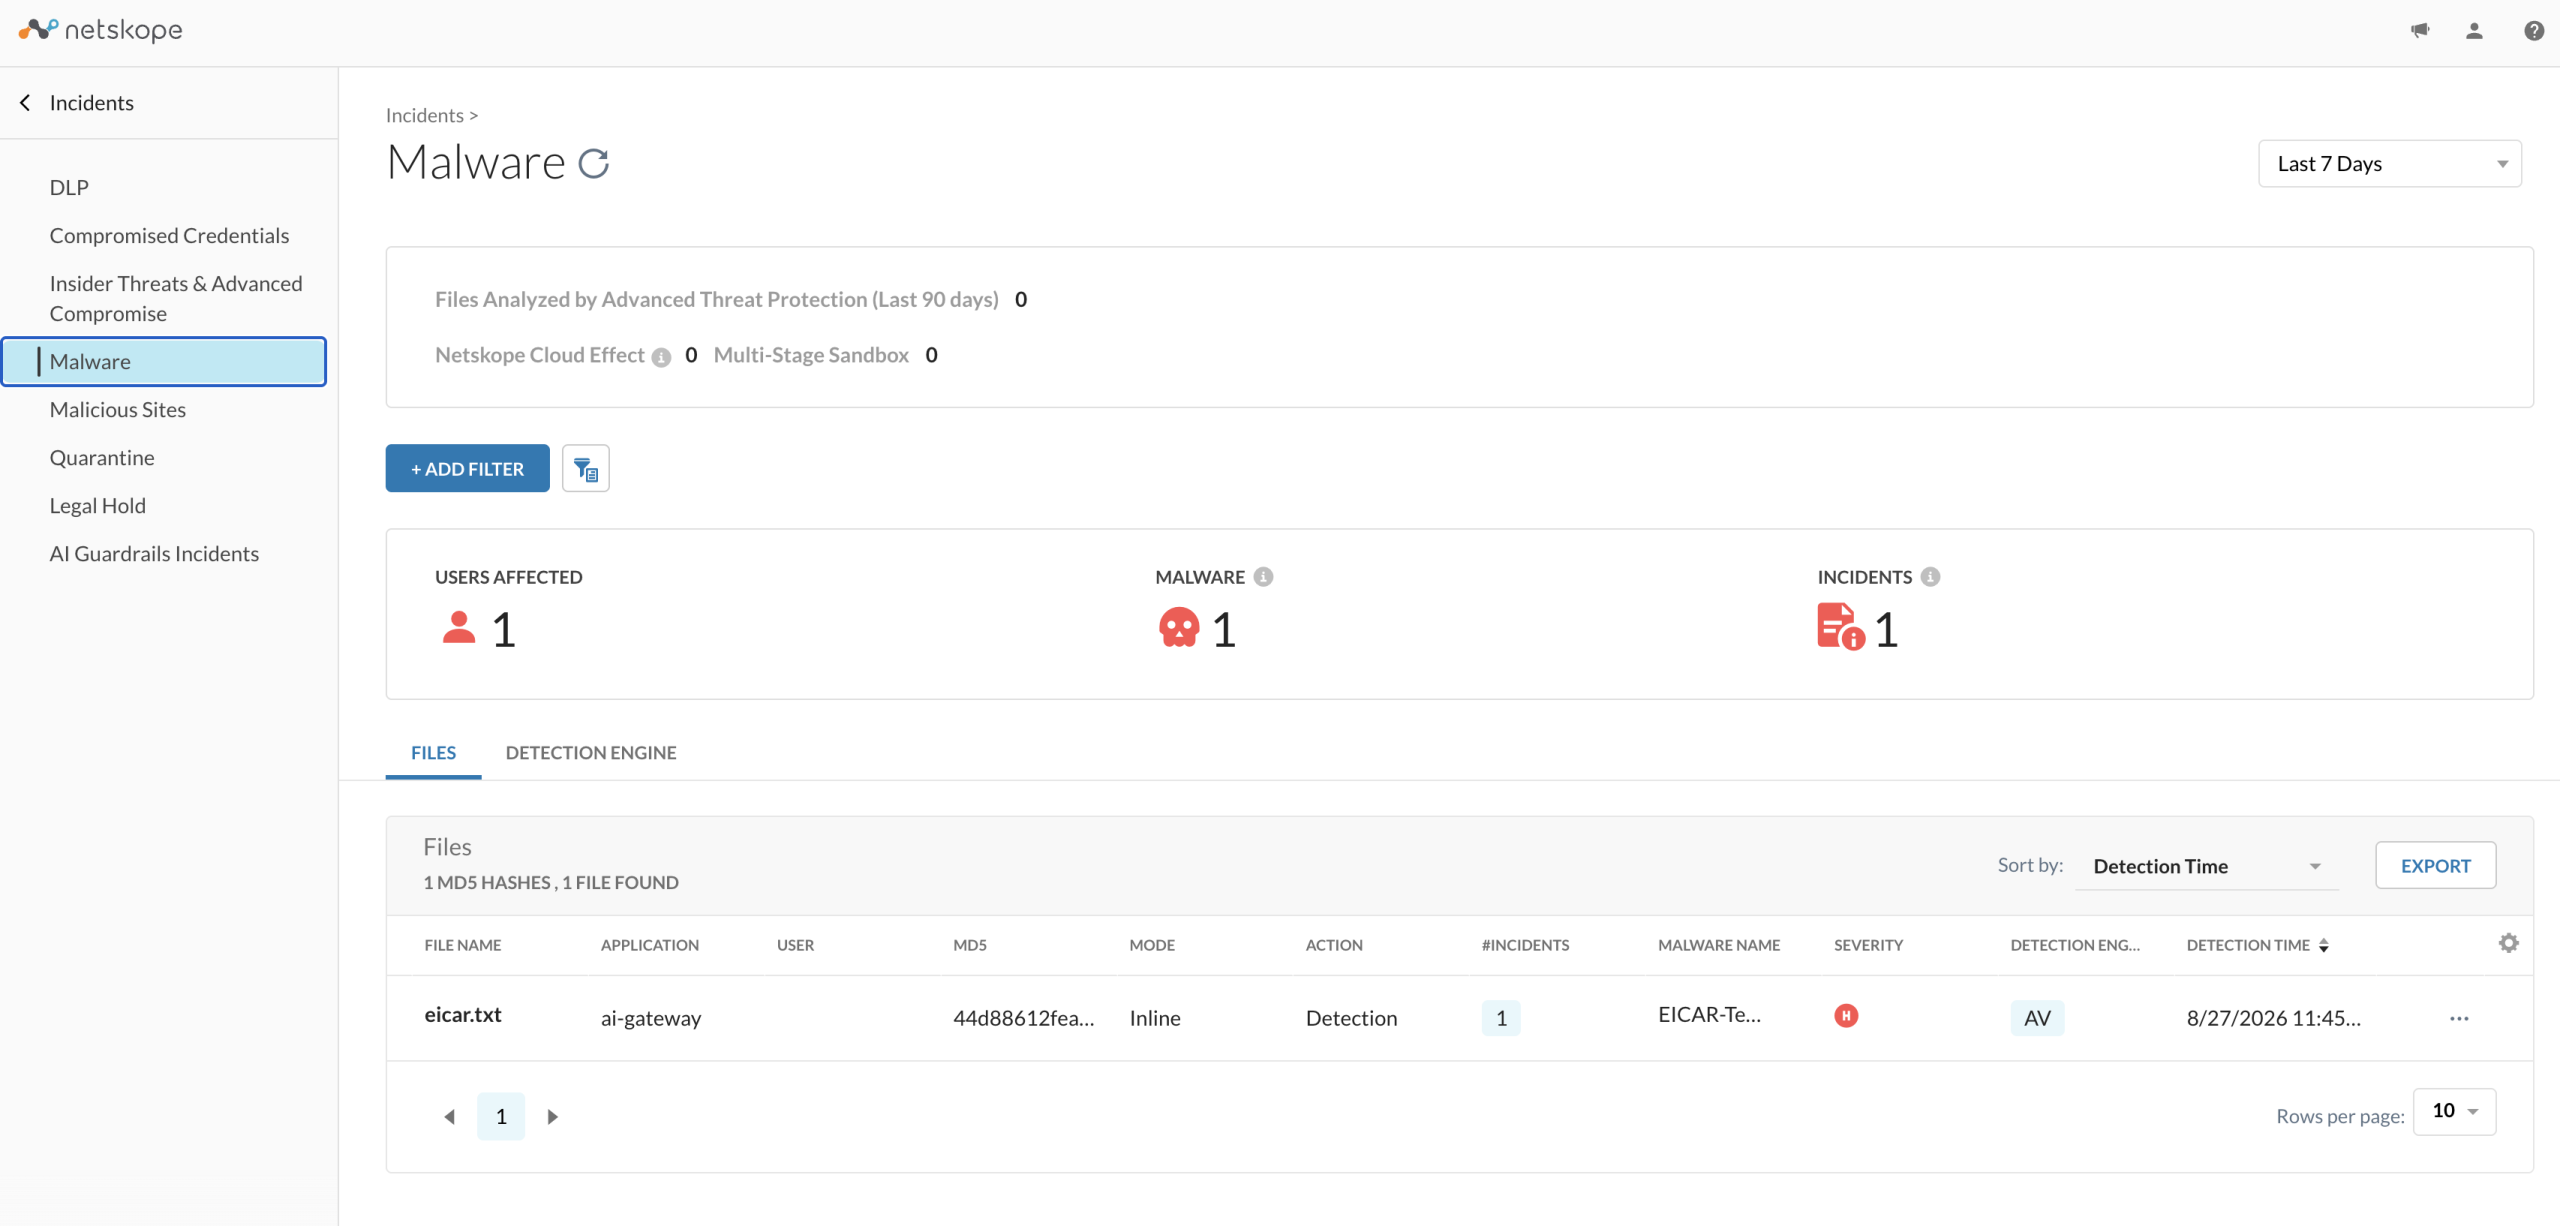
When Threat Protection detects malware, the event appears in Skope IT > Alerts & Incidents > Malware, including the malware name, type, severity, and detection engine. Use these alerts to audit malware detections and confirm your policies are catching the traffic you expect.