Definitions
Netskope Client: Netskope Client is a lightweight agent that enables steering of traffic to the Netskope Gateway. It also establishes a separate TLS tunnel to the NPA Gateway component. For NPA, the Client downloads a policy called SRP that determines traffic that needs to be tunneled over the NPA tunnel.
Publisher: Publisher is a lightweight VM typically deployed in a customer owned/controlled environment. Publisher establishes an outbound TLS tunnel to the closest NPA Publisher Gateway (Stitcher) component and acts as a forward proxy to send traffic to private applications after policy evaluation at the NPA Gateway.
Client Gateway: Netskope Client builds a TLS tunnel with the closest Client Gateway located in one of the several Netskope Data Centers. This is where the policy is enforced.
Publisher Gateway (Stitcher): Publisher builds a TLS tunnel with the closest Publisher Gateway (Stitcher) located in one of the Netskope Data Centers. This is a gateway for the Publisher to connect to the Netskope Cloud. Publisher Gateway (Stitcher) as the name suggests, stitches connectivity between Client Gateway and the Publisher.
Cloud Broker: The combination of NPA components, Client Gateway and Publisher Gateway (Stitcher) that enables end-to-end connectivity over NPA in the cloud.
Introduction
This article explains how to manually upgrade Publishers running on Ubuntu 20.04 to Ubuntu 22.04 LTS. Ubuntu 20.04 has reached end-of-life, necessitating this upgrade for all Publishers. As part of the Netskope Publisher 124 release, a manual upgrade to Ubuntu 22.04 LTS is now available. This upgrade is essential due to Canonical’s end-of-life (EOL) announcement for Ubuntu 20.04 LTS, effective May 31st, 2025. Learn more.
Version Requirements
- Current Publisher Version: R124.0.0.9304 or higher.
- Operating System Upgrade: Ubuntu 20.04 to Ubuntu 22.04 LTS.
Pre-upgrade Checklist (Manual Upgrades)
Before beginning the upgrade process, ensure:
- Publisher is running version R124.0.0.9304 or higher.
- Sufficient disk space is available (minimum 5GB free space). You can validate beforehand using
df -h. This mainly checks the root filesystem. - Any critical applications or services have been backed up.
- Maintenance window has been scheduled (system will reboot multiple times).
Manual Upgrade Process
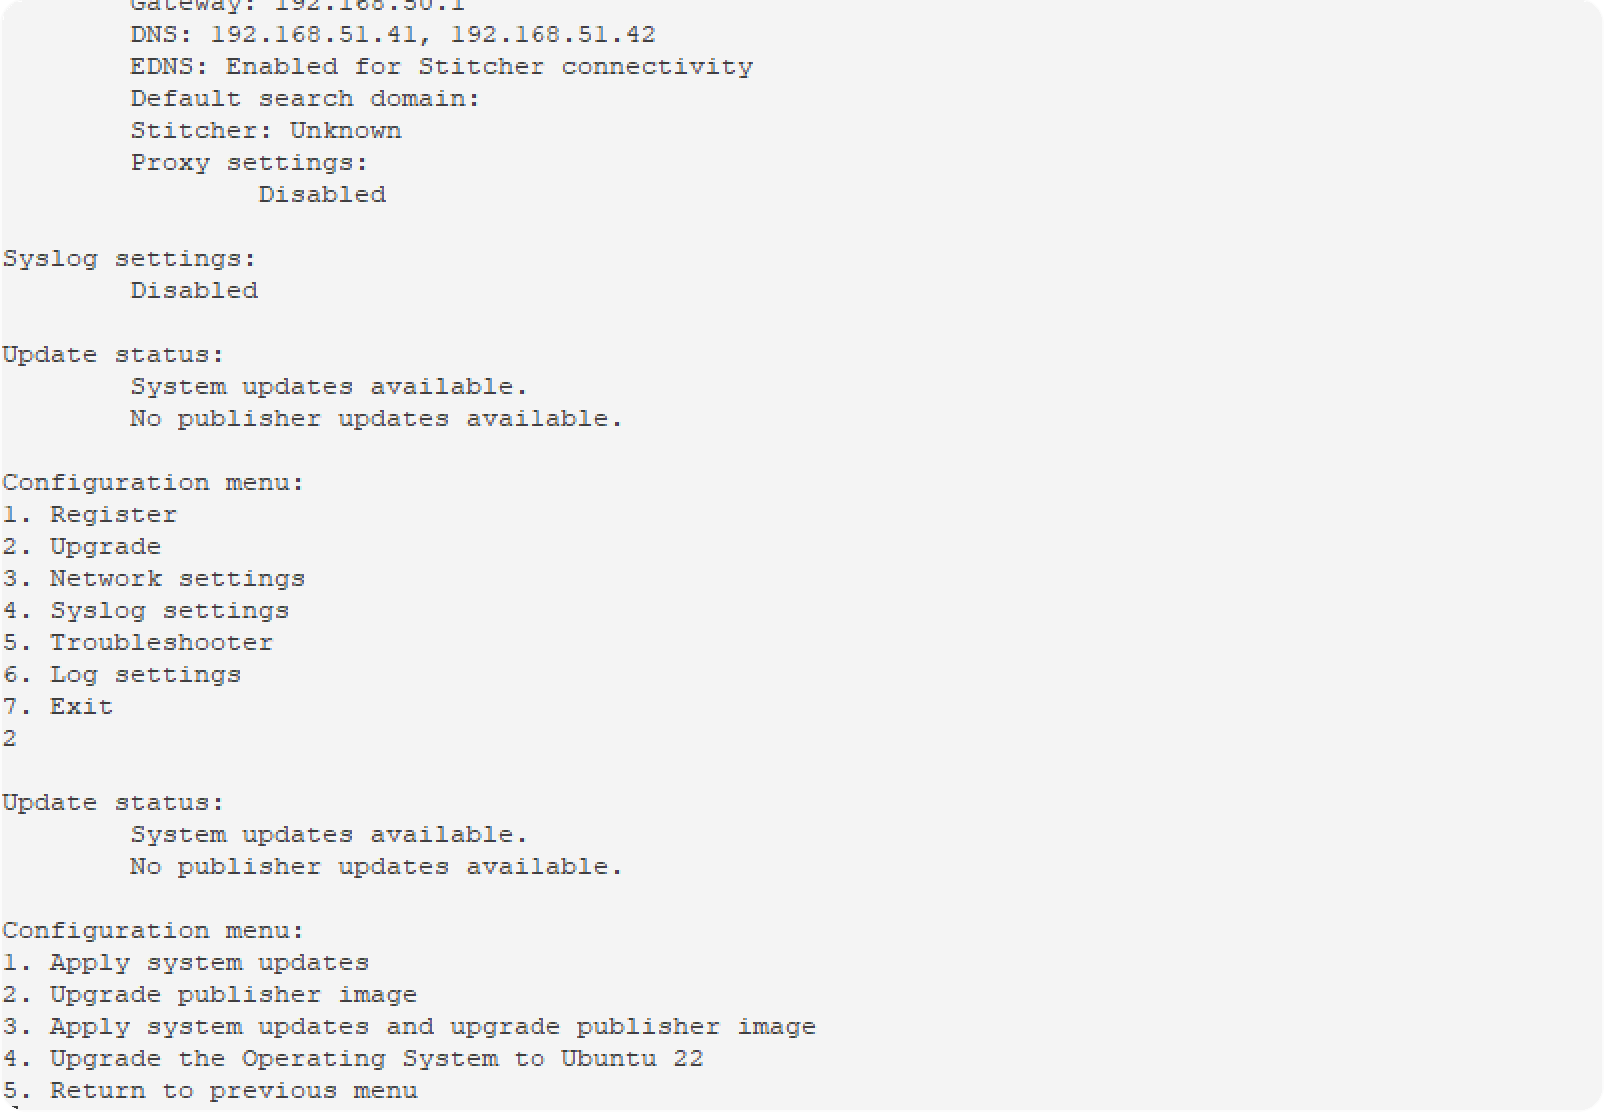
- Access your Publisher over SSH.
- To start the upgrade, choose option 2 (Upgrade).
Choose option 4 to start the Host OS update, and confirm the following options with yes: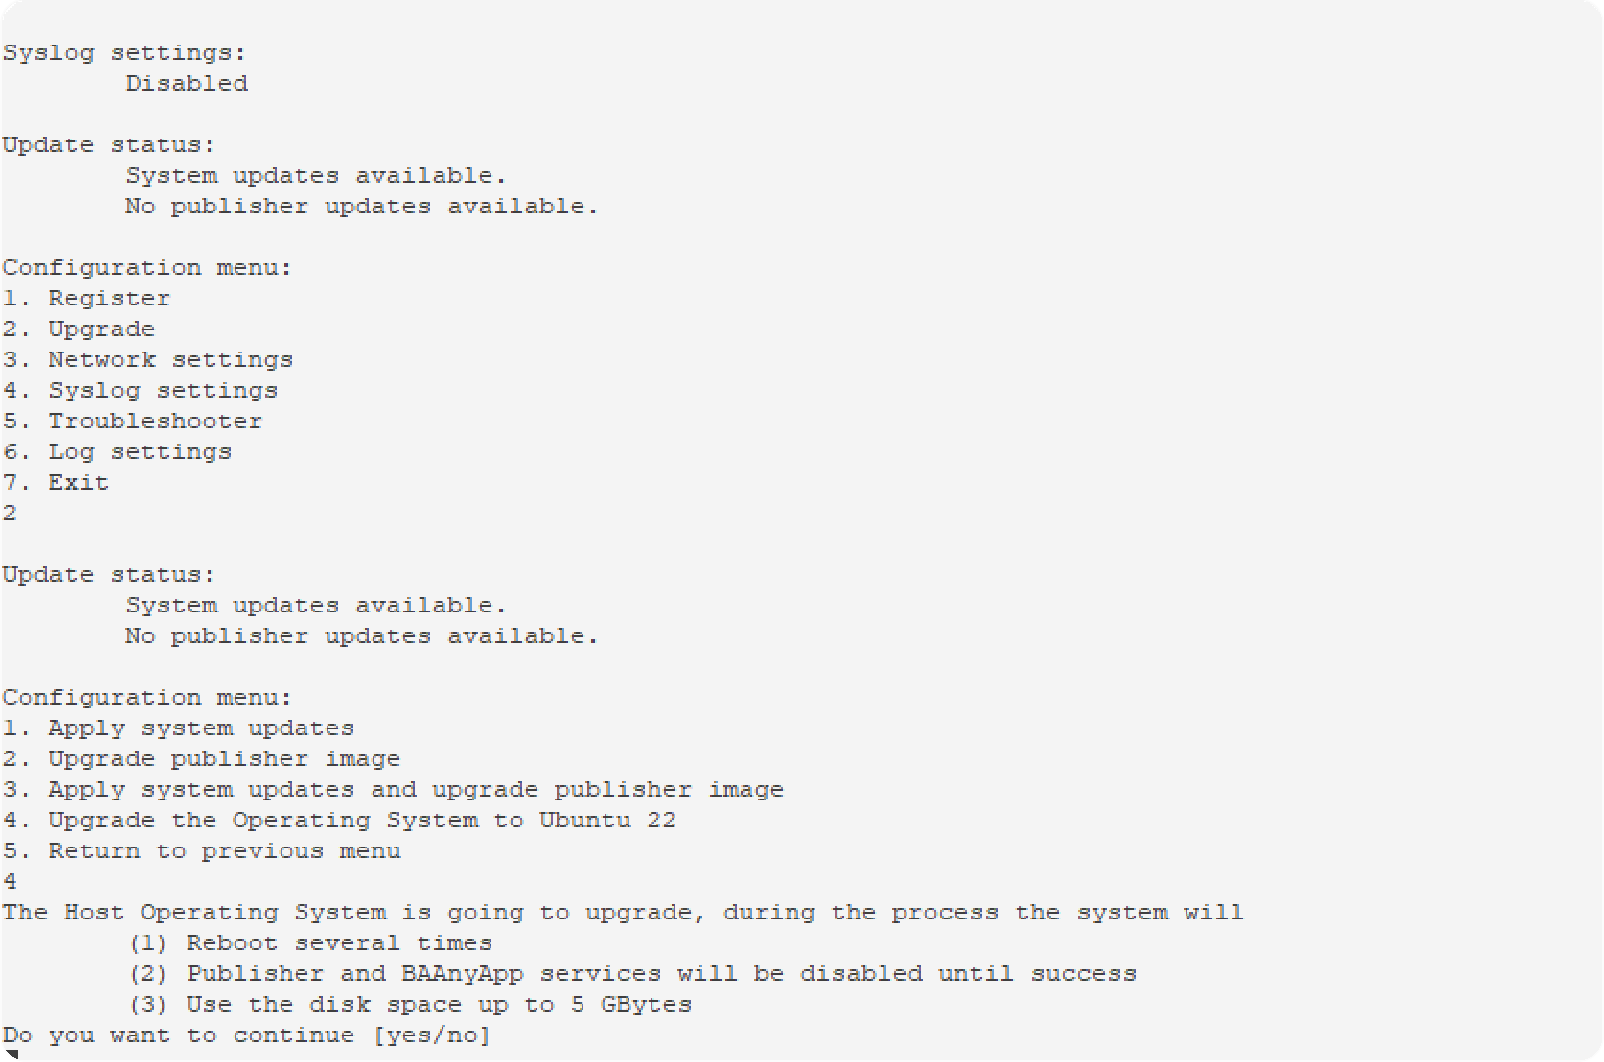
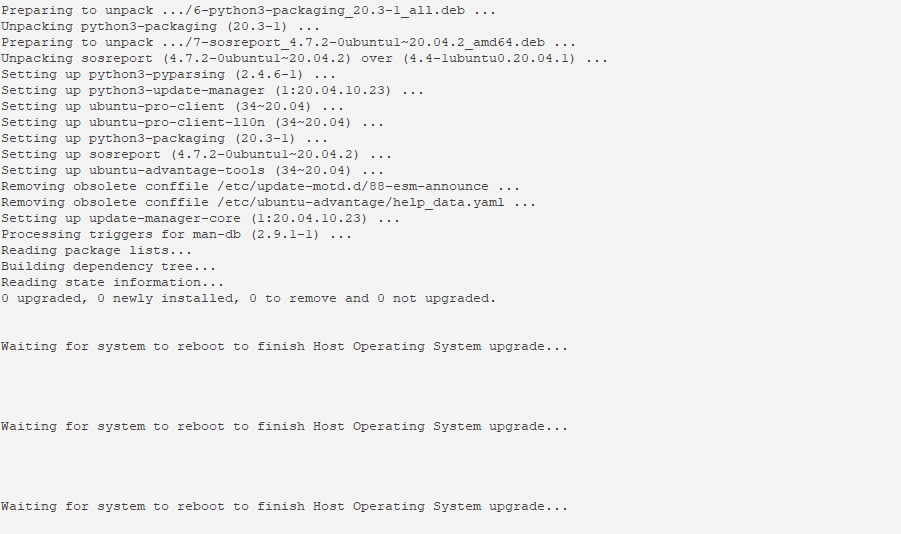
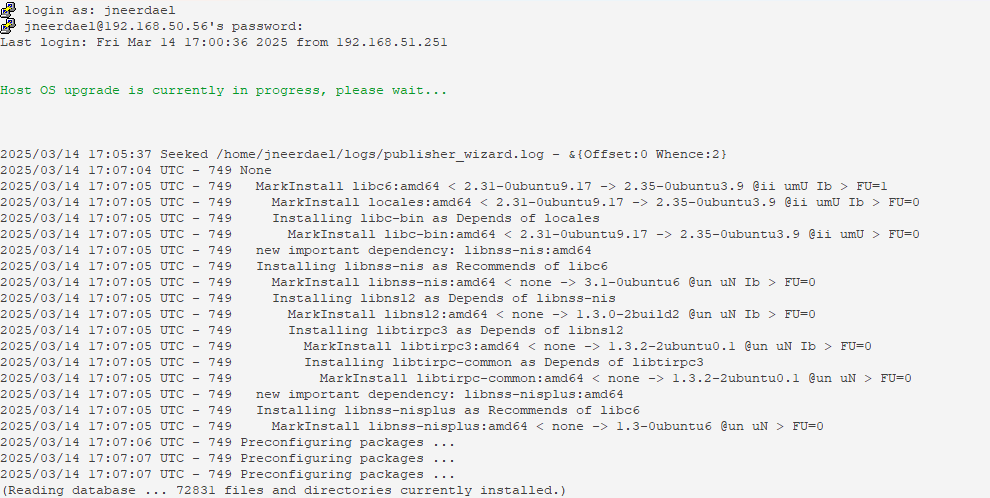
- The upgrade will start, and this may not be very apparent until the reboot. In time the progress is tracked:
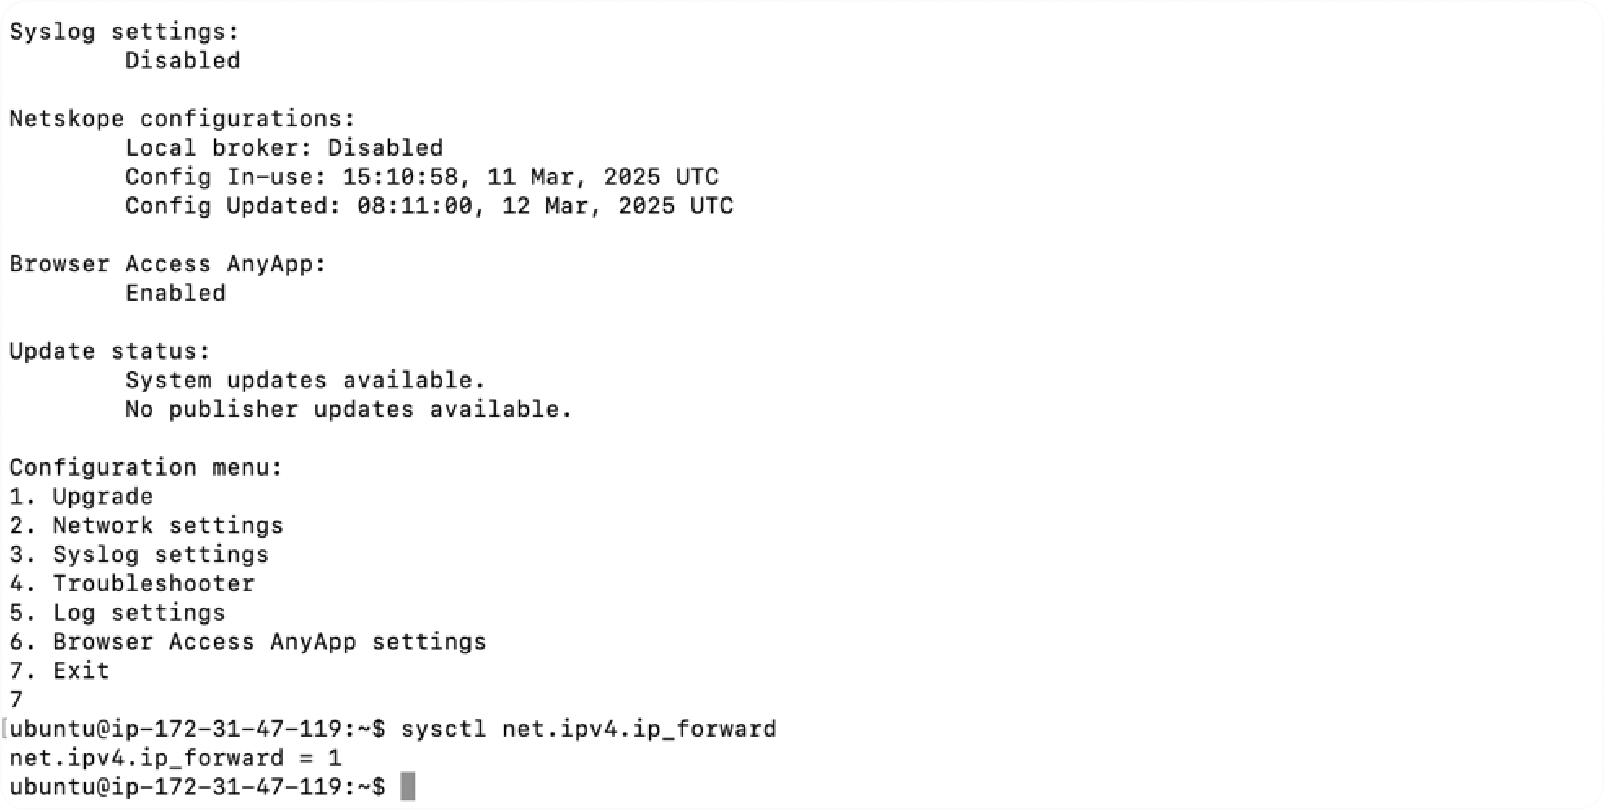
After the upgrade has been completed, there is chance that you’ll receive the following warning regarding IPv4 Forwarding:
However, after validating using the following command, you can see IPv4 Forwarding is enabled by the Publisher automatically:
sudo sysctl net.ipv4.ip_forward
Verification
- After the upgrade completes, verify the new Ubuntu version:
lsb_release -a

Verify the correct kernel version with:uname -arm

- Check the Publisher service status. If AnyApp is enabled, you will see more than this container.
docker ps

- Confirm the Publisher version shows R124.0.0.9304.
- Test connectivity to ensure all services are functioning properly.
Troubleshooting the Upgrade
If the upgrade fails:
- Check
/var/log/syslogfor error messages. - Ensure all prerequisites are met.
- Collect the
$HOME/logs/publisher_wizard.logfile and provide it to Product Management when an upgrade fails.
Support
For assistance, please:
- Document any issues encountered,
- Capture relevant logs and error messages.
- The most critical file needed is
$HOME/logs/publisher_wizard.log. - Report problems through Netskope Support (support@netskope.com).
GPG Key Management Changes in Ubuntu 22.04
When upgrading from Ubuntu 20.04 to 22.04, you may encounter warnings related to GPG key storage when running an update. These warnings indicate that some repository keys are stored in the legacy /etc/apt/trusted.gpg keyring, which is now deprecated in Ubuntu 22.04.
This change was made to improve security and align with modern package management best practices. Previously, all repository GPG keys were stored in a single keyring (/etc/apt/trusted.gpg), meaning any key in this location could authenticate any repository. This posed a potential security risk, as a compromised key could affect multiple repositories.
To mitigate this, Ubuntu 22.04 enforces a new method where each repository must have its own dedicated key file stored in /etc/apt/trusted.gpg.d/. If you still have keys in the legacy location, you will see warnings like:
W: https://packages.microsoft.com/ubuntu/22.04/prod/dists/jammy/InRelease: Key is stored in legacy trusted.gpg keyring (/etc/apt/trusted.gpg), see the DEPRECATION section in apt-key(8) for details. W: https://download.docker.com/linux/ubuntu/dists/jammy/InRelease: Key is stored in legacy trusted.gpg keyring (/etc/apt/trusted.gpg), see the DEPRECATION section in apt-key(8) for details.
To resolve these warnings and ensure your system follows the updated security model, you must manually move the affected GPG keys to the correct location and format. The steps outlined below guide you through this process, ensuring smooth package updates without security warnings.
Resolving GPG Key Warnings for Custom Repositories in Ubuntu 22.04
When upgrading from Ubuntu 20.04 to 22.04, you may encounter warnings related to legacy GPG key storage when running an update. These warnings indicate that some repository keys are still stored in the deprecated /etc/apt/trusted.gpg keyring. To comply with the updated security model in Ubuntu 22.04, these keys must be migrated to /etc/apt/trusted.gpg.d/.
Follow the steps below to properly move and configure the GPG keys for custom repositories:
Step 1: List Existing Legacy GPG Keys
Run the following command to display all currently stored legacy GPG keys:
sudo apt-key list
This command will output a list of keys. Each key entry includes a pub line containing an 8-character identifier. For example:

pub rsa4096 2021-02-01 [SC]
0EBF CD88 <---- Docker GPG Key
pub rsa4096 2021-05-15 [SC]
BE12 29CF <---- Microsoft GPG Key
Step 2: Extract the GPG Key Identifiers
Identify the last 8 characters of the GPG key from the pub entry.
Remove spaces from the identifier.
Example:
0EBF CD88 → 0EBFCD88
BE12 29CF → BE1229CF
Step 3: Export the Keys to the Correct Location
Use the following commands to export the keys and store them in /etc/apt/trusted.gpg.d/ in the correct format:
sudo apt-key export <8-character key ID> | sudo gpg --dearmour -o /etc/apt/trusted.gpg.d/docker.gpg
sudo apt-key export <8-character key ID> | sudo gpg --dearmour -o /etc/apt/trusted.gpg.d/microsoft.gpg
Replace <8-character key ID> with the actual key identifier noted in Step 2.
Step 4: Ensure Proper File Permissions
To ensure the correct permissions for the newly created GPG key files, run the following commands:
sudo chmod 644 /etc/apt/trusted.gpg.d/docker.gpg
sudo chmod 644 /etc/apt/trusted.gpg.d/microsoft.gpg
Step 5: Verify the Fix
Run the following command to check if the warnings have been resolved:
sudo apt update
If all steps have been performed correctly, the previous warnings regarding legacy GPG key storage should no longer appear.
Automated Upgrade Process
Upgrading a Netskope Publisher from version R125 to R126 incorporates a significant enhancement: an automated upgrade of the underlying operating system to Ubuntu 22.04 LTS. This automated process is designed to streamline the transition to a newer, more secure, and feature-rich OS environment, ensuring continued optimal performance and support for the Netskope Publisher. The lack of previously available detailed guidance on such an OS upgrade path underscores the importance of understanding this integrated mechanism.
Netskope has implemented this automated OS upgrade for several key reasons. Primarily, it aims to bolster security by moving to a Long-Term Support (LTS) version of Ubuntu that receives ongoing security updates. Furthermore, Ubuntu 22.04 LTS offers performance improvements and features that can be leveraged by the Publisher. This approach also standardizes Publisher deployments on a consistent OS foundation, simplifying support and maintenance efforts. By tightly coupling the Publisher upgrade with the OS upgrade, Netskope is enhancing the Publisher’s appliance-like characteristics, taking greater responsibility for the stability and security of the entire software stack.
For administrators, this automated process offers distinct advantages:
- Reduced Manual Intervention: The automation significantly lessens the manual effort and technical complexity typically associated with a full OS upgrade.
- Ensured Compatibility: The upgrade process is engineered and tested by Netskope, ensuring that the resulting Ubuntu 22.04 LTS environment is fully compatible with Publisher R126 and optimized for its operation.
- Streamlined Modernization: It provides a reliable and validated path to the latest supported OS, minimizing the risks that could arise from unverified manual upgrade procedures or attempts to run new Publisher versions on unsupported older operating systems.
This automated OS upgrade, triggered by assigning a Upgrade Profile to the Publishers, will automatically trigger the Host OS upgrade when you have scheduled the R125 to R126 Publisher update, and is the Netskope-recommended and supported method for transitioning eligible Publishers to Ubuntu 22.04 LTS. Adherence to this process is crucial for maintaining a supported and stable Publisher environment.
All other information here for the Manual Upgrade process still applies and can be utilized for this Automated Upgrade process.