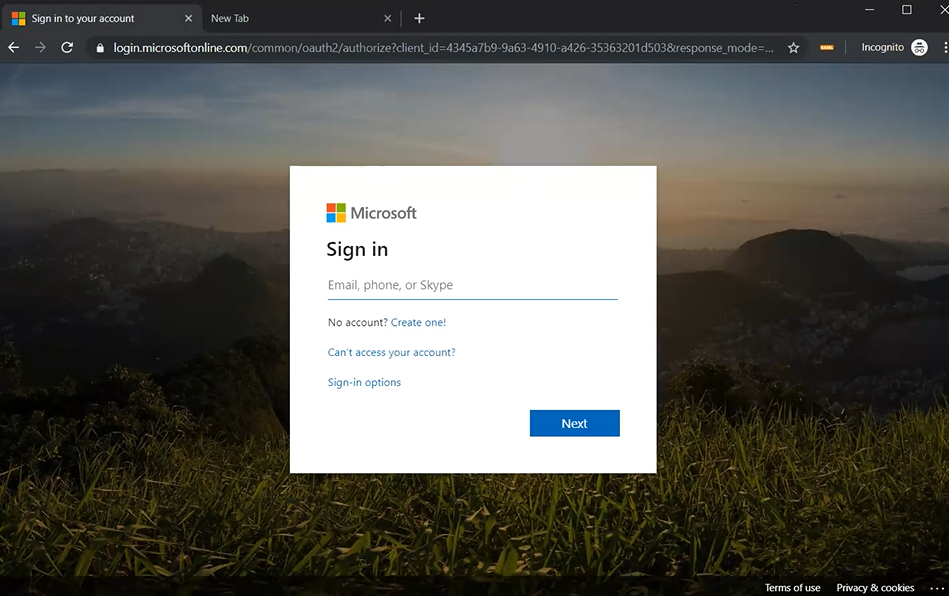
- Microsoft Azureポータル(https://portal.azure.com)にログインしてください。
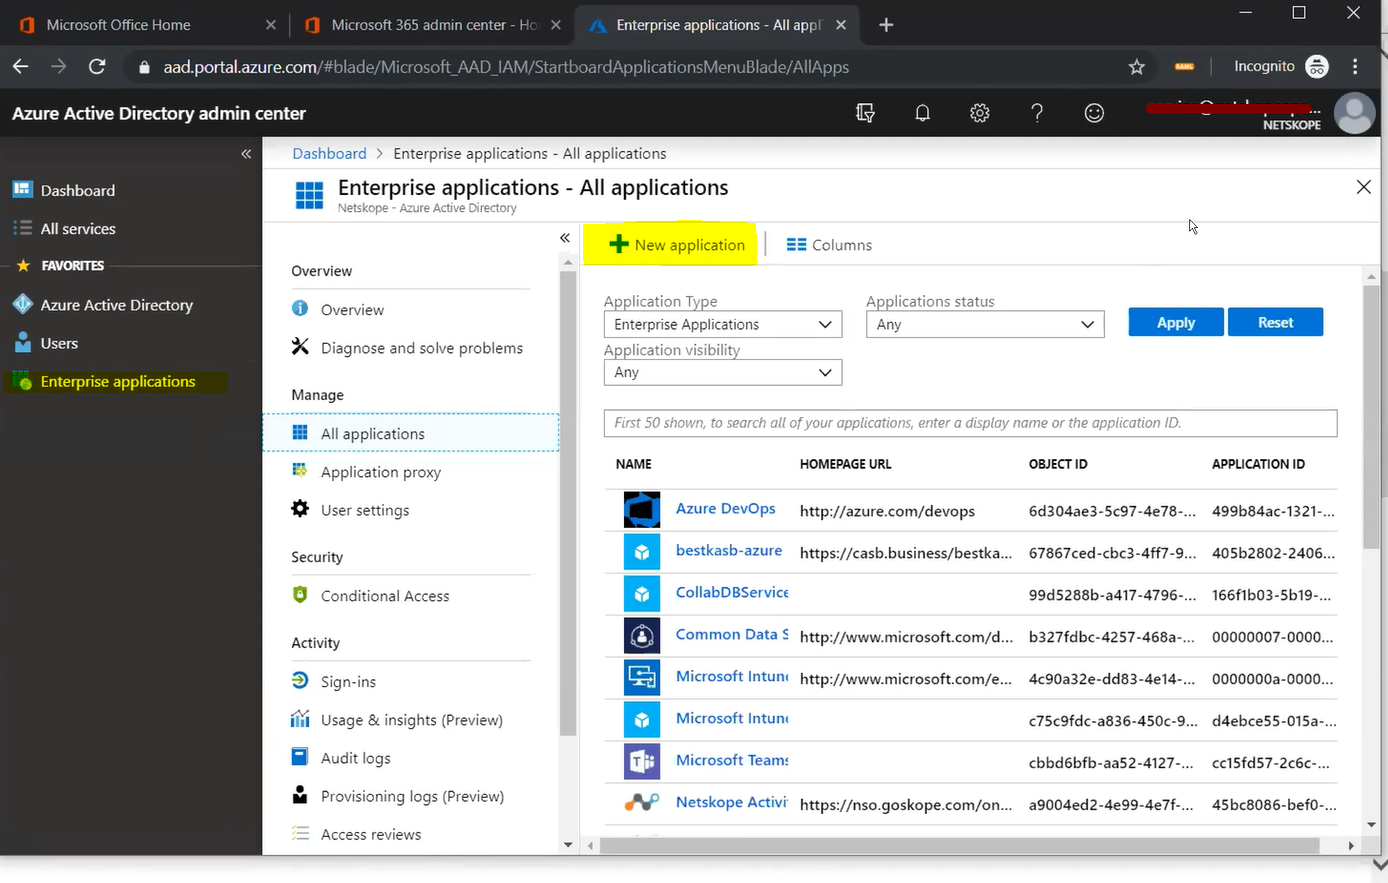
- Azure Active Directory > Enterprise Applications > All Applicationsに移動してNew applicationをクリックしてください。
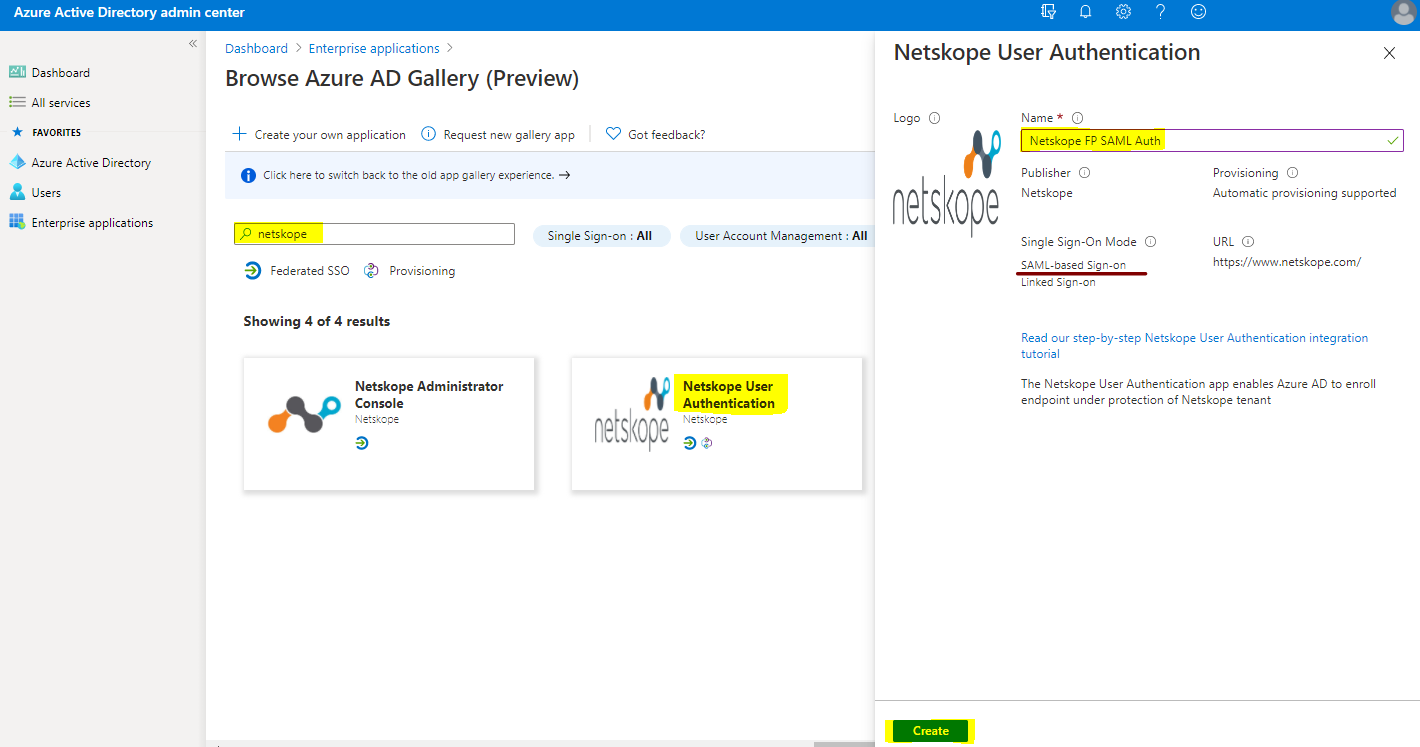
- Enter Netskope in the search bar. Select Netskope User Authentication. Enter a name, like Netskope FP SAML Auth, (for example). Click Create.
注記
もしあなたがまだ 以前のアプリギャラリー体験をご利用の場合は:
- Netskope User Authentication Select 。
- Enter a name, like Netskope FP SAML Auth, (for example).
- Addをクリックしてください。

- Single sign-on > SAML Select 。

- Editをクリックして、基本SAML設定パラメータを入力してください。

- Enter Netskope Entity ID and Netskope ACS URL copied from the Netskope UI in the required fields, and then click Save.


xアイコンをクリックしてSAMLセクションを閉じます。
- SSOのテストを行うよう求められます。Select No, I’ll test later。

- 「ユーザー属性とクレーム」セクションに移動して編集してください。

デフォルトの追加請求をすべて削除します。必要なのは、必須の請求のみです。
- 固有ユーザー識別子(名前ID)フィールドを編集する値Select 。

- Set the Source attribute as user.mail and click Save.

- user.mail は、名前 ID のクレーム値として設定されます。xをクリックしてこのセクションを閉じます。

- Download the certificate in Certificate (Base64) format, and copy the Login URL and Azure AD Identifier values. These need to be entered into the Netskope Forward Proxy – SAML settings page later on.

- 次に、ログインするユーザーを割り当てます Azure SAML認証。
Users and groups > Add user/groupへ移動してください。

- Users and groups Select 。
ユーザーSelect 、 Selectをクリックします。

- Assignをクリックしてください。
グループ課題を行うには、少なくともMicrosoft P2ライセンス以上が必要です。 マイクロソフトがソフトウェアライセンスモデルを更新した場合、これは将来的に当てはまらなくなる可能性があります。

- ユーザーはSAML認証アプリケーションに正常に割り当てられました。

- Azureポータルからログアウトしてください。



