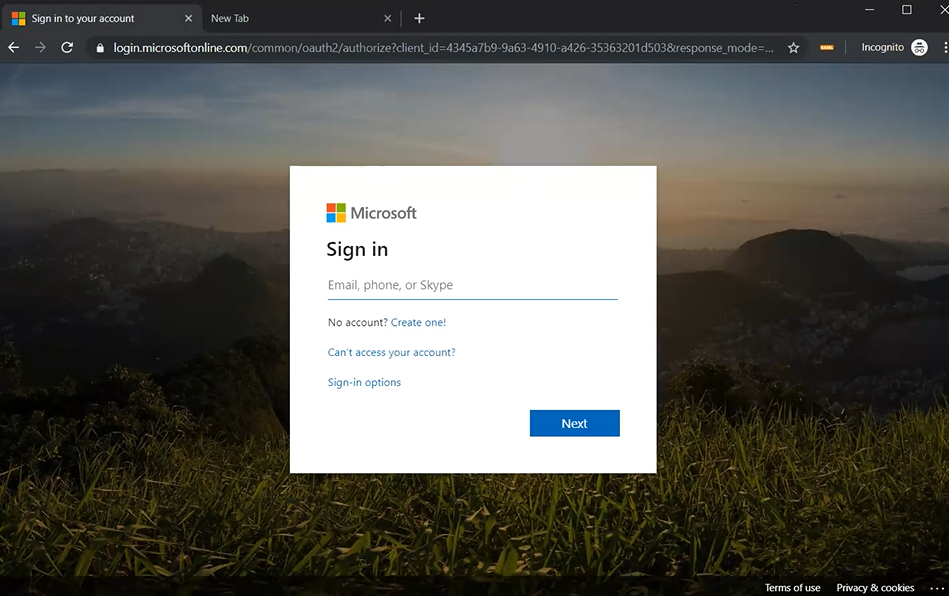
- Log in to the Microsoft Azure portal https://portal.azure.com
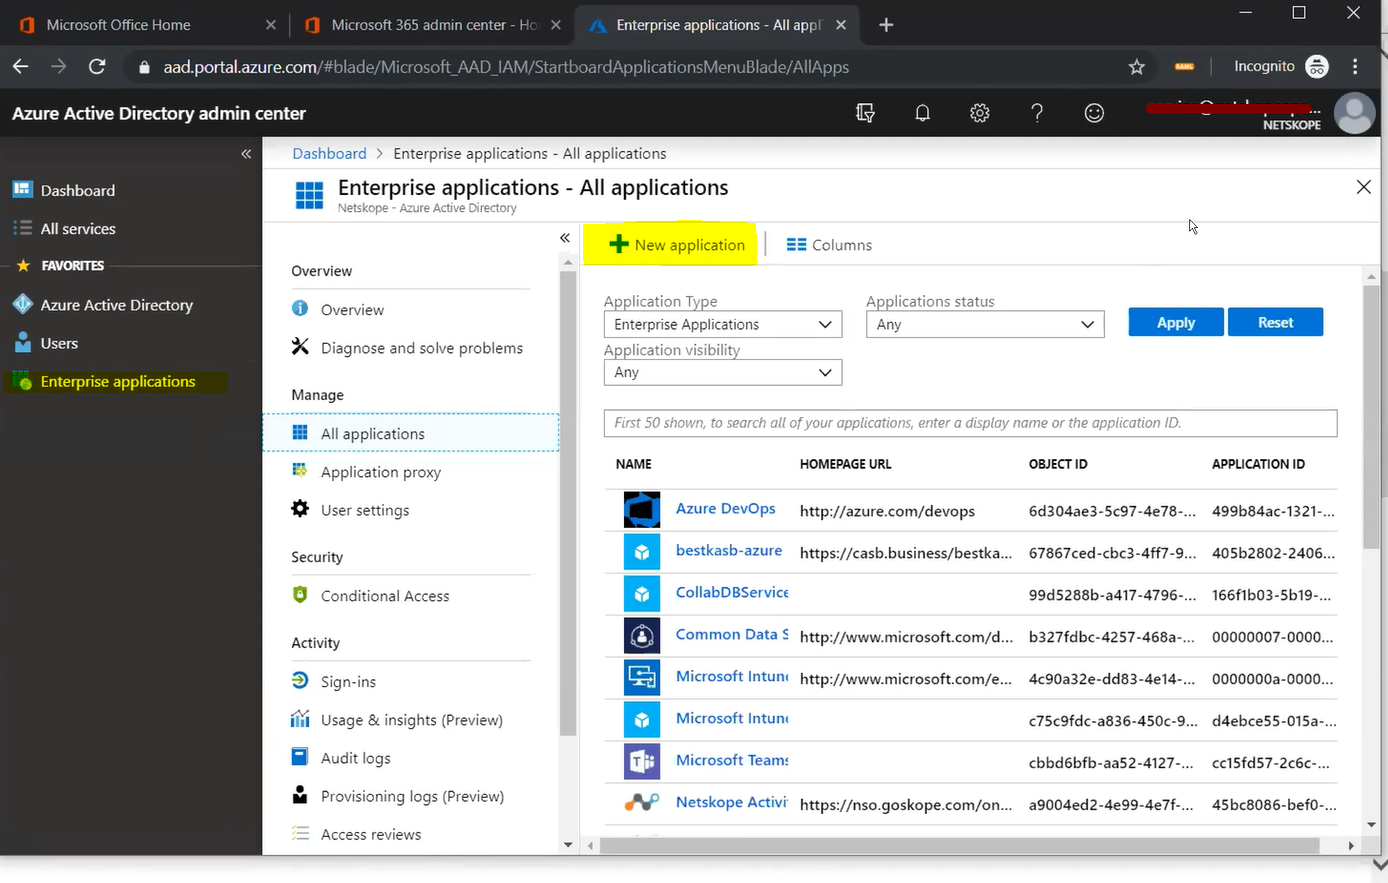
- Go to Azure Active Directory > Enterprise Applications > All Applications and click New application.
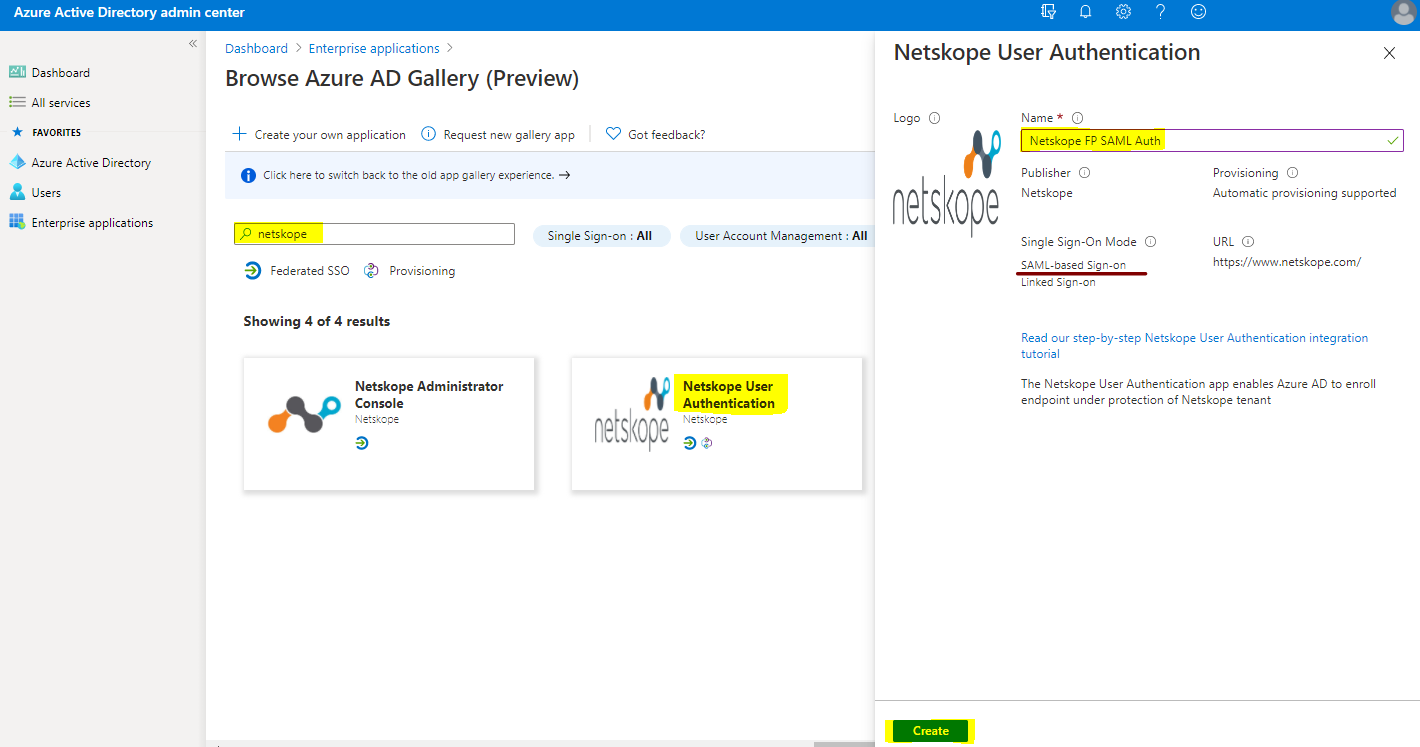
- Enter Netskope in the search bar. Select Netskope User Authentication. Enter a name, like Netskope FP SAML Auth, (for example). Click Create.
Note
If you are still using the old app gallery experience, then:
- Select Netskope User Authentication.
- Enter a name, like Netskope FP SAML Auth, (for example).
- Click Add.

- Select Single sign-on > SAML.

- Click Edit to enter the Basic SAML Configuration parameters.

- Enter Netskope Entity ID and Netskope ACS URL copied from the Netskope UI in the required fields, and then click Save.


Click on the x icon to close SAML section.
- You will be prompted to test SSO. Select No, I’ll test later.

- Go to and edit User Attributes & Claims section.

Delete all the default Additional claims. You only need the Required Claim.
- Select the value to edit the Unique User Identifier (Name ID) field.

- Set the Source attribute as user.mail and click Save.

- user.mail is set as the claim value for Name ID. Click on the x to close this section.

- Download the certificate in Certificate (Base64) format, and copy the Login URL and Azure AD Identifier values. These need to be entered into the Netskope Forward Proxy – SAML settings page later on.

- Next assign users who will log in using the Azure SAML Auth.
Go to Users and groups > Add user/group.

- Select Users and groups.
Select the users, and then click Select.

- Click Assign.
If you want to use Group assignments, then you need at least a Microsoft P2 license or above. This may not apply in the future if Microsoft updates their software licensing models.

- The User has been successfully assigned to the SAML Auth application.

- Log off the Azure portal.


