

This document describes the available deployment methods and user enrollment options when installing the Netskope Client on Linux devices.
Supported Versions
Refer to Netskope Client Supported OS and Platform for more details on the supported Linux versions.
Download Client Packages
You can download Netskope Client installers from Download Netskope Client and Scripts.
Prerequisites
Netskope Client for Linux relies on iptables for steering traffic and is a requirement for all Netskope Client for Linux deployments.
Netskope Client Installation Methods
The Netskope Client for Linux supports webUI and command-line installations enrolling users by email, UPN, or IDP.
Installation Using Command Line Interface (CLI)
Refer to the following instructions to complete the Netskope Client deployment once the Client package is downloaded onto the Linux device.
To learn more, view Windows Support for WSLv2.
Install And Enroll by Email ID
Use the following command to install and enroll using email ID:
sudo ./STAgent.run -H <tenant hostname> -o <org key> -m <email address>For example, sudo ./STAgent.run -H abc.goskope.com -o abc123xyz -m user@example.org
STAgent.run {-H | --tenant-hostname tenant_hostname}
             {-o | --orgkey orgKey}
             {-m | --email email_address}
             [-a | --enroll-auth-token enroll_authentication_token]
             [-e | --enroll-encrypt-token enroll_encryption_token]
             [-c | --cli]
Options:-H --tenant-hostname: Tenant hostname
        -o --orgkey: org key
        -m --email: User email
        -a --enroll-auth-token: enroll authentication token
        -e --enroll-encrypt-token: enroll encryption token
        -c --cli: This is a flag for CLI only mode and no value
                  When this argument is present, UI will not be installed
Install And Enroll By UPN
Use the following command to install and enroll by UPN:
sudo ./STAgent.run -H <tenant hostname> -o <org key>.
For example, sudo ./STAgent.run -H abc.goskope.com -o abc123xyz
STAgent.run {-H | --tenant-hostname Tenant_hostname}
             {-o | --orgkey orgKey}
             [-u | --upn UPN]
             [-a | --enroll-auth-token enroll_authentication_token]
             [-e | --enroll-encrypt-token enroll_encryption_token]
             [-c | --cli]
Options:-u --upn: User UPN
– Requires a UPN value while performing user enrollment of non-domain joined devices by UPN. The installer fails and quits if the UPN value is missing.
Install And Enroll By IDP
Use the following command to install and enroll by IDP:
sudo ./STAgent.run -i
STAgent.run {-i | --idp}
             [-t | --tenantname tenant_name]
             [-d | --domain tenant_domain]
             [-e | --enroll-encrypt-token enroll_encryption_token]
Options:-i --idp: This is a flag with no value.
                  When this argument is present,installer will enroll by IDP. All other options will be skipped in IDP mode.
        -t --tenantName: tenant name
        -d --domain: tenant domain
        -e --enroll-encrypt-token: enroll encryption token
– Ensure that STAgent.run file must have executable permissions.
Installation Using WebUI
After you download the Netskope Client to the end-user device, perform the following steps to setup Client and connect to the Netskope Cloud:
-
From your terminal, run the following command:
sudo ./STAgent.run -e <encryption_token>Ensure that you add the encryption token mapped to your tenant. -
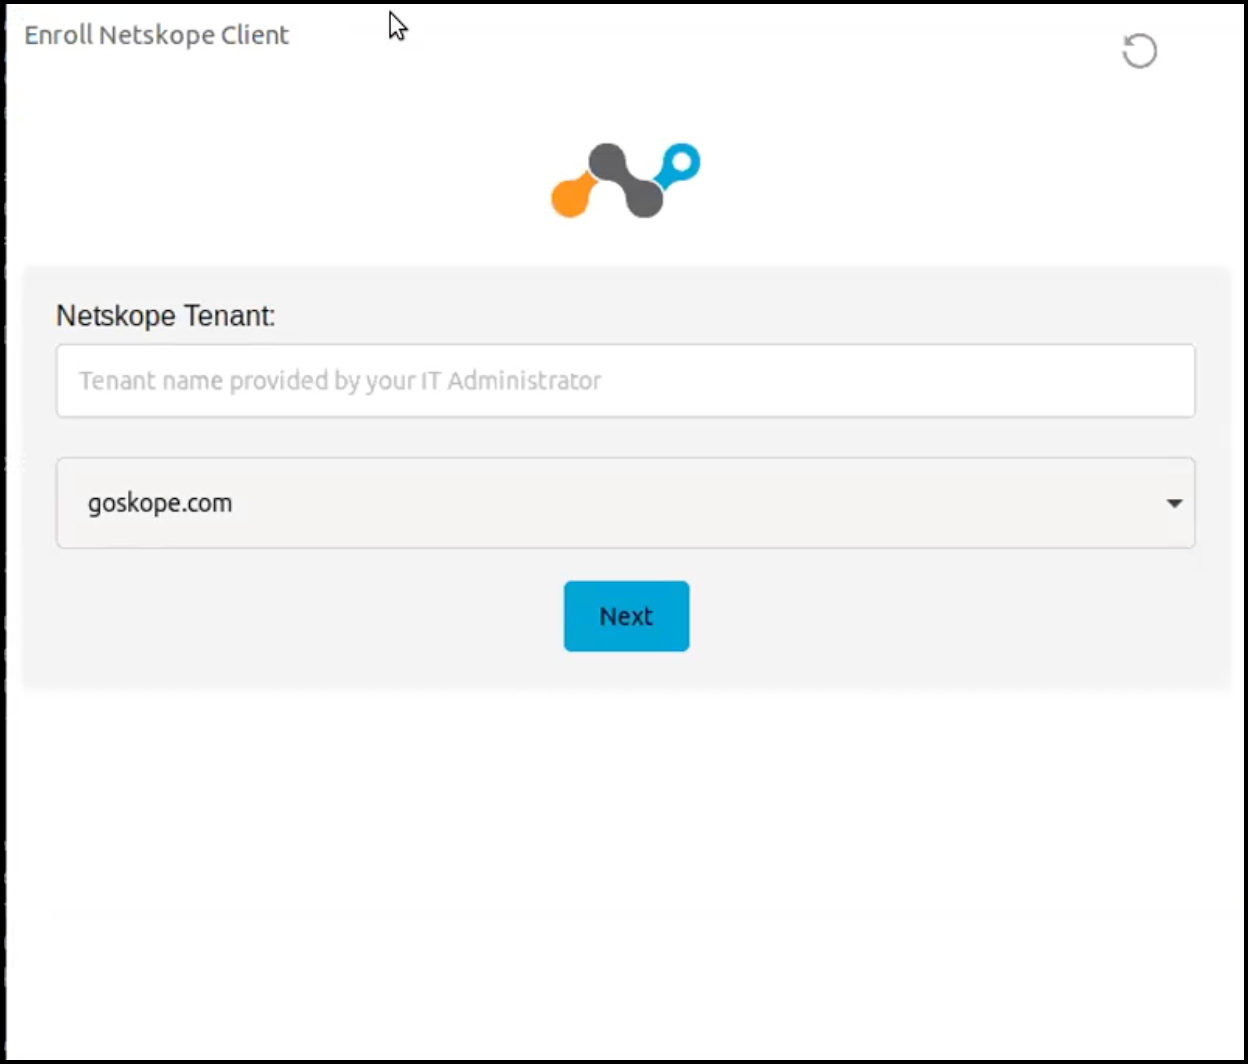
After the installation is complete, a pop-up is displayed to the user to enter the Netskope Tenant name and select the tenant domain. This information is shared with the user by their respective IT admin.
-
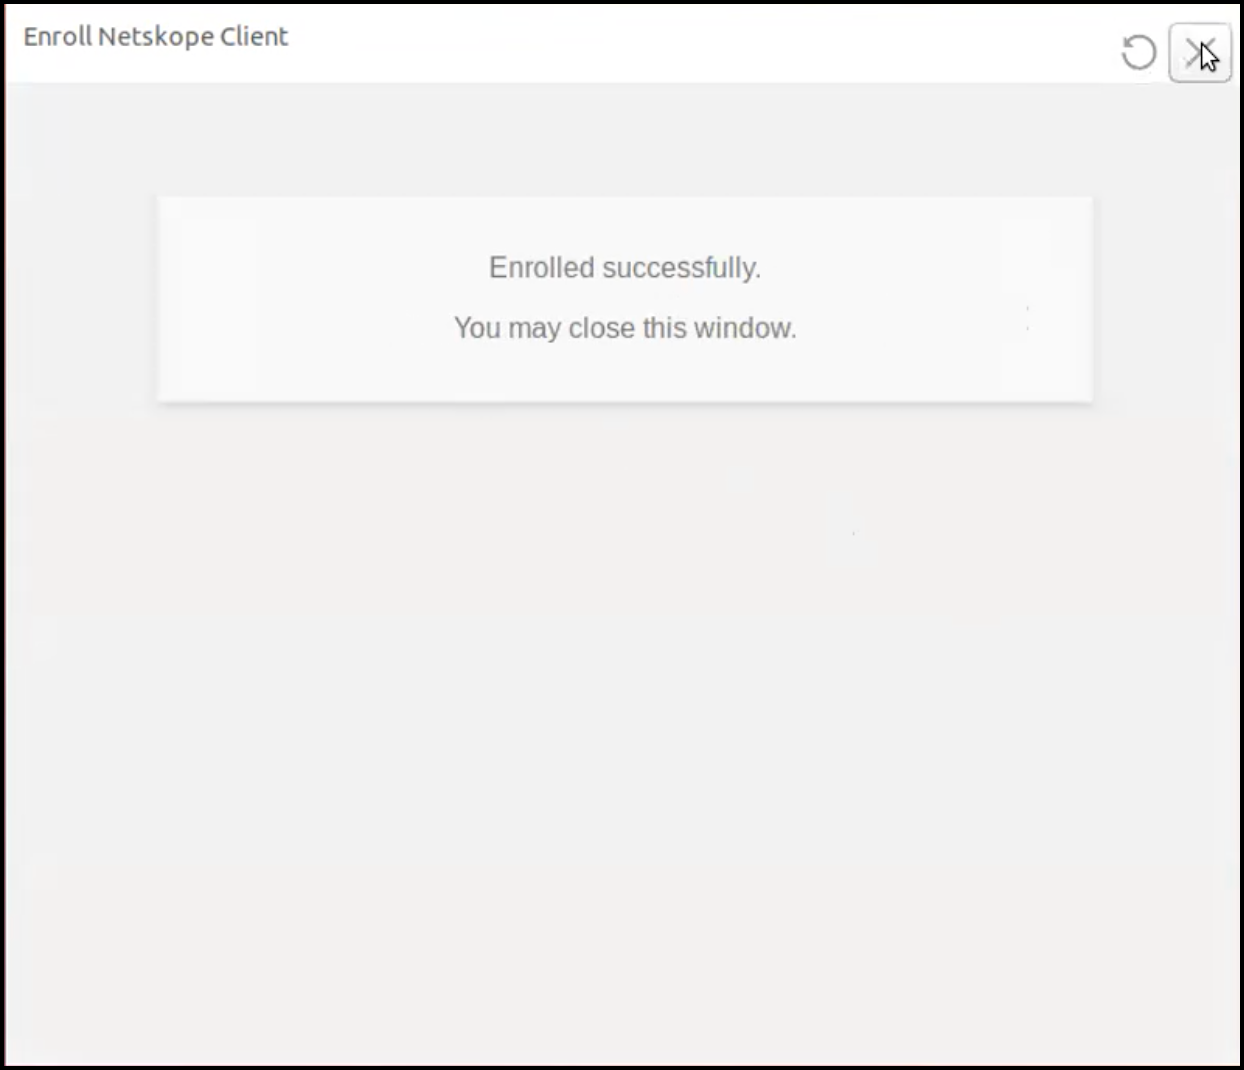
Click Next to continue with enrollment. The user is redirected to their IDP login screen. Authentication status message is displayed in the browser.
-
Once the user enrollment is complete, you can see the Client icon on the taskbar. Click the Client icon to view the configuration details.

Netskope Client Installation for Debian
Netskope Client for Linux relies on iptables for steering traffic and is a requirement for all Netskope Client deployments in Linux. However, the modern operating systems such as Debian 12 shifted from iptables to nftables, and therefore iptables components are not installed on Debian by default. To ensure a seamless installation of Netskope Client for Linux on Debian, the Netskope installer verifies the presence of iptables. If iptables are missing, the installer issues a warning and automatically installs the necessary libraries.

Press y to install the iptables package automatically.

Verify Enrollment After Installation
To verify successful token enrollment during installation, refer to following instructions, based on your chosen enrollment method:
Validation for IDP Enrollment
When enrolling with an Identity Provider, you can verify both the saved “keycard” and the final Netskope Client status using one of the following methods:
-
Verify the Encryption Token File (Your “Keycard”): Open a terminal and run the following command to see the saved token:
sudo cat /opt/netskope/stagent/.eetk
-
If the terminal displays a lengthy string of random characters, this confirms that your “keycard” is successfully saved to the device.
-
If it displays an error such as “No such file or directory,”, it indicates and issue with the token application.
-
-
In your terminal, run the following:
bash
# Step 1: Launch the client’s command-line interface
nsclient
# Step 2: At the Netskope > prompt, check the configuration
show-config
The command displays the Client Configuration details such as Gateway, Organization, User Email, and more. This confirms successful enrollment.
Validation for Email or UPN Enrollment
When you enroll with an Email or UPN, no token file is saved. In your terminal, run the following:
bash
# Step 1: Launch the client’s command-line interface
nsclient
# Step 2: At the Netskope > prompt, check the configuration
show-config
The command results display Client Configuration details such as Gateway, User Email, and so on. This confirms that the token-based enrollment was successful. The absence of the .eetk file is normal and expected in this mode.
Uninstall Client in Linux
Use the command sudo /opt/netskope/stagent/uninstall.sh to uninstall Netskope Client in Linux.
Additional CLI Commands
Use the ‘help’ command to understand the additional commands available for managing Netskope Client in a Linux device. For example:
-
To enable Netskope Client in CLI and then to quit:
~$ nsclient
start process....
===== Netskope Client CLI,  Version: 200.200.0.100 =====
Copyright(c) 2022 Netskope, Inc. All Rights Reserved.
Please enter <help> for available commands.
Netskope> enable
Enabling Netskope Client...
Netskope Client enable success.
Netskope> quit -
To display Netskope Client Status
~$ nsclient
start process....
===== Netskope Client CLI,  Version: 99.0.0.1090 =====
Copyright(c) 2022 Netskope, Inc. All Rights Reserved.
Please enter <help> for available commands.
Netskope> show-status
Netskope Client enabled -
To display Netskope Client Configuration
Netskope> show-config
Show configuration in progress...
    Netskope Client Configuration
    Gateway: gateway-qa.de.goskope.com
    Organization: Netskope Inc
    Gateway IP: 163.116.140.35, POP: US-SFO1
    User Email: jjia@netskope.com
    Client Configuration: client_config1
    Steering Configuration: jjia-mygroup2
    Device Classification: unmanaged
    Tunnel Protocol: TLS
    Private Access: Connected (User Tunnel)
    Private Access Gateway IP: 163.116.138.23
    On-Premises Check: Remote
    Traffic Steering Type: All Web Traffic
    Config Updated: 10:27:26,  1st Dec, 2022
configuration update avaliable.Pleasae use <update-config> command to update latest configuration -
To display the blocked events
Netskope> show-blocked-event
Blocked Event:
App Name: [opera], Last Access Time: Thu Dec 1 21:01:20 2022 -
To update the Client Configuration
Netskope> update-config
Update configuration in progress...
startConfigUpdate->bNeedUpdate=1
configuration update avaliable.
Please use <update-config> command to update latest configuration
| Command | Description |
|---|---|
| –help | Usage for Netskope Client CLI. |
| – enable | Netskope Client status. |
| – disable | Disable Netskope Client. |
| – show-status | Netskope Client status. |
| – show-config | Display Netskope Client configuration. |
| – update-config | Update Netskope Client configuration. |
| – show-blocked-event | Display Netskope Client blocked event(s). |
| – set-log-level | Reset Netskope Client log level, <debug|info|warning|error|critical> |
| – save-logs | Save Netskope Client diagnostic information. |
| – start-pkt | Start packet capture, <inner|outer> packet <inner len from 0 to 9999 byte|outer size from 0 to 99 MB> Please use the ‘stop-pkt’ command to exit. |
| – stop-pkt | Stop packet capture. |
| – start-speedtest | Start speed test, testing <download|upload> <1|10|100>MB file. |
| – show-pa | Show Private Access status. |
Limitations
-
Netskope Client for Linux does not support docker configuration. Netskope Client cannot install certificates for web traffic initiated from Containers. The Netskope Client can only install certificates for the web traffic initiated from the apps running on Linux host devices.
-
The DNS tunneling feature available in Windows 11 is part of Windows Sub-System for Linux (WSL). This handles DNS requests directly within the WSL environment. The Linux instances running in WSL does not send DNS requests through Network Address Translation (NAT) to the host anymore. This causes the Netskope Client to not intercept the requests through routing. As a workaround, disable the DNS tunneling in the .wslconfig file on your host, shutdown, and then restart the WSL instance.
To disable the tunneling feature:
-
Create the
.wslconfigfile using the following:[wsl2] dnsTunneling=false
-
Copy this file to your Windows user profile folder:
C:\Users\<YourUsername>\.wslconfig -
Run the following command in PowerShell or CMD to shutdown the WSL:
wsl --shutdown
-
Launch Ubuntu in WSL again, and run the following command:
cat /etc/resolv.conf
-
You can now view the following:
nameserver 172.22.240.1
(or another 172.x.x.x address depending on your NAT gateway).
-