

Important
Please contact your SE/AM if you have questions regarding Cloud Exchange installation, deployment, configuration, and upgrade/migration.
Cloud Exchange RHEL Host Prerequisites
Cloud Exchange on RHEL requires Podman. Ensure that these commands are available.
podman (v5.4.0)
Execute the command mentioned below to verify if the command is available. If available, the command execution will output the path where podman commands are available.
which podman
podman-compose (v1.5.0)
Execute the command mentioned below to verify if the command is available. If available, the command execution will output the path where podman-compose commands are available.
which podman-compose
Latest version of podman-compose can be installed using
pip3 install podman-compose
podman-plugins
Execute the command mentioned below to verify if the command is available. If available, the command execution will output Package podman-plugins already installed; otherwise, it will install this package.
yum install podman-plugins
Cloud Exchange Installation
To install Cloud Exchange:
- Please review and ensure that all host and connectivity requirements have been validated before starting the install.
- Clone the
netskopeoss/ta_cloud_exchangepublic Github repository to a volume which has free storage space based on the sizing guidelines as specified in the system requirements. Always clone to any folder other than/usr/localto avoid a conflict within Docker.mkdir netskope cd netskope git clone https://github.com/netskopeoss/ta_cloud_exchange cd ta_cloud_exchange
Note
If you are a Beta user, run the following command during Step 2 to download the beta version of a release instead of the git clone command shown above:
git clone -b beta https://github.com/netskopeoss/ta_cloud_exchangeDuring step 2, while executing the setup script, opt IN to beta to use the beta code rather than the default action of searching for the latest GA version.
- Checkout the Desired Version.
Before proceeding, checkout the desired version of the repository. For example, to checkout version 6.1.0:git checkout v6.1.0
Note
Replace
v6.1.0with the version you wish to use. Refer to the Netskope CE GitHub Tags for a list of available versions. - Run below command to copy and edit the cloudexchange config file. If the configuration file is not created or updated with user inputs, the setup script will use default settings for the UI port, protocol, and randomly generated passwords for the maintenance password, JWT secret, and other parameters.
cp cloudexchange.config.example cloudexchange.config
vi cloudexchange.config
Notes
- The maintenance and JWT Secret passwords are used internally within Cloud Exchange for database authentication. These passwords will be needed when restoring a backup.
- Non‑ASCII characters (e.g., accented letters, other scripts, emoji) are not supported for the Maintenance and JWT Secret Password. Some of the processes might not work and might cause system failures if you use these special characters.
- Execute the setup script and complete the setup:
sudo python3 ./setup
Note
If you skipped Step 4, Please make sure to save the maintenance password and JWT secret generated during setup script execution. These passwords will be required for future migrations or upgrades.
- Launch Cloud Exchange:
sudo ./start
The Cloud Exchange UI is now accessible with the system’s IP (https://<ip>).
Default User Login
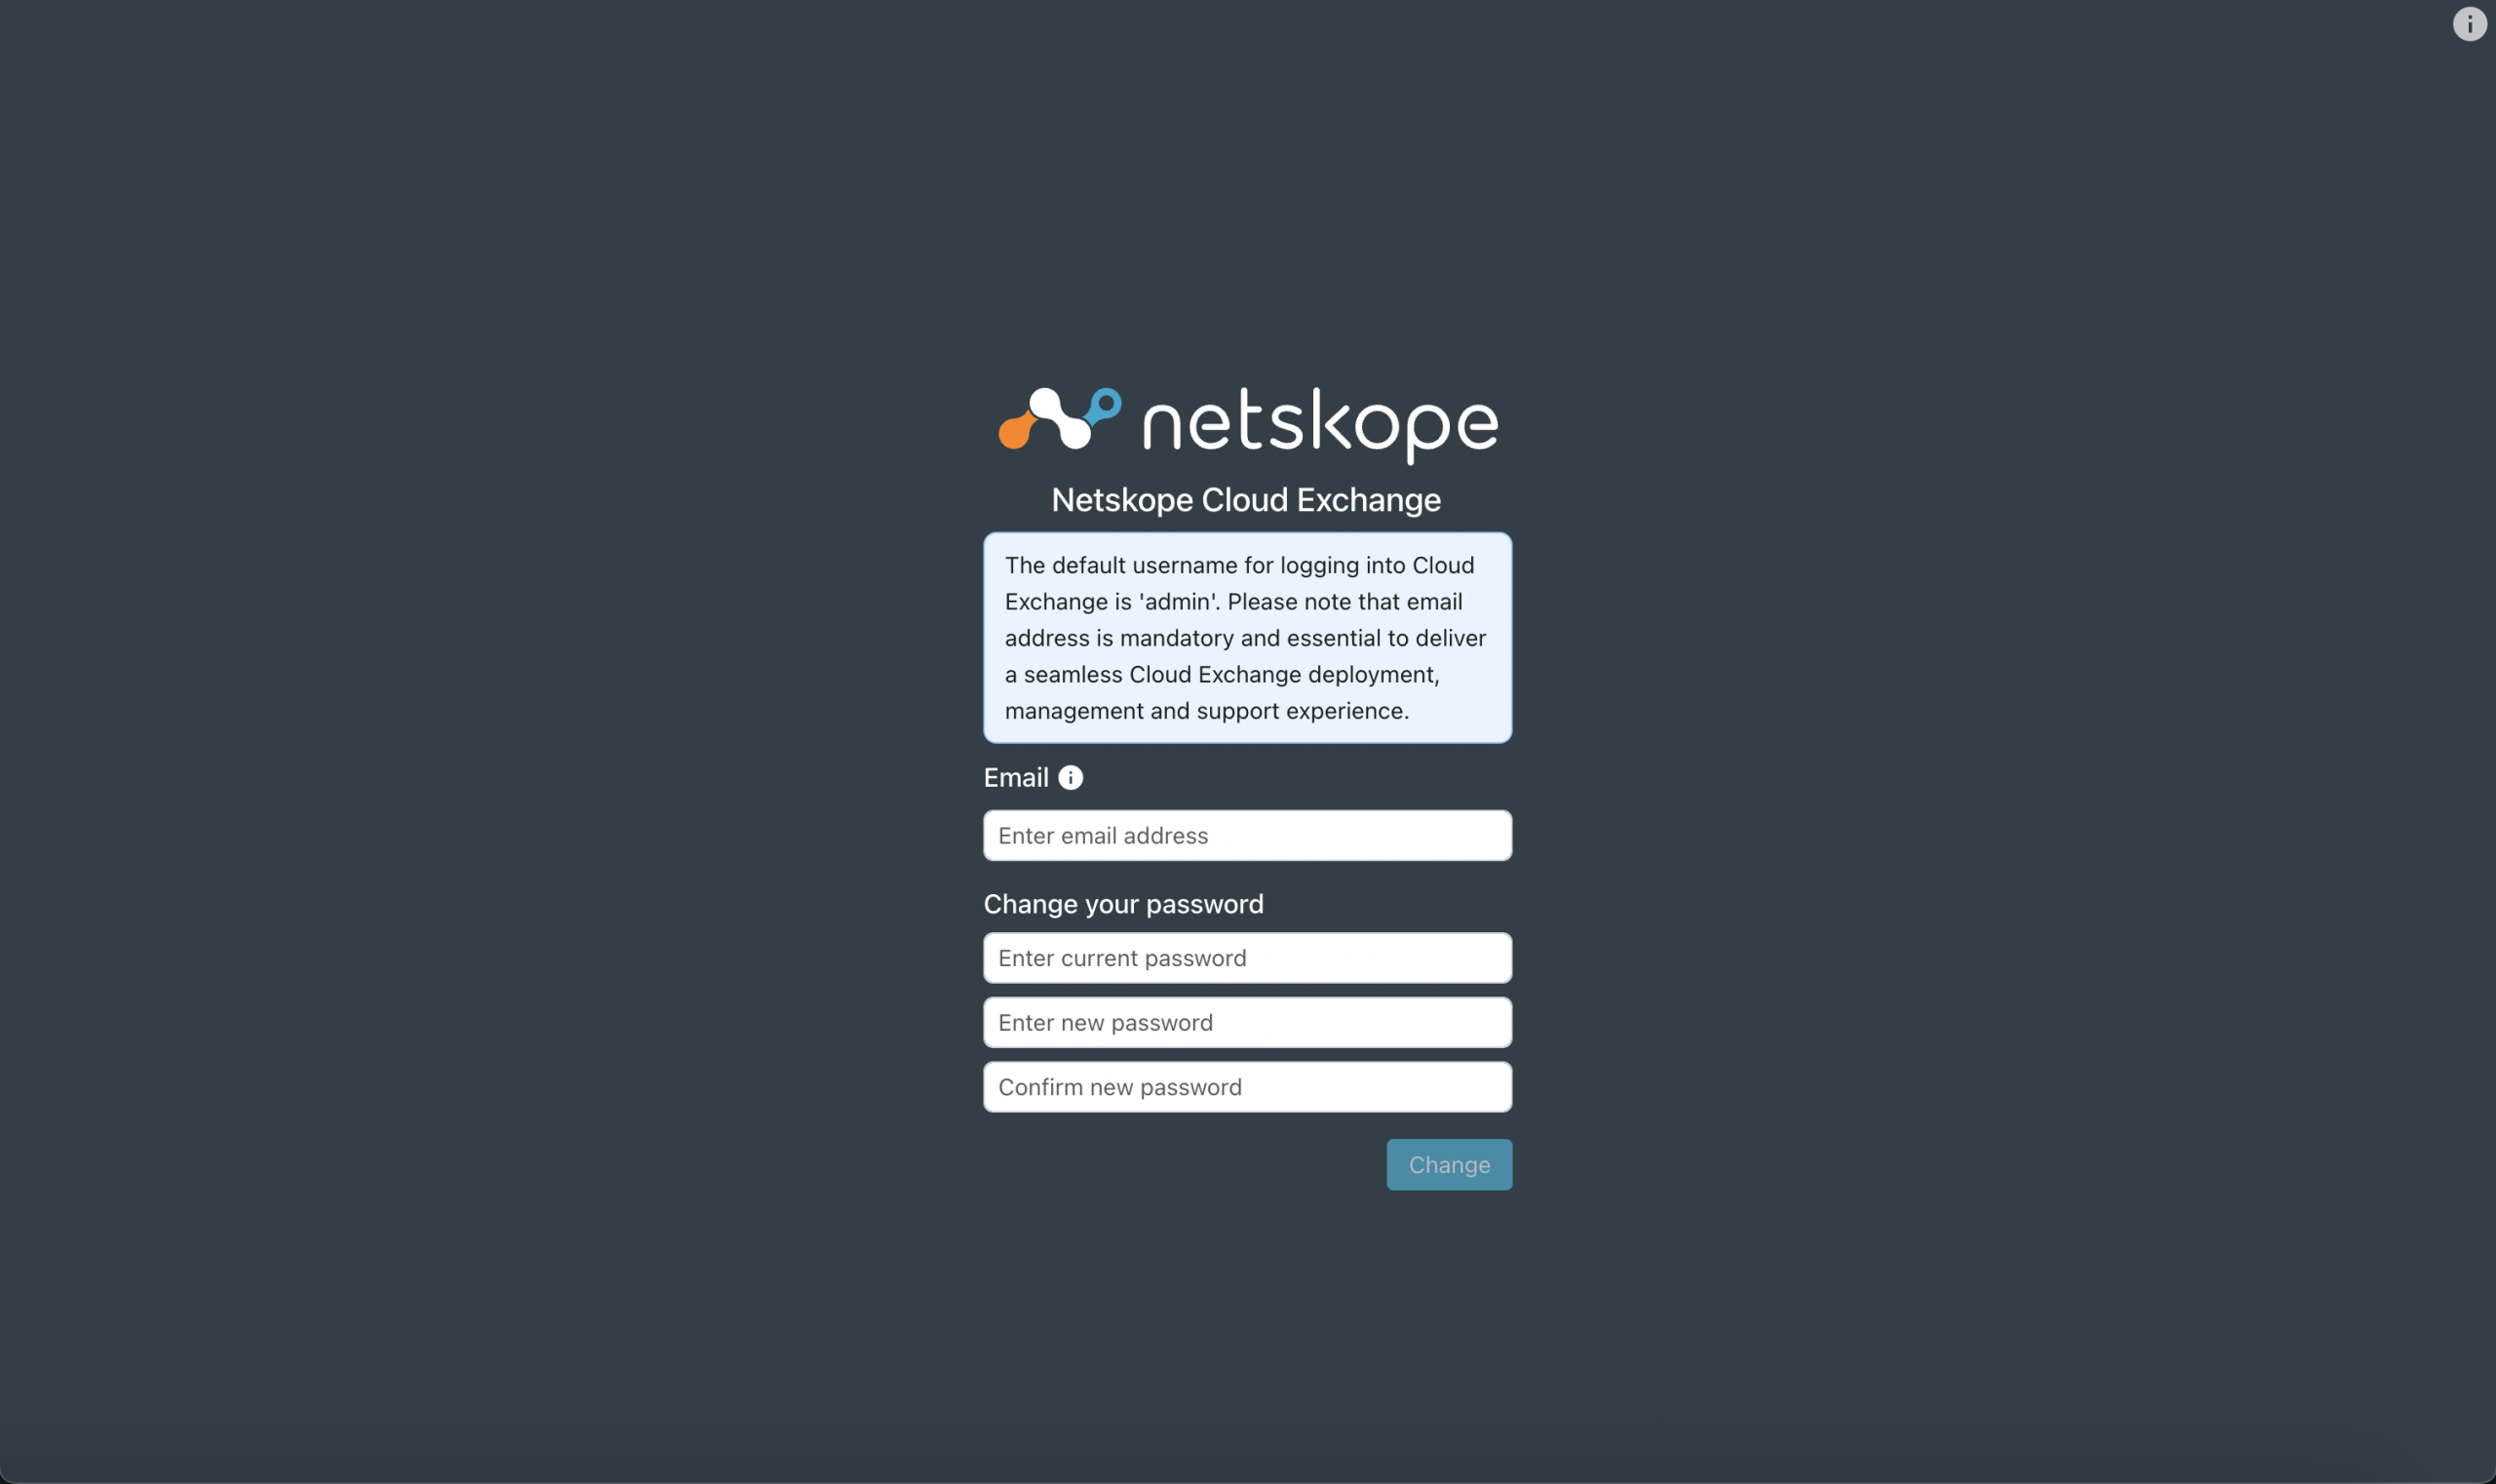
By default, a single user is created with administrative capabilities with these credentials:
- Username:
admin - Password:
admin
This user will have Administrator level access to the application. This user will have write access, and will be able to create new users as well.
On the first login, you will be required to change these credentials. After that, log in using your new credentials.
Restart Cloud Exchange
To restart Cloud Exchange when it’s deployed in a linux-based environment:
- Go to the directory where Cloud Exchange is installed. (In the case of Cloud Exchange as a VM Installation, the directory is
/opt/cloudexchange/cloudexchange/.) - Stop the Cloud Exchange containers.
sudo ./stop
- Run the start script to rerun the containers.
sudo ./start
- (Optional) To check container status.
sudo podman ps